

The kids wanted to paint some designs as well and this determined my choice of the Snowman as the design for the card.

I cut four squares of fabric, approximately 13 x 13 cm each.

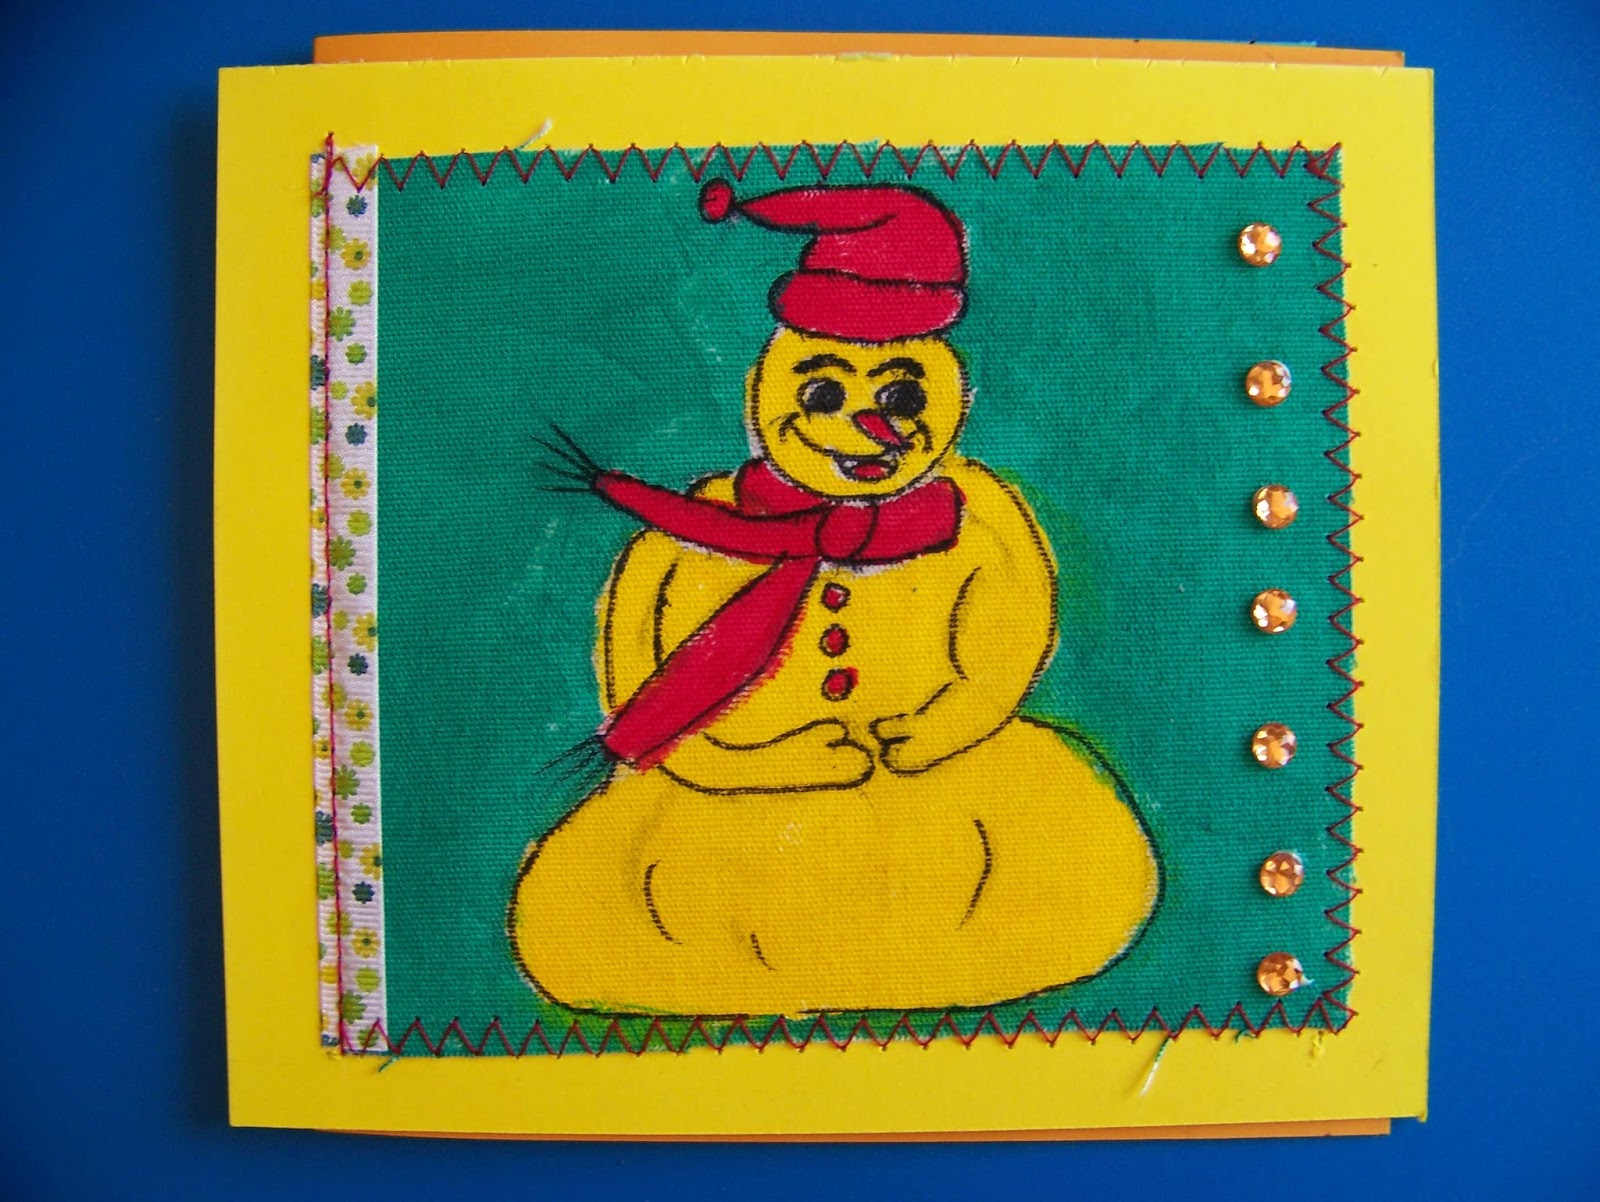
I had to draw the snowmen real quick as the kids were getting impatient. You will note that I took the liberty of leaving out the wooden fence, concentrating only on the snowman.

Painting the snowman was quick work and I did not try to put too much detail in, having to assist the smaller kids too often in their own 'art'. I used Dala fabric paint for these snowmen. (Side note: eventually, they gave up painting the snowmen and simply painted the fabric with silly designs ans shapes scratched into the wet paint).

I decided that I would like the background painted and proceeded to do so.

I use a Black Posca marker to outline the snowmen and to draw in the detail.

I then cut some thick cardboard slightly bigger than the fabric pieces.

The fabric is attached to the cardboard using double-sided tape.

I stuck one down straight and the other one a little skew. Experiment with your own designs and see what you like best.

I then cut a length of ribbon for each card.

I used double-sided tape to stick the ribbon onto the cards.

I threaded bright red thread in my sewing machine and set it to a zigzag stitch. I also increased the stitch length.

I sewed the zigzag stitch around three of the sides.

I changed back to a normal sewing stitch, but still with an increased stitch length. I used this to sew on top of the ribbon.

This added an interesting dimension to the cards.

I used a monochrome 12"x12" paper and divided in half.

I then folded each card in half.

I used double-sided tape to stick the painted fronts onto the folded cards. The fronts are slightly larger than the actual cards, but I intentionally allowed this to happen as it adds to quirkiness of my cards. If you do not like this, simply trim your front pieces down so that fit the way you like it.

With most of the work done on the outside of the cards, I turn my attention to the inside.

I am going to do a geometrical design on the inside of the cards. I start by simply sticking down some off-cut papers in coordinating colors.

I then use a Red Sharpie marker to draw a couple of lines across the inside of the cards.

Finally I turn back to the outside of the cards where I put down a couple glue blobs, using Tombow glue. Onto these I lay some rhinestone embellishments.

These are certainly not quick cards to make, but they will be great fun for any kid to receive, and even to help make.

The designs used in this project are available from APrettyTalent.com. Go to Digital Downloads and select Christmas Set. Add it your cart and proceed to checkout. The link to your downloads will appear in your inbox as soon as the transaction has cleared.
For more crafty ideas and great products, visit APrettyTalent.com.
Remember to keep nurturing your TALENT for making PRETTY things.
You can subscribe to this blog and receive regular updates by email by simply registering your email address at the top of the current blog.
No comments:
Post a Comment