
I printed one of the designs from the Christmas Collection that is available in digital format from APrettyTalent.com. I then slid this behind the glass I was going to work on. If you are working on a window, I advise using masking tape or Pres-tik to secure your picture.

I loaded my glue gun with enough glue to finish the project and waited for it to warm up.

It was then as simple as tracing the outline of the design with the glue gun. Work at a steady pace to ensure an even flow of glue.

At this stage I had to wait a minute or two for the glue to dry. I went in search of my nail polish while I waited. The glue sets so quickly that it was dry by the time I returned.

I lightly touched the glue lines with the nail polish.
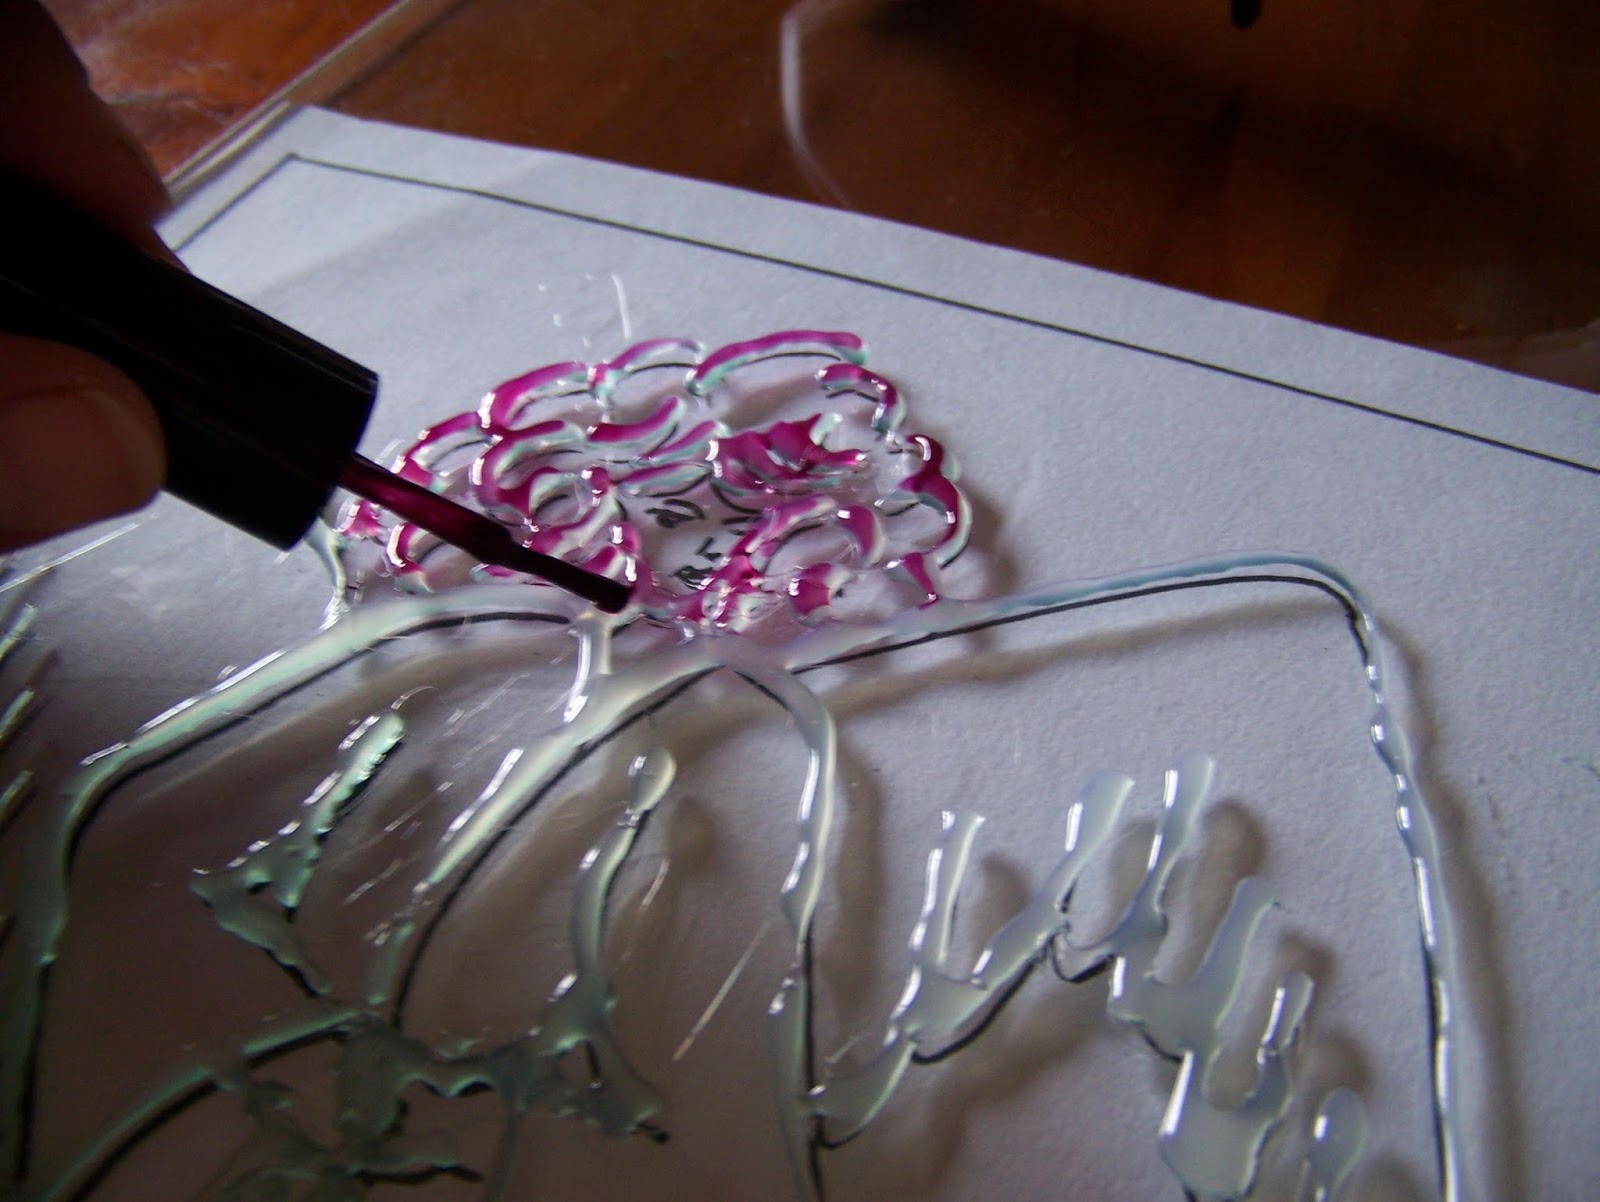
A perfect little angel!

Cleaning up the glue takes a little effort, but not enough to complain about. Push a flat object, like a palette knife, under the glue and pop it off the glass. Nail polish that has smeared can be cleaned up with nail polish remover.

Here you can see that the glue came off in a small mass and the glass in the background is clean without doing anything else to clean it further.

In this photo I tried to show you the beautiful effect you get when the sun shines through the glass angel, but I did not manage to get a good photo as the camera would not focus on the angel, but kept focusing on objects further away. Finally I was forces to put a solid background behind the angel. As an extra craft idea, you could fill in the angel with glass paint when your glue lines are in place. That could give you the impression of stained glass, especially if you use black or silver nail polish on the lines.
The design used in this blog can be downloaded in digital format from APrettyTalent.com by clicking here.
For more crafty ideas and great products, visit APrettyTalent.com.
Remember to keep nurturing your TALENT for making PRETTY things.
You can subscribe to this blog and receive regular updates by email by simply registering your email address at the top of the current blog.
No comments:
Post a Comment