
I started by preparing a blank paper with gesso so it would be able to take paint. I had a set of three decorative tapes that I wanted to use as a similar set was given to my niece as part of her gift. This would link the page even more to her memories. I found a patterned craft paper that coordinated with the patterned tape.

I tore a piece off the patterned paper using one of my tearing rulers. I wet the tear line with a thin line of water first to ensure a neater tear line. Here you see me using the nifty Pentel Aquash Brush with a water cylinder in the handle for the purpose.

Hold the paper firmly down with one hand, while carefulle tearing along the ruler with the other hand.

I now laid down a layer of acrylic gel medium with a flat brush where I wanted the patterned paper to go.

I covered the paper with the gel medium again when it was stuck down. I then used a roller to make sure there were no air bubbles trapped underneath.

I mixed acrylic gel medium and Rose Madder acrylic paint with a palette knife on a make-do palette. This will make the paint appear more transparent.

I cover the whole page in this mixed color.

I sprinkle some silver glitter randomly on the wet paint which has enough adhesive qualities to hold the glitter once dry.


I add gold glitter in the same fashion. I then lay the project aside to dry first.

Once the paint is dry, I decide to use one of these cute cards a friend sent me from the Netherlands to add as journaling box.

I stick the signature tape royally on the paper in one corner.

The card for the journaling box is stuck down with Tombow Glue.

I draw a golden border around the card using a metallic marker.

Coincidentally, this set of stickers came in the same parcel from the Netherlands, but you can find similar stamps in SA. I did not want the stickers to dominate and added them in a muted Walnut Stain from Tim Holtz Distress Ink.

I filled the page at random with the little stamps.

This roller stamp turns over and you can build your own words, since it has the full alphabet and all 10 digits in each line. I build the word 'cupcakes' and stamp this word randomly on the page, especially the journaling card. I use Pretty Color's Pigment Stamp Pad for this.


This is what the projects looks like by now.

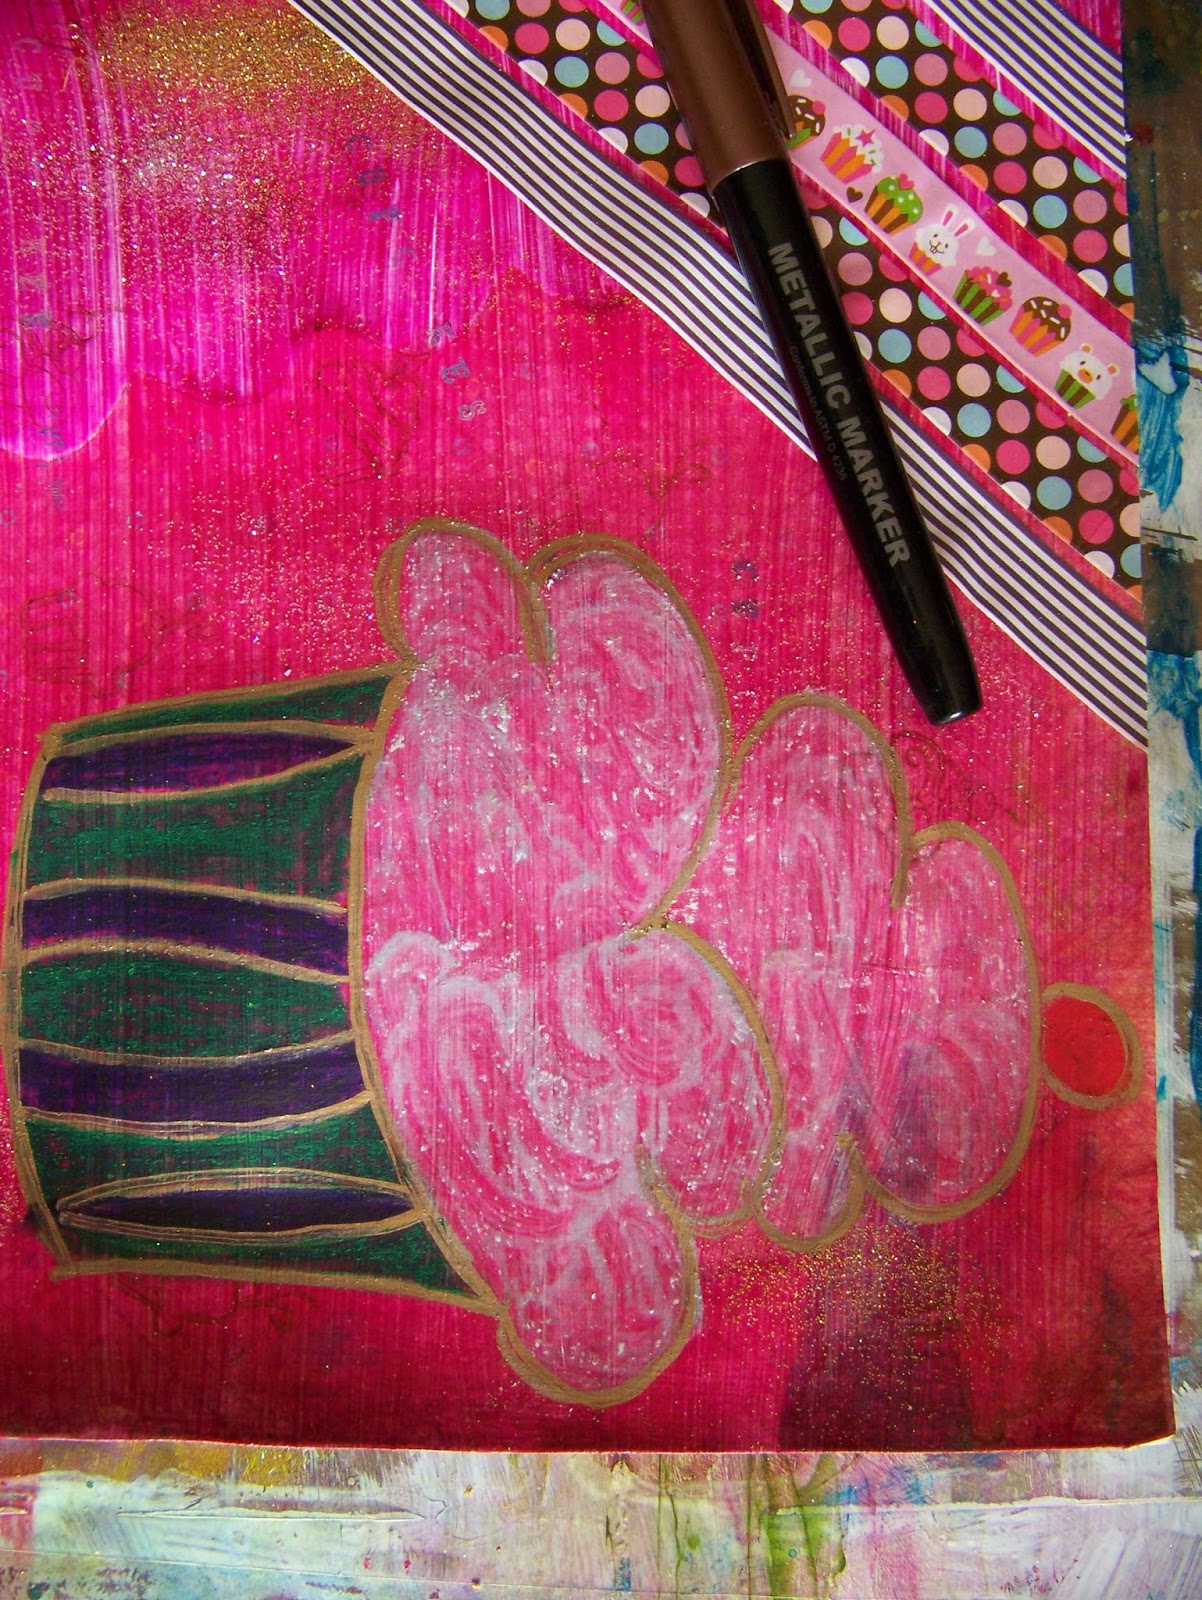
I decide to draw a free hand cupcake in the open space with another metallic marker.

I decide it is a good idea to add color to this cupcake and my choice fall to Derwent's Inktense Pencils for the job. These vibrant colors should be able to withstand the competition from the bright background.

I use Violet in the paper wrapping.

The Violet is interrupted by Field Grass.

The icing is done with Antique White, though only lightly.

The cherry on top is done in Poppy Red.

I then paint the whole cupcake with water using the Pentel Aquash Brush mentioned before.

This is what the painted cupcake looks like.

I go over the outline of the cupcake a second time with the marker once the paint/water has dried.
And with that my page is done. I can now add photos.

For more crafty ideas and great products, visit APrettyTalent.com.
Remember to keep nurturing your TALENT for making PRETTY things.
You can subscribe to this blog and receive regular updates by email by simply registering your email address at the top of the current blog.
No comments:
Post a Comment