
For this project, which is going to be a very quick sketch, I use a cheaper drawing pad. At the most, this might go into an art journal later on. I used Rolfes Woodless Charcoal Pencils in this project. The main outline was drawn in Hard, which gives the lightest mark.

I start with a biggish circle for the head of the owl.

I add the curves of the neck and back.

I now fill in the underbelly of the bird, starting to shape the tail feathers.

I add the only visible wing. With the placement of the main shapes done, I can now start darkening my initial feint lines.

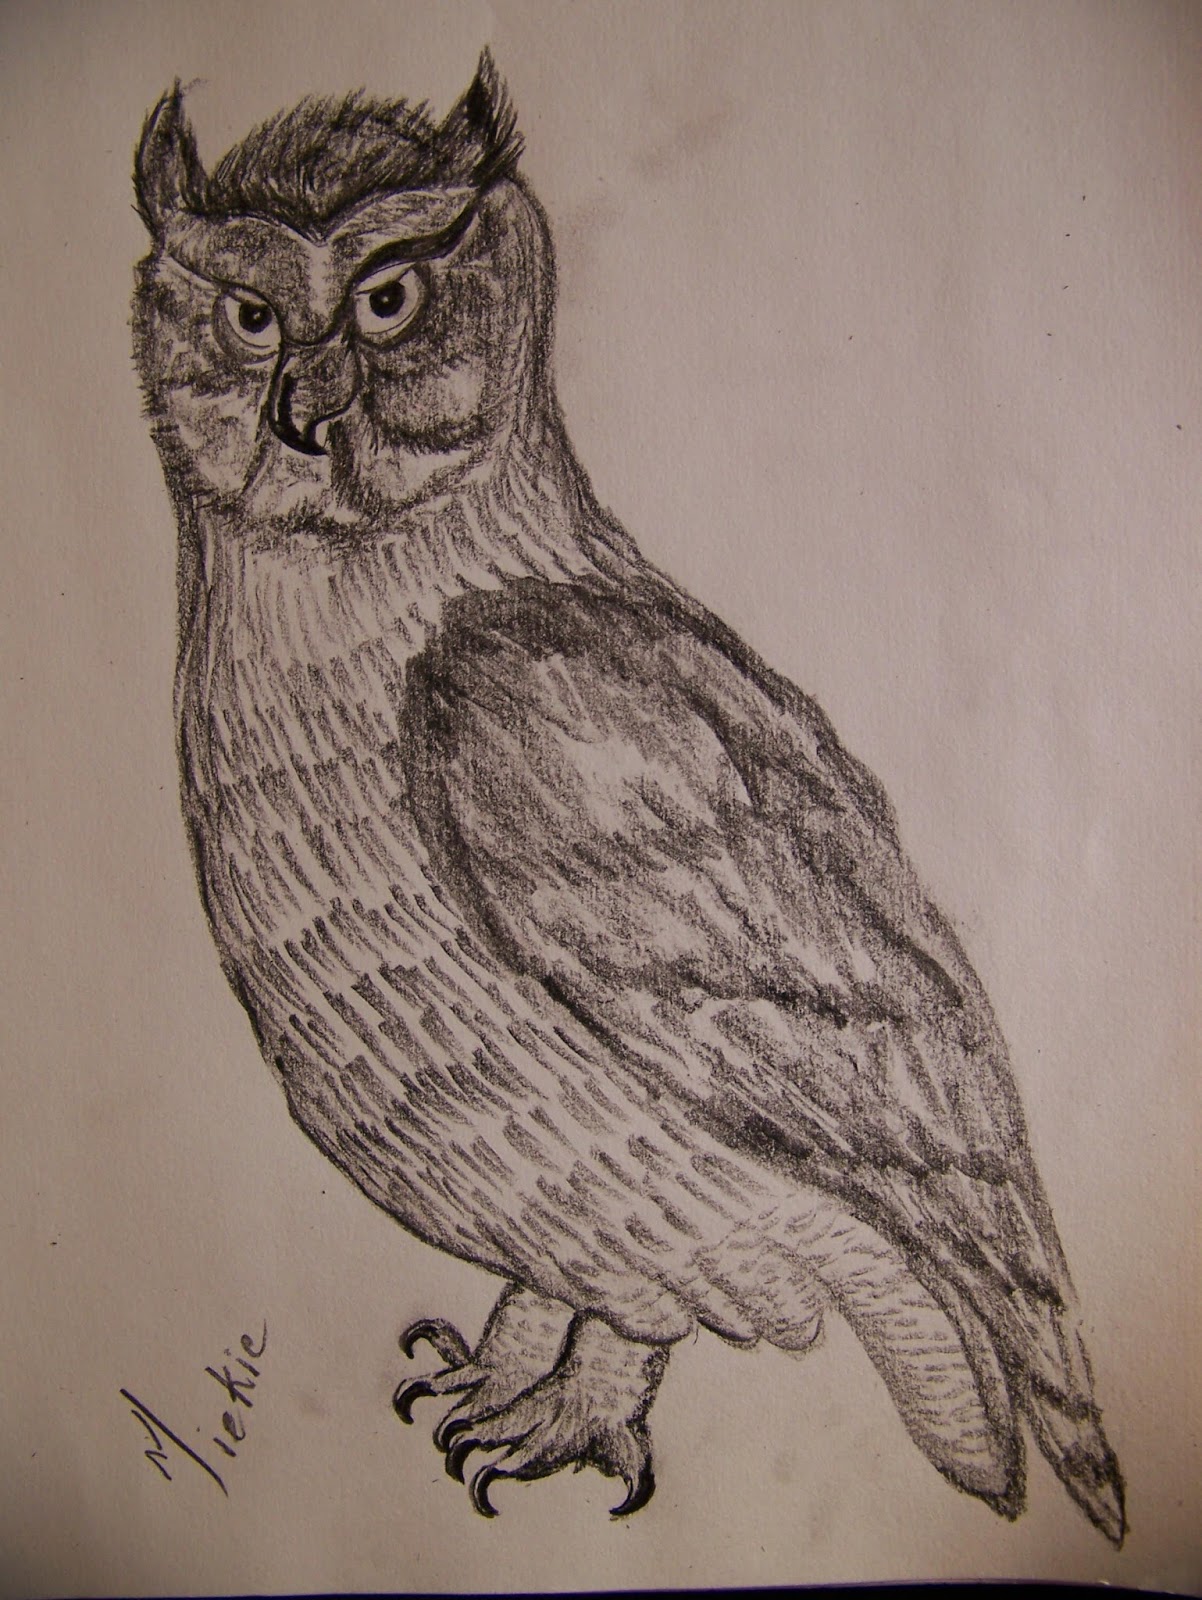
I define the outline of the bird by darkening the lines I am going to keep. I also add the paws. Each foot has three toes with very sharp talons.

The owl has a very heavy brow and I get this line in place.

I add the sharp beak at this stage. It seems very odd, but the shading will help shape it. At this stage I staying very true to my source photo. People often make the mistake of drawing what they THINK something should look like, rather than what they ACTUALLY SEE, when they encounter strange shapes like these.

I continue with the eyes, adding the rather prominent white top eyelids.

I can now finally draw the eyes. Take note that the pupils touch the eyelids and will look odd if yours don't.

I now start with the definition of the top of the head.

The ears of the owl are added.

I start marking the spots for shading.

I finally put the Hard pencil down. I will now work on my darkest areas first, getting them in place. Thereafter I will alternate my three pencils, Hard, Medium and Soft as needed.

I add the feathers at the top and think it seems too hairy, but I will fix that later. I will get my shading right first.

I continue shading the rest of the face.

Careful observation shows me that the owl's feathers are arranged in bands and I need to make sure that I do the same in my drawing. Short hatching strokes will achieve this.

The tail end becomes much softer and I need to change the direction and length of my marks.

It is time to define the claws.

I pay close attention to the pattern on the wing as well when doing the shading here.
Time to comb my owl's hair. I do this with a paper stump.

I soften the shading all over the owl with the paper stump.

Not a work of art in the real sense of the world, but certainly proving that drawing is not nearly as impossible as you may always have believed!
For more crafty ideas and great products, visit APrettyTalent.com.
Remember to keep nurturing your TALENT for making PRETTY things.
You can subscribe to this blog and receive regular updates by email by simply registering your email address at the top of the current blog.
No comments:
Post a Comment