
I used a photo frame that could hold an A4 page. It is important that the photo frame has a glass cover.

I selected a background from my paper stash. The paper may have a slight pattern, but it is very important that it not be too bright or too busy or else you will not be able to read the notices written on it afterwards. I also went through my ribbon stash to find ribbons in coordinating colors that I could use.

I removed the cardboard backing from the frame and measured it on my cutting mat, finding it to measure 30 x 21 cm.

I cropped the background paper to slightly bigger than the cardboard backing, using a metal ruler and craft knife with the guidelines on the cutting mat.

You often find papers that has an extra length at the top where it was attached to a paper pad. This also needs to be cropped.

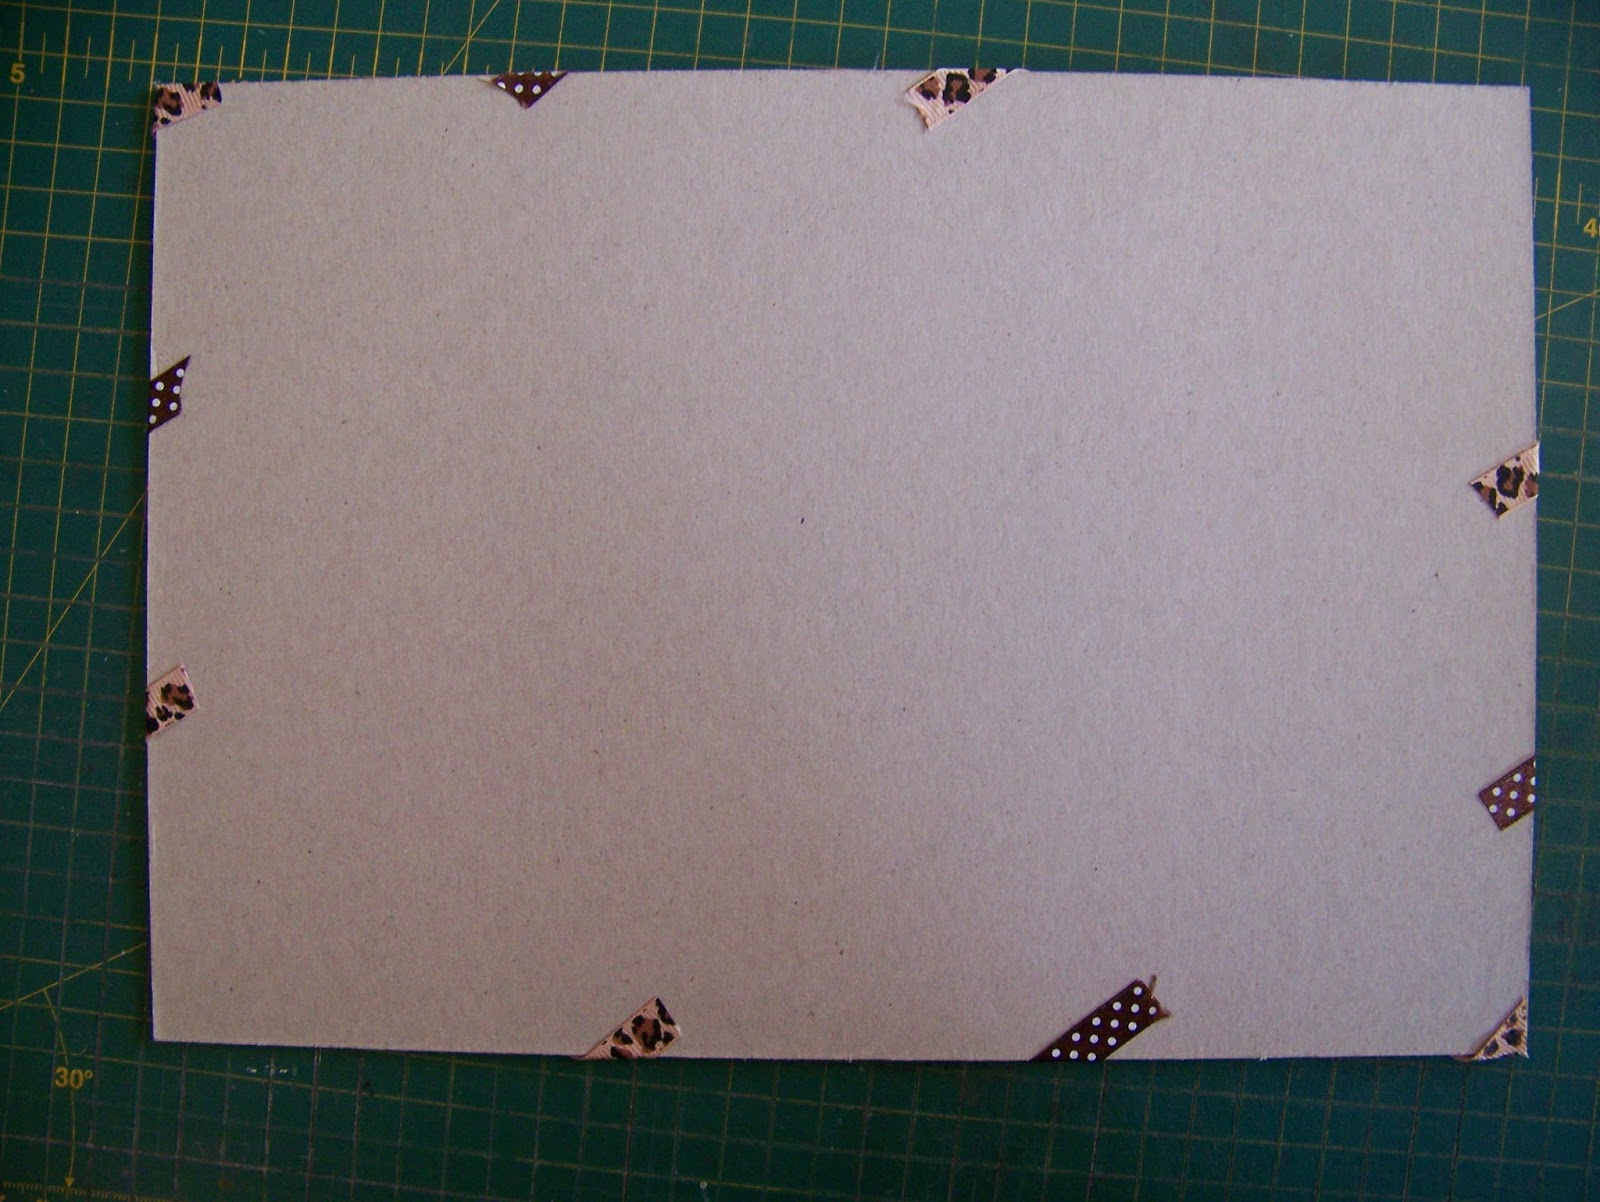
I use scissors to cut double-sided tape which I attach to the front of the cardboard backing all along the edges.

Lay the background paper carefully on top of the cardboard, making sure it does not bubble or warp on the adhesive strips.

Turn the cardboard over and crop the edges where the paper extends past it.

Use a pencil to score a diagonal center line from one corner to the other.

I now use two ruler widths to score another line parallel to the first.

I repeat this until the whole page is filled with diagonal lines.

I then lay my ruler diagonally across the two remaining corners to construct a second set of diagonal lines in the opposite direction, repeating the same steps as above.

I now start experimenting with ribbons, laying various options down until I find the combination that best appeals to me.

Once I have selected the ribbons I want to use, I cut lengths to fit on the diagonal lines in alternating designs/colors. Make sure that the ribbons are cut longer than needed so they can be folded over on the edges.

Turn the ribbons over and stick double-sided tape to the ends only of each ribbon. Only the two shortest lengths of ribbon get double-sided tape that covers it from end to end.

Cut the intersecting ribbons exactly as the first.

Turn these over and prepare with double-sided tape as the first set of ribbons.

Carefully remove the top set of ribbons and lay them aside in the correct order.

Remove the two shortest lengths of ribbon of the bottom set of ribbons as well and lay them aside.

These are the only ribbons that should be left on the background.

Remove the paper backing from the double-sided tape and stick each ribbon down, folding the glued ends over and sticking them to the back of the cardboard. I find it works best if you work right next to the pencil lines, rather than trying to work on top of them. Only make sure to work on the same side of the pencil line every time, or your spaces will not be equal between the ribbon lengths.

This is what the back of the cardboard should look like now.
Weave the remaining set of ribbons over and under the first set.

Remove the paper backings from the double-sided tape and stick the ribbons down exactly as the first set.

The back of your cardboard should now look like this.

I am now going to add some stamped images. I do not want to use any color ink that will make my images too clear, since I want to keep the board very muted in order to be able to read the notes once the board is in use. My choice naturally fell upon a coordianting color which I found in Tim Holtz's Distress Ink; Walnut Stain.

I filled the openings between the ribbons with very feint stamped images.

When I was finished the covered cardboard looked like this. All that was left to do, was to slip it back into the frame behind the glass.

This is a note I wrote with a green whiteboard marker on the glass. This simply wipes away with a dry cloth.

You could also use a non-permanent OHP pen. This would have to be washed away with a damp cloth. If you used a permanent marker, you could wipe it away with a cloth dipped in methylated spirits.

This is the finished product without any writing on it. I love that this is still decorative even when not in use.

You can buy the Write-On Photo Frame Notice Board made in this blog online from Miekie crafts on APrettyTalent.com.
For more crafty ideas and great products, visit APrettyTalent.com.
Remember to keep nurturing your TALENT for making PRETTY things.
You can subscribe to this blog and receive regular updates by email by simply registering your email address at the top of the current blog.
No comments:
Post a Comment