I start with this tiny picture that I cut from one of my books. I find coordinating cardboard and paper to make the card.

I start by folding the cardboard in half to use as a card.

Then I crop the matting paper to the required size.

I found I wanted it even smaller. Then I glued the picture to the matting.

I glued the matting to the card.

I added some sticker photo corners.

Then I glued on some rhinestone embellishments.

I cut one of the smaller pictures out with a pair of scissors.

This I glued to the inside of the card. I redrew the tail in pen.

The finished card.

I had yet another one of these small pictures and decided to do a different take on what is essentially the same picture. I found different coordinating paper and cardboard. This time I also found some handmade paper to add another dimension to the card.

Fold the cardboard in half to form the card.

Crop the matting to the required size.

Glue the two layers of matting to each other.

Glue the picture to the matting.

Glue the matted picture to the card.

Glue some fabric embellishments to the sides of the picture.

Add some rhinestone centres to the embellishments.

Cut out the small picture.

Add it to the inside of the card and redraw the tail with a pen.

The completed card.

I had an even smaller picture of a fruit tree that I had cut from one of my colouring magazines. I found a pre-cut frame and some smaller papers left over from previous projects that would work a charm on this card. I also added a sheet of cardboard for the card.

Fold the cardboard in half to form the card.

Glue the first layer of matting onto the card.

Glue the frame onto the card.

Add the second layer of matting.

Now glue the picture onto the card.

Nothing more is needed to complete this charming card.

Another little painting that I had cut from one of my colouring magazines, was this genie. I found some lovely handmade paper as well as some paper off-cuts with a design on them to use as matting. All that was left, was to add a sheet of cardboard.

Fold the cardboard n half to make the card.

Glue the picture to the handmade matting paper.

Punch out some pretty corners for the second matting paper.

I wanted to work off-centre in this card and tilted the matting slightly when I glued it to each other.

Then I glued the matted picture to the card.

The completed card.

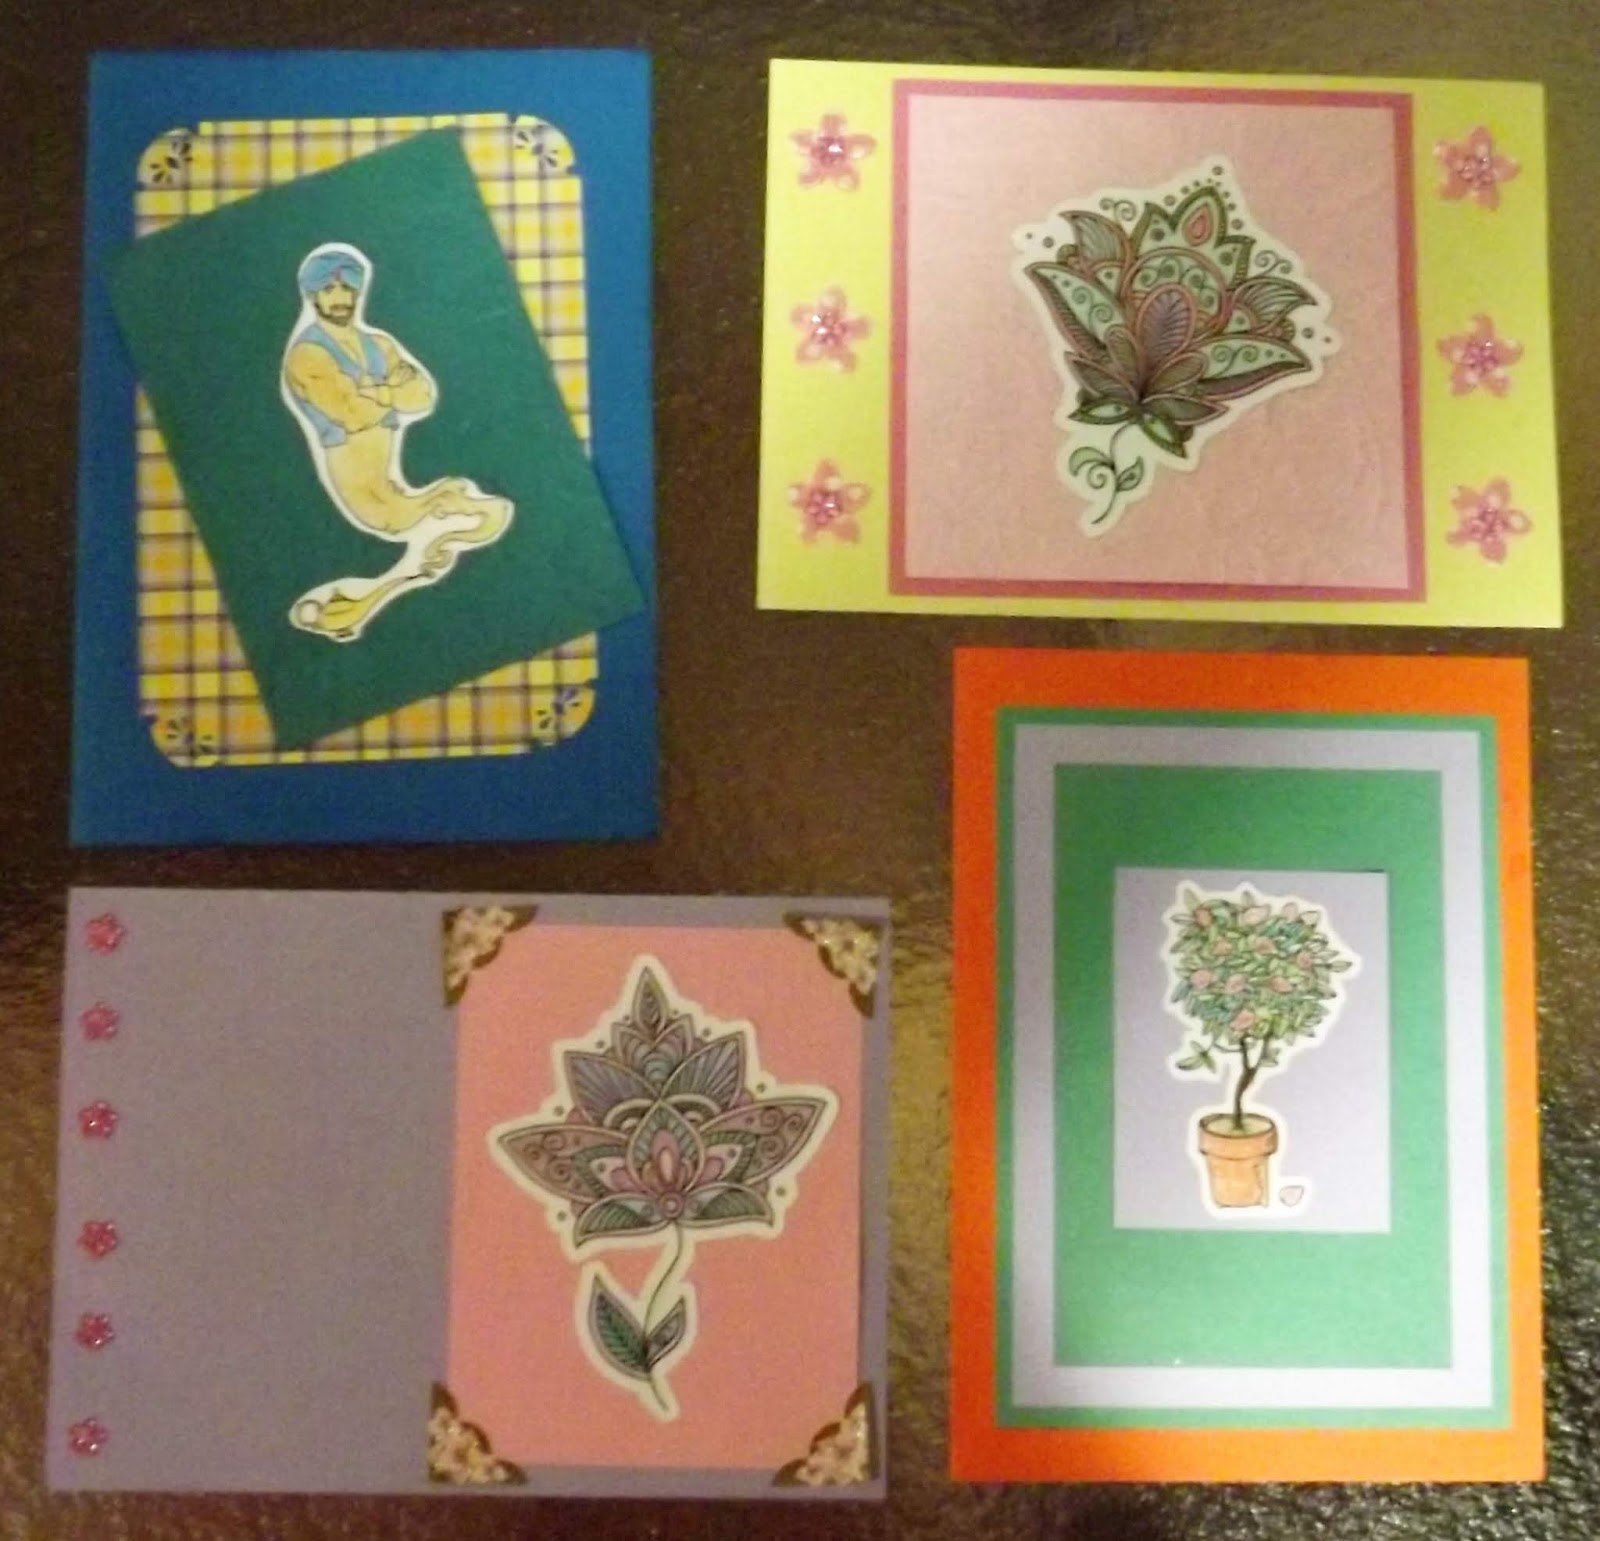
The set of four cards we made in this blog.
You can watch a compilation video of the above steps on YouTube:
https://youtu.be/gtVktk__xGI
Marietjie Uys (Miekie) is a published author. You can buy my books here:
You can purchase Designs By Miekie 1 here.
Jy kan Kom Ons Teken en Verf Tuinstories hier koop.
Jy kan Kom Ons Kleur Tuinstories In hier koop.
Jy kan Tuinstories hier koop.
You can follow Miekie's daily Bible Study blog, Bybel Legkaart, here in English & Afrikaans.
You may prefer to follow the traveling blog, A Pretty Tourist.
For more crafty ideas and great product reviews, visit A Pretty Talent on Facebook.
If you are in a literary mood, follow Miekie's musings, stories and poetry on A Pretty Author - Miekie.
Remember to keep nurturing your TALENT for making life PRETTY.
You can subscribe to any of these blogs and receive regular updates by email. Simply register your email address at the top of the applicable blog.
No comments:
Post a Comment