
We will start with this card.

This is the page that I have to work with. No doubt you will have something comparable.

I find coordinating cardboard and paper.
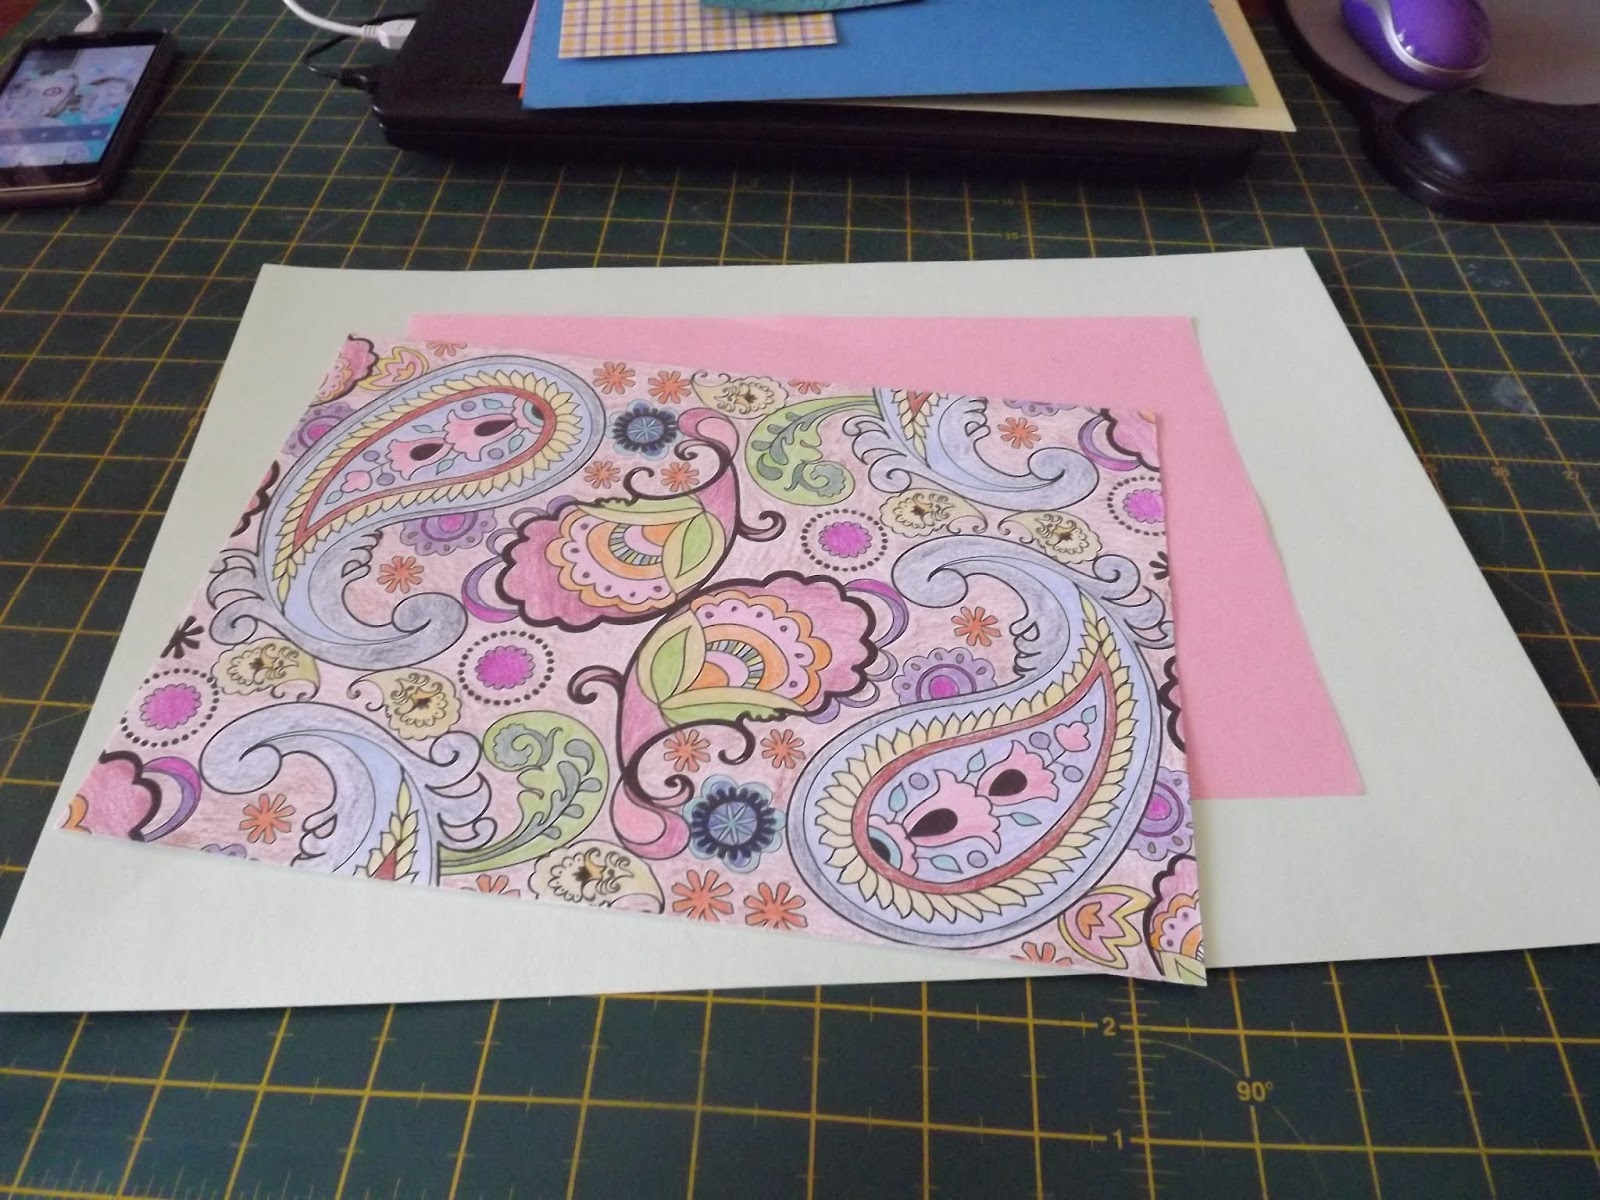
I fold the cardboard in half to form the card.

Using a boning tool, creates a neat fold line.

Then I crop the matting paper to fit the card.

I crop the coloured picture to fit the matting.

I mount the picture on the matting.

Then I glue the matted picture to the card.

I decide to use the off-cuts from the picture to decorate the inside of the card.

Both pieces are used.

I add some shiny flowers to the corners of the card.

More rhinestones are added to various spots on the card to finish it.
We will now turn to this card.

This is the picture I have to start with. I do not like all that blank space in the middle of the page. I will attempt to get rid of it.

I find coordinating paper and cardboard. I fold the cardboard in half to use as a card.

I crop a pale yellow sheet of paper to fit inside the card.

I glue this yellow paper to the inside of the card to make it slightly more interesting.

Then I crop the matting for the outside of the card.

I glue the matting to the outside of the card.

I then start cutting my picture up so that I can get rid of the empty spaces that I don't like.

I stick the various pieces of my picture to the card.

I have gotten rid of the bits that I did not like.

I find an old colouring in magazine. I like the pictures of the crayons for this particular card.

I cut out the crayons and glue them to the card.

I also have two very short pencils that I can hardly get a grip on to use. I glue these to the page as well.

That concludes my card.
Now we will be making this card. My eldest brother's name starts with an S, so I foresee that this card will be going to him at some stage.

I find matting paper.

The vibrant green cardboard is folded in half to serve as card.

I crop the matting much smaller.

I glue the coloured initial to the matting.

I glue the matting to the card.

I glue the small initial to the card as well.

I add some photo corners to finish the card.

The card is completed until I decided finally if it will go to my brother, or not.
The collection of cards we made today.
https://youtu.be/UMUzit4teLs
Marietjie Uys (Miekie) is a published author. You can buy my books here:
You can purchase Designs By Miekie 1 here.
Jy kan Kom Ons Teken en Verf Tuinstories hier koop.
Jy kan Kom Ons Kleur Tuinstories In hier koop.
Jy kan Tuinstories hier koop.
You can follow Miekie's daily Bible Study blog, Bybel Legkaart, here in English & Afrikaans.
You may prefer to follow the traveling blog, A Pretty Tourist.
For more crafty ideas and great product reviews, visit A Pretty Talent on Facebook.
If you are in a literary mood, follow Miekie's musings, stories and poetry on A Pretty Author - Miekie.
Remember to keep nurturing your TALENT for making life PRETTY.
You can subscribe to any of these blogs and receive regular updates by email. Simply register your email address at the top of the applicable blog.
No comments:
Post a Comment