My mom was using this old tuna tin to collect teabags and teaspoons in, as her pretty ones were always being carted off by grandchildren who did not want to drip on the floors. I had grabbed this one with the intention of prettying it up a bit and the idea was to paint it, but some Washi tape could also do the trick.

We started the first tape right below the edge of the tin and carefully worked our way around.

Then we selected another tape and starting just below the first tape, we worked out way around the tin.

Then we got some Dala Acrylic Gel Medium and painted the tape with this to seal it, so it could be washed.

Then I went in search of a little blue paint I had left over from another project I did with the same little boy. He had taken great trouble to mix this colour and had asked me to save it for him till later. His eyes sparkled when I produced this paint and he instantly recognized it for what it was. This was mixed from Phthalo Blue and Titanium White Acrylic Paint.

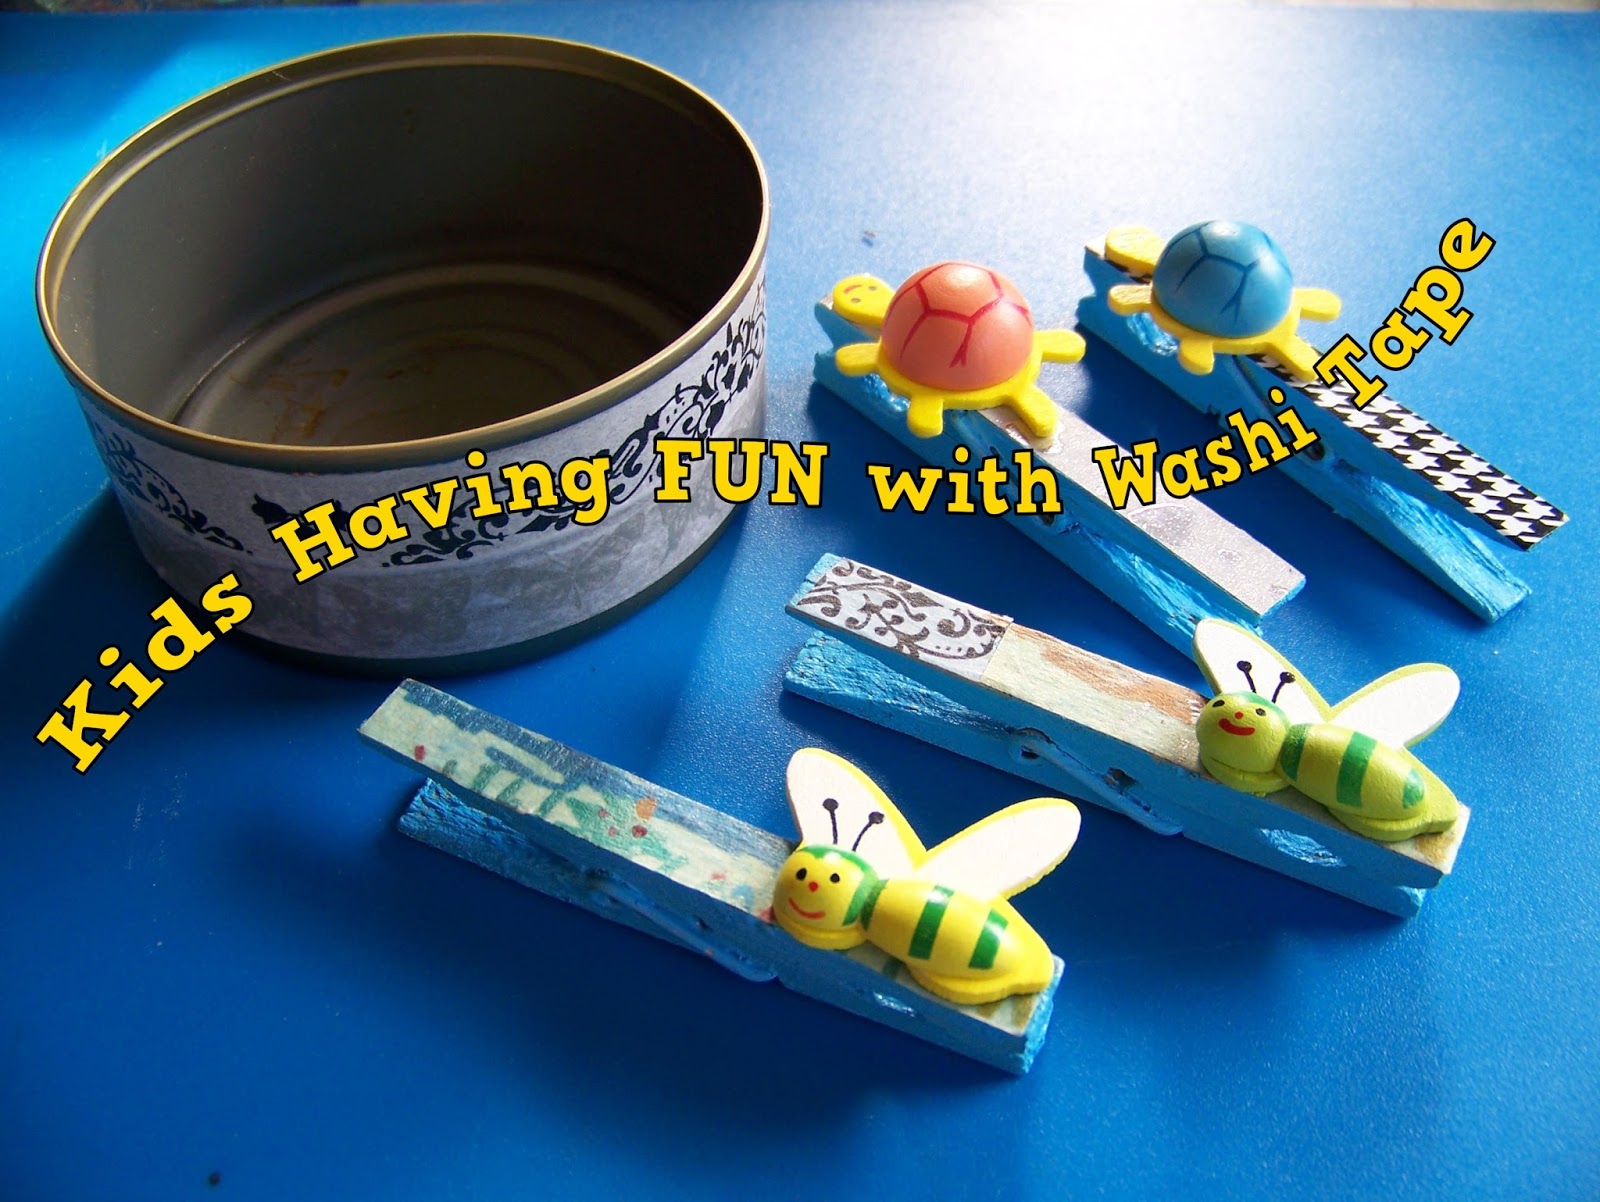
I painted two clothe pegs and so did he. We used a flat brush for most of the painting, but a round one to get into the hard to reach spaces.

We then covered two of the pegs in Washi Tape.

We had to trim the tape for it to fit properly on the pegs.

Once we had these two pegs, the little one seemed to realize that we would be finished way too soon and he suggested we draw our own pictures on the tape, specifying that he wanted to use the metallic coloured markers for this purpose.

That was when I packed the Washi Tapes away and went to fetch the good old Masking Tape instead. His first peg was still a mixture of the two tapes and the last one was covered completely in masking tape.

Here is my little man drawing his pictures on the tiny space available on the peg. Utter concentration.

In the meantime, I had remembered that I had these cute wooden critters hidden away in a drawer somewhere and I went in search of them. We could glue them to the pegs with the trusted Tombow Glue.

We ignored the glue dots on the back and laid down our own, stronger glue strip.

The turtles were positioned in place.

This scenery was done and how spectacular! The blue are clouds with the sun in the right corner. Then you have all sorts of vegetation below. Magnificent, considering the thick points of the markers and the tiny space available.

We could now add the bees to the pegs as well.

Cute, isn't it?

I then took a magnet sheet and measured a strip thin enough to fit onto the pegs.

The magnet sheet can easily be cut with normal scissors.

I cut four thin strips for the four pegs.

Tombow glue would fix them to the pegs.

I allowed the little man to stick them down.

In no time at all we had a couple of cute items to brag with and we had managed to spend some good quality time together. This was meant even more to the both of us than the actual craft exercise did.

For more crafty ideas and great products, visit APrettyTalent.com.
Remember to keep nurturing your TALENT for making PRETTY things.
You can subscribe to this blog and receive regular updates by email by simply registering your email address at the top of the current blog.
No comments:
Post a Comment