
I cut the skirt for this dress the entire width of the fabric in a straight square.
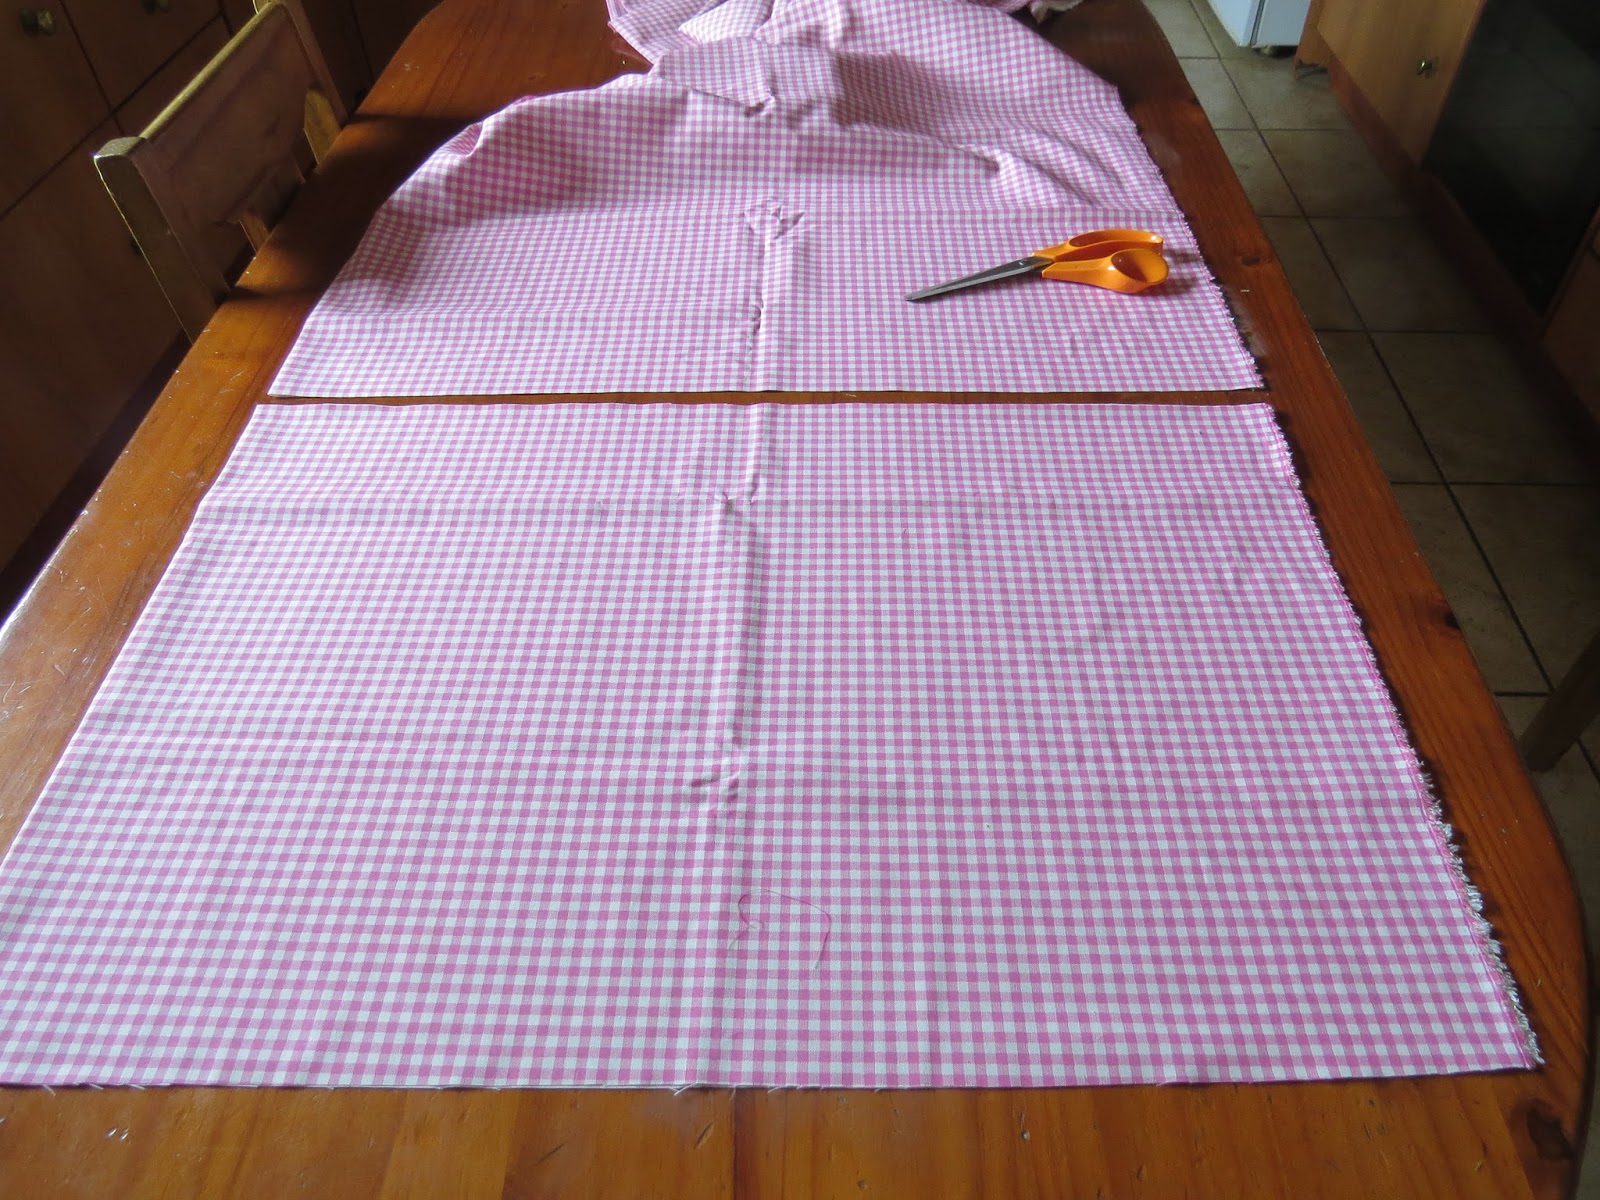
I used the bodice I had cut for another dress as guide for this dress. This time I raised the waistline.

Both the front and back bodices were cut in this manner. Take note that two front and two back bodices had been cut as I am cutting a double layer of fabric in the photo.

I fold the skirt of the dress over on itself and sew the single seam that needs sewing to form a tube.

I then found some lovely ribbon to use as decoration on the bodice.

I pulled the stripped zipper closer to see if it would fit across the width of the bodice. It would work nicely!

I cut the two ends of the zipper off and laid it in place above and below the ribbon I wanted to add. I loved the result!

I then pinned the first half of the zipper in place and sewed it onto the bodice.

I then took careful measurements before sewing the other half of the zipper onto the bodice.

I then sewed the wide ribbon onto the bodice with two seams.

Isn't that cute?!

Now I folded the back bodice panels in half and cut them open at the back seam to insert a real zipper here. (I knew I had enough space from having made the green dress of the previous blog on the same pattern).

Sew only ONE of the back bodices along the center back line.

Iron this seam open.

Sew the side seams of the outer bodice.

Divide the bottom of the bodice, as well as the waist of the skirt in quarters.

Pin the quarters of the bodice to the quarter markings of the skirt, making sure the center back of the bodice and the seam of the skirt line up.

Pleat and pin the skirt in between these quarters. Make sure you distribute the fabric evenly.

Sew the skirt to the bodice.

Pin a zipper to the center back of the bodice and skirt.

Sew as close to the zipper as possible.

Unpick the seam on top of the zipper to reveal the beautifully hidden zipper you have just inserted.

Pin the shoulders.

Sew the shoulder seams.

We now turn our attention to the inner bodice. Lay the panels on top of each other with right sides facing. Pin the shoulders and sides, and sew them

Iron all of the seam open. This is what the inner bodice should look like now.

Pin the hem of the skirt with a rolled hem.

Hem the skirt.

Pin the inner bodice to the outer bodice, folding the edges in as you pin. Pin along the center back, the neckline, and both armholes.

Sew the lining bodice to the dress by hand. You may also want to catch the waist in a couple of places to keep the little one from getting tangled up in the confusion of two bodices.

The completed dress.

Those little hands simply could not stay off the zippers on the front. She simply loved the texture it added to the dress. I was scolded because I did not make this into a pocket, though!

Marietjie Uys (Miekie) is a published author. You can buy the books here:
You can purchase Designs By Miekie 1 here.
Jy kan Kom Ons Teken en Verf Tuinstories hier koop.You can purchase Designs By Miekie 1 here.
Jy kan Kom Ons Kleur Tuinstories In hier koop.
Jy kan Tuinstories hier koop.
You can follow Miekie's daily Bible Study blog, Bybel Legkaart, here in English & Afrikaans.
For more crafty ideas and great products, visit A Pretty Talent on Facebook.
Remember to keep nurturing your TALENT for making PRETTY things.
You can subscribe to this blog and receive regular updates by email by simply registering your email address at the top of the current blog.
No comments:
Post a Comment