
This was how my Gelli Plate arrived at my door. I have never before used one of these and was looking forward to finding out how easy it would be to work with.

Be sure to remove the film from both sides of the gelli plate before you start.

I quickly referred to the instructions on the back of the packaging, but it did not have anything new to offer.

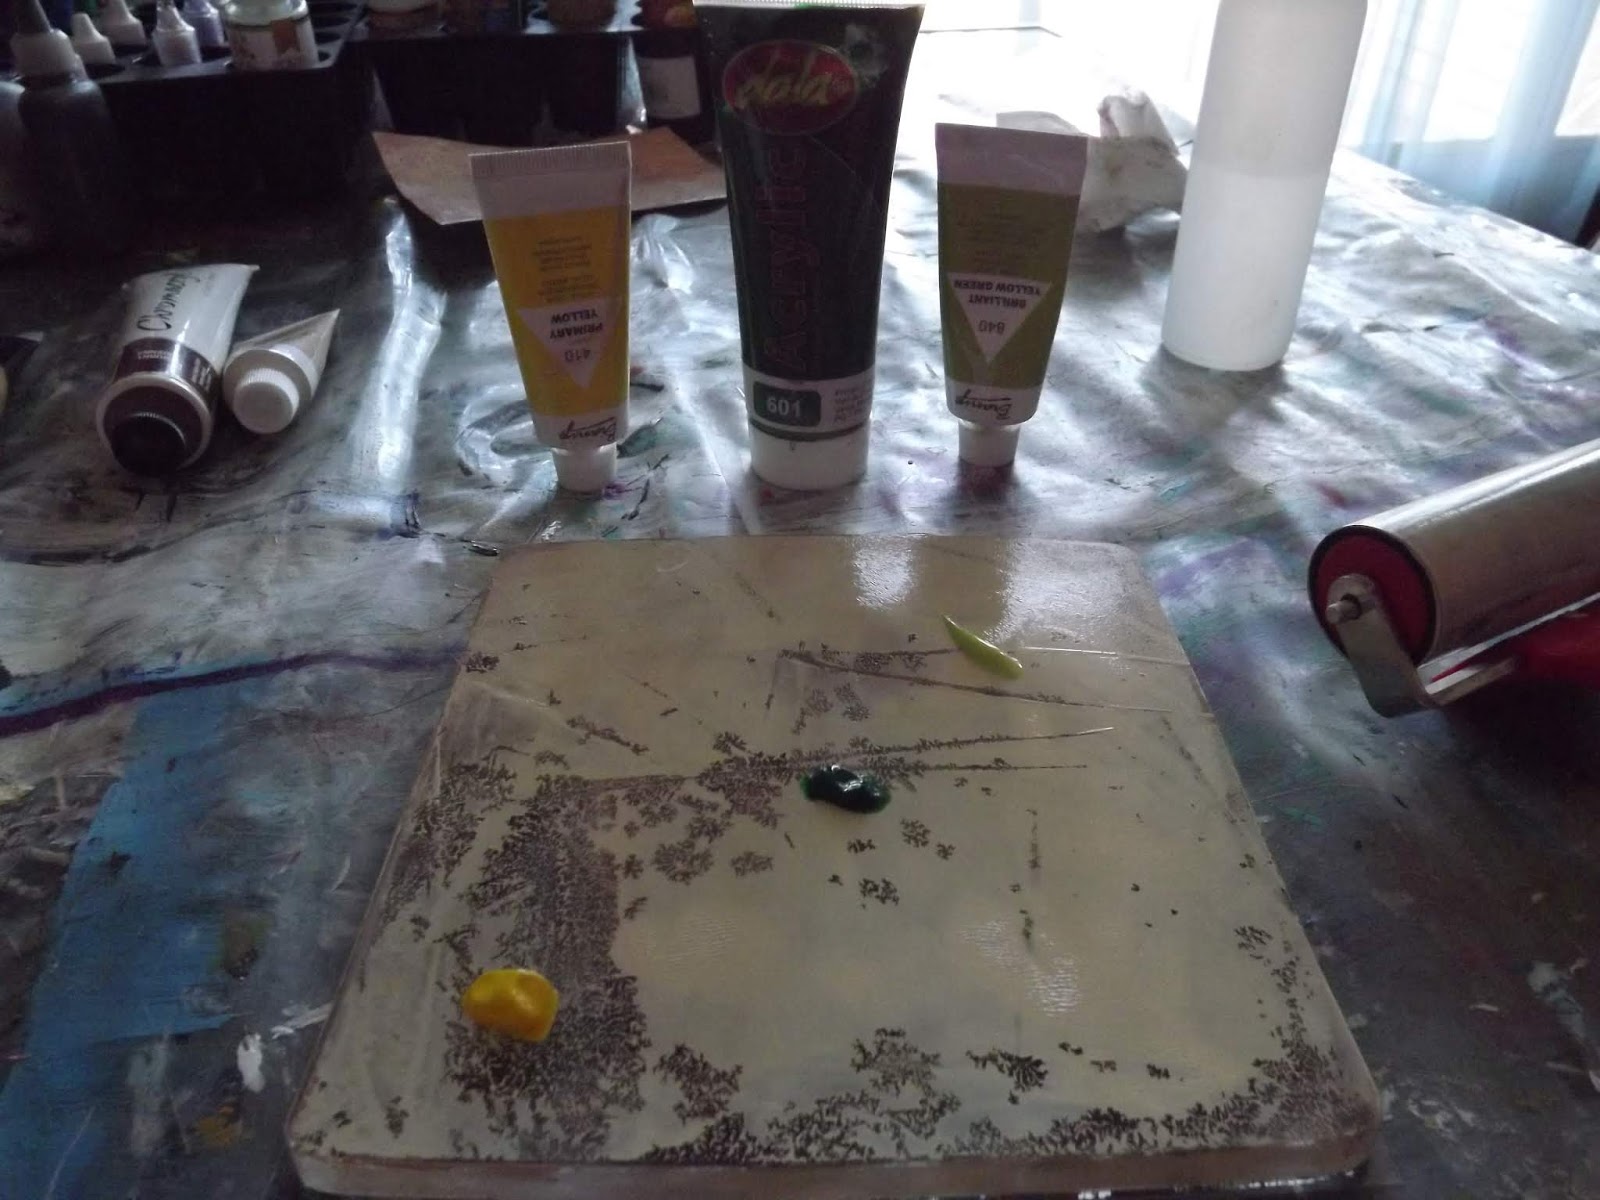
I placed a small dollop of Chromacryl in the center of the gelli plate.

I used my brayer to smear it over the plate.

I followed this with 2 dollops of Dala Acrylic paint.

I once again brayered it onto the plate. I then placed a fondant cake decorating embossing tool to imprint into the wet paint. I gently placed the tool on the paint. Absolutely NO pressure is necessary, or you will damage your gelli plate.

This is what it looked like when I lifted the tool away.

I used more of my cake embossing tools on the plate.

I also used my fondant cutters on the plate, again refraining from applying any pressure.

I then laid my index card on the gelli plate and brayered over it.

This is the print I got when I pulled it away.

I placed it at the top of the gelli plate.

This time I was left with this impression, layering the two prints.

I then put some Bianjo acrylic paint on the plate.

This time I wanted the paint to be more runny and I spritzed it with water before brayering it.

I used more fondant cutters on the plate.

I put the index card on top and pressed down.

This is the impression I pulled away.

I spritzed the plate with water and decided not to clean it off before starting again.

I added more acrylic paint by Dala and Bianjo.
I brayered it.

I lay a stencil on top.

Then I placed the index card on top of the stencil and brayered it.

I pulled this print away.

I removed the stencil and placed the card back on the gelli plate and gave it a good rub.

This is the print I pulled away.

I did the same thing at the bottom of the gelli plate.

I liked the result on the card. I also now had a fairly clean gelli plate to work on.

I used more acrylic paint by Iris and Dala.

I spritzed it with water.

I brayered it.

I placed a fish stencil on top.

I placed an index card on the stencil and got clever about cleaning my brayer. I simply rolled the dirty brayer over the index card.

I pulled this print away. I put the card aside to continue working on later.

I retrieved this card and removed the fish stencil.

I placed the card on the gelli plate.

I placed both at the top and bottom of the gelli plate to clean the plate.

This is the print I pulled away. Very grungy.

I started with more Bianjo acrylic paint.

I spritzed it with water.

I brayered it.

I combed it with a scgraffito comb.

I retrieved this card.

I brayered the card onto the plate.

This was the print I pulled away.

I added more Bianjo acrylic paint.

This time I used an embossing folder which is also sold as a cake decorating tool, but which has never made it out of my craft room.

I open it and lay it on the gelli plate.

I am careful to clean my embossing folder afterwards.

I brayer an index card onto the gelli plate.

I pull this print away.

I add more Dala and Bianjo acryic paint and spritz it with water.

I brayer it.

I use a fan brush to tap into the wet paint, creating the impression of a pine tree.

I brayer an index card onto the gelli plate.

I pull this print away.

I then switched to Dala Acrylic Ink and put this on the plate.

I brayered it and placed a beehive stencil on top.

I brayered over the stencil to make sure the imprint was left in the wet ink.

I pulled the stencil away and placed an index card on the plate. I brayered over it.

I then placed a honeycomb stencil on the plate.

I put the same index card on the stencil and brayered over it.

This is the print I pulled away.

I have now prepared the surfaces of seven index cards to use for Week 5 of the ICAD 2019 challenge.
In the next blog, I show you how I turned the cards above into these below.

You can watch a compilation video of the above steps on YouTube:
https://youtu.be/KIIxOPmFIRE
Marietjie Uys (Miekie) is a published author. You can buy my books here:
You can purchase Designs By Miekie 1 here.
Jy kan Kom Ons Teken en Verf Tuinstories hier koop.
Jy kan Kom Ons Kleur Tuinstories In hier koop.
Jy kan Tuinstories hier koop.
You can follow Miekie's daily Bible Study blog, Bybel Legkaart, here in English & Afrikaans.
You may prefer to follow the traveling blog, A Pretty Tourist.
For more crafty ideas and great product reviews, visit A Pretty Talent on Facebook.
If you are in a literary mood, follow Miekie's musings, stories and poetry on A Pretty Author - Miekie.
Remember to keep nurturing your TALENT for making life PRETTY.
You can subscribe to any of these blogs and receive regular updates by email. Simply register your email address at the top of the applicable blog.
No comments:
Post a Comment