
I start by cropping my paper to size so it will fit inside the embossing folders.

The first embossing folder is much thicker than the norm. These first two embossing folders are made by Ultimate Crafts.

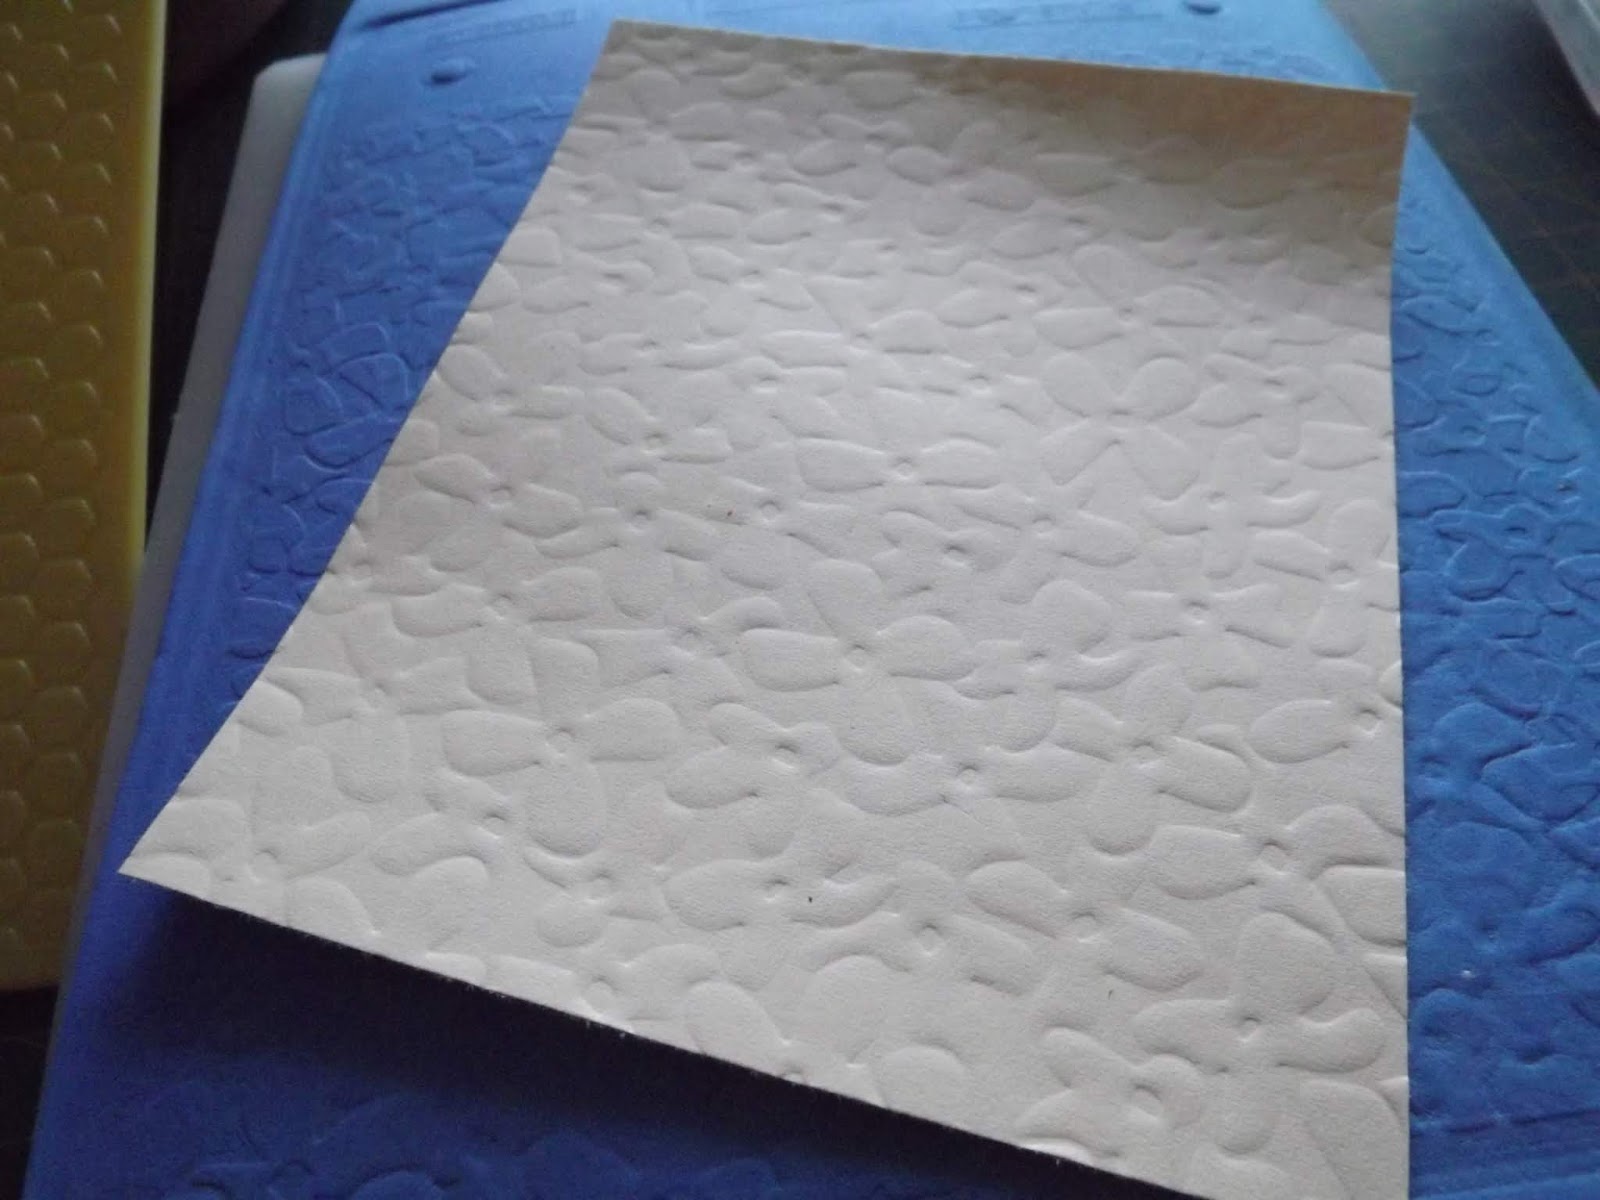
I slide the paper inside the folder.

To make my sandwich, I start with Base Plate A and place Cutting Plate B on top of that. This is followed by the embossing folder, which is followed by another Cutting Plate B. Adding Embossing Plate C instead, makes the sandwich too thick to run through the machine.

The results are quite spectacular.


One side of the embossed sheet.

The reverse side of the embossed sheet.

I then pull up my KaizerCraft embossing folders.

I love how they are packaged so you can see the design clearly.


Even with these I can not use my C plate and my sandwich is stacked like this: Base Plate A, Cutting Plate B, emobssing folder, Cutting Plate B.

The results.

The reverse side.


The reverse.

I next tried the XCut Cut and Emboss folder.

This folder cuts and embosses at the same time. The metal hearts will cut, while the plastic ones will only emboss.

The paper goes inside the folder.

I stack the sandwich as before.

The freshly cut paper.

The die cut hearts can be clearly seen.

I keep these aside as they can be used in future projects or in shaker cards.

I have a few of these embossing sheets from Fiskars. One is supposed to place a paper or cardstock on top and then use an embossing tool to emboss it by hand. It works brilliantly, but requires both time and effort.

All of the plates have yet another design on the reverse side, making them really good value for money.


My sandwich looks like this: Base Plate A, Cutting Plate B, foam sheet, paper/card, embossing plate with selected design face down, Metal Adapter Mat, Die Adapeter Plate C.

The embossing is not as clearly defined as with the folders, but it certainly does work! I am thrilled with this discovery. I found that the foam mat was only good for about 4 runs through the machine, before I had to use a new one, or the embossing would be too feint to be worthwhile.

More designs.


More designs.

More designs.


More designs.

More designs.

More designs.

I then decided to try these embossing folders which are labelled Cake and Fondant Molds.

I compared them to the KaizerCraft embossing folders.

They are just about equal in size and thickness.

The KaizerCraft folder is on the left and the cake mold is on the right. The KaizerCraft folder costs just short of four times as much as the cake folder.

Opening it up, it is similar to the other embossing folders.

I placed a paper inside.

My sandwich was Base Plate A, Cutting Plate B, embossing folder, Cutting Plate B.

I ran it through my Go Cut & Emboss and it came out beautifully.

The reverse side.

I used the same cardstock in both embossing folders. Here is a side by side comparison.

I tried the rest of the cake molds as well. This one has two similar border patterns and I opted to make only one.

A thin piece of paper was slid inside.

I would fussy cut this one, but I loved the results.

Another one to try.


Reverse side.


The reverse side.

I decided to guild this one with Magic Touch by Heritage.

I used a sponge to rub it onto the embossed image.

The results were quite spectacular.

You can watch a compilation video of the above steps on YouTube:
https://youtu.be/2Oo3QXSN_b4
Marietjie Uys (Miekie) is a published author. You can buy my books here:
You can purchase Designs By Miekie 1 here.
Jy kan Kom Ons Teken en Verf Tuinstories hier koop.
Jy kan Kom Ons Kleur Tuinstories In hier koop.
Jy kan Tuinstories hier koop.
You can follow Miekie's daily Bible Study blog, Bybel Legkaart, here in English & Afrikaans.
You may prefer to follow the traveling blog, A Pretty Tourist.
For more crafty ideas and great product reviews, visit A Pretty Talent on Facebook.
If you are in a literary mood, follow Miekie's musings, stories and poetry on A Pretty Author - Miekie.
Remember to keep nurturing your TALENT for making life PRETTY.
You can subscribe to any of these blogs and receive regular updates by email. Simply register your email address at the top of the applicable blog.
No comments:
Post a Comment