
I drew a very quick sketch to guide me in what I wanted to do.

This was the idea I came up with for the complete outfit.

I then used a waistcoat I had in the wardrobe, to assist in drawing up a pattern for the one I was going to make.

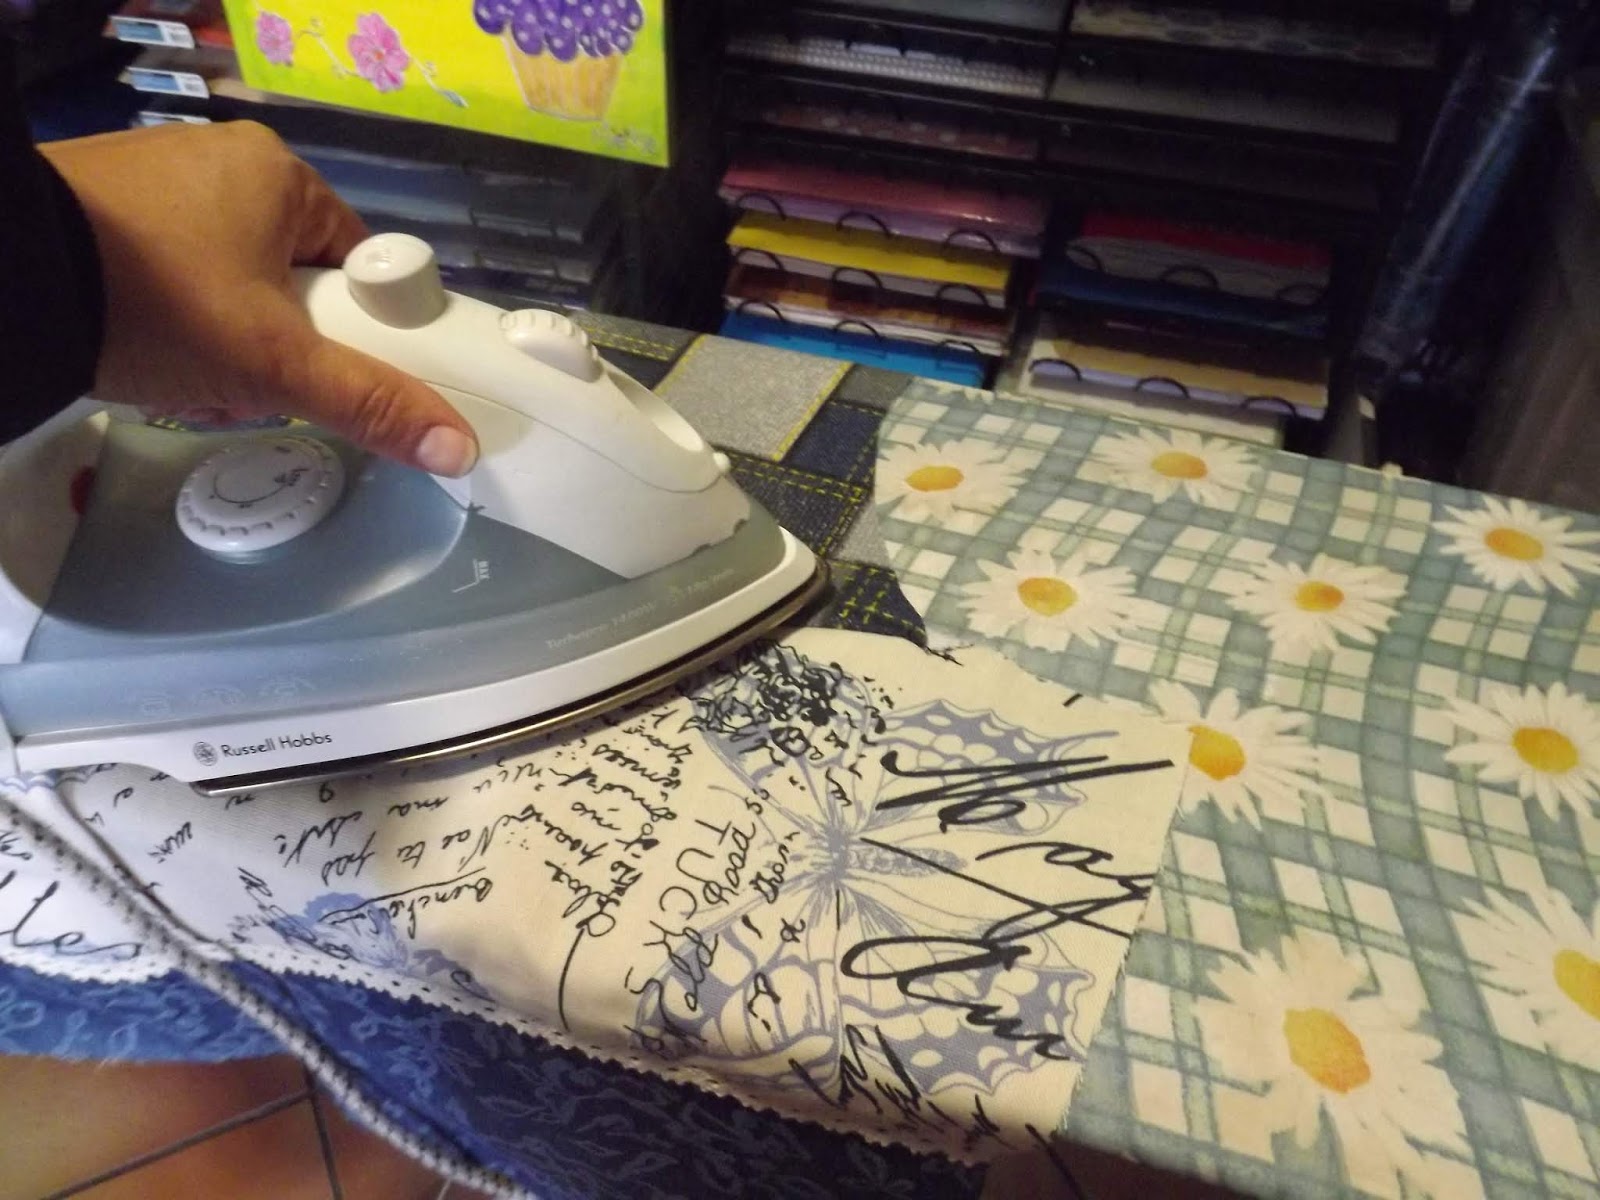
I cut some pieces from this fabric with a patchwork motif.

Some were cut from fabric with a butterfly motif.

Some were cut from denim.

The lining was cut from this much softer cloth.

I pinned the lining at the shoulders.

I then sewed the shoulder seams of the lining.

I then pinned the side seams.

I sewed the side seams.


Then I sewed these pieces together.

I continued sewing until all the pieces for the front of the waistcoat was sewn together.


Some pieces had lace sewn into the seams.

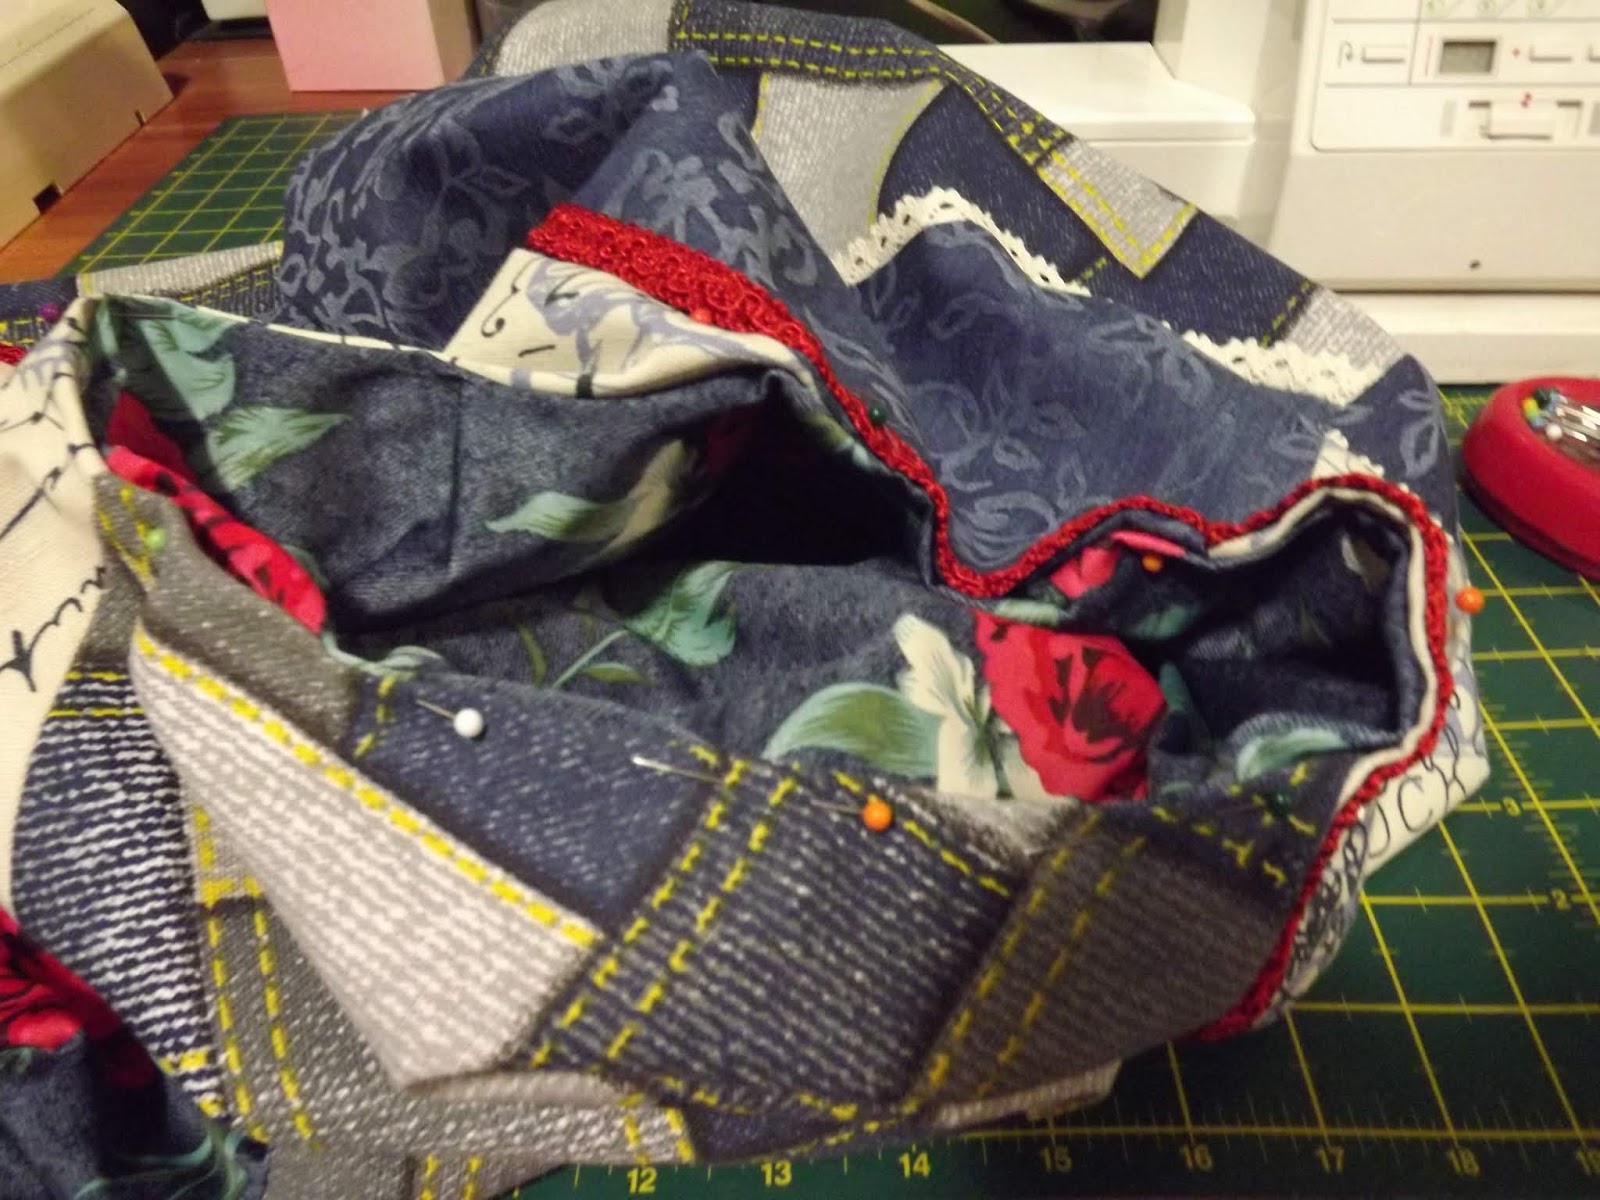
I then pinned some red chord to the front of the waistcoat.

This was sewn on.

I pinned the side seams and shoulders.

I sewed the side seams and shoulders.

I then pinned the lining to the outer waistcoat, leaving only the arm openings open.

I sewed all around the waistcoat.

I cut the necessary notches that would allow me to turn the waistcoat right side out.

I then turned the waistcoat right side out, through the arm openings.

I cut 8 lengths of chord.

I folded them in half and zigzagged the ends to keep them from fraying.

Then I folded the arm openings in and pinned them.
I sewed the arms by hand.

I pinned the loops, formed with the chord, to both sides of the front of the waistcoat.

I then drove an awl through the fabric and chord, from the inside of the waistcoat.

I stuck the screw of a denim button through the hole left by the awl.

You can see the sharp end of the screw emerge on the right side of the waistcoat.

I then slipped the denim button onto the screw, turned it upside down and hammered the screw into the button.

This is what it looked like when I was done.

Hook the loops over the opposite buttons to button the waistcoat.
You can also watch a short compilation video of the steps on YouTube:
https://youtu.be/fc6Ls4LEz0w
Marietjie Uys (Miekie) is a published author. You can buy my books here:
You can purchase Designs By Miekie 1 here.
Jy kan Kom Ons Teken en Verf Tuinstories hier koop.
Jy kan Kom Ons Kleur Tuinstories In hier koop.
Jy kan Tuinstories hier koop.
You can follow Miekie's daily Bible Study blog, Bybel Legkaart, here in English & Afrikaans.
You may prefer to follow the traveling blog, A Pretty Tourist.
For more crafty ideas and great product reviews, visit A Pretty Talent on Facebook.
If you are in a literary mood, follow Miekie's musings, stories and poetry on A Pretty Author - Miekie.
Remember to keep nurturing your TALENT for making life PRETTY.
You can subscribe to any of these blogs and receive regular updates by email. Simply register your email address at the top of the applicable blog.
No comments:
Post a Comment