
This is the garishly ugly sticker that simply could not be removed from the cover.

This is what I intended to do on the inside of the book.

It annoyed me to think that the outside of the book caused me to turn away from it, rather than to excite me to open it.

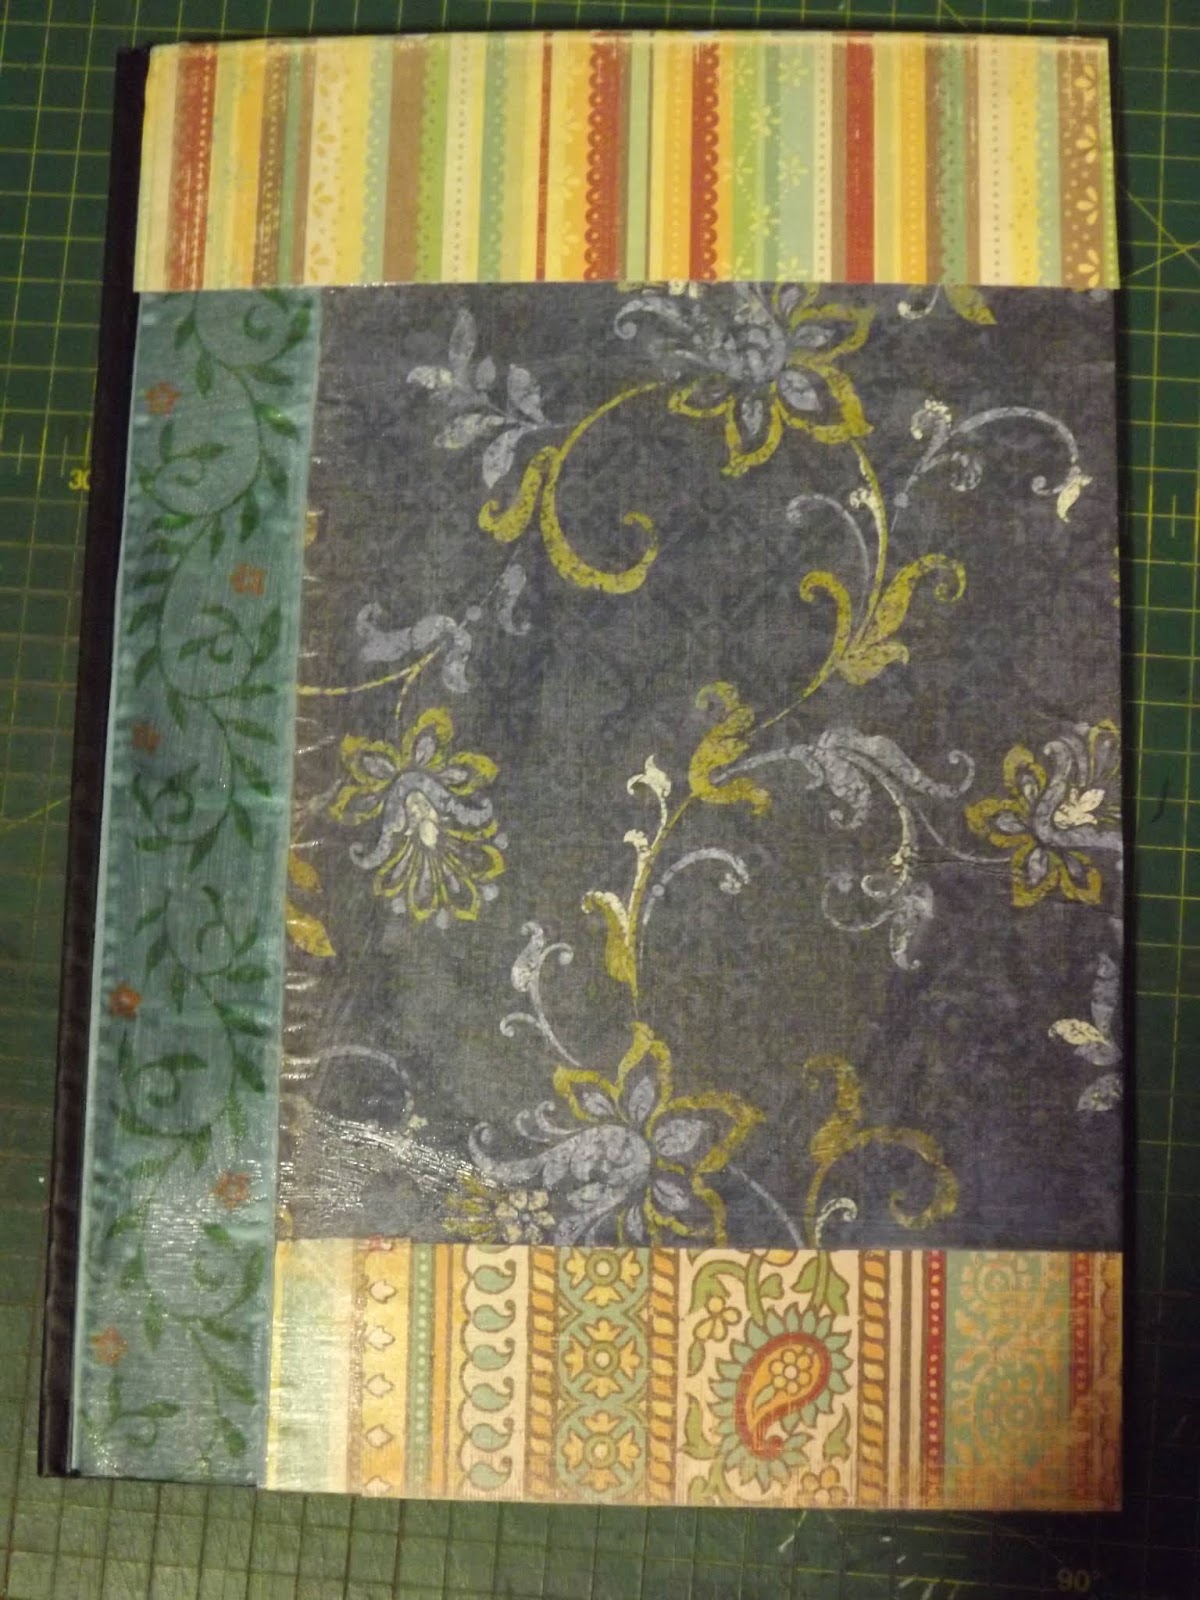
I therefore rummaged through my craft papers and came across this sheet that appealed to me.

I cropped it to the required size.

Then I lathered the cover with Dala Acrylic Gel Medium.

I lay the page on the cover and sealed it with yet another layer of the gel medium.

I then cut a piece of organza ribbon to the required length and decoupaged this onto the cover as well.

I had a couple of strips of paper left over from a previous project. I decoupaged one strip onto the top of the cover.

A smaller piece was decoupaged onto the bottom of the cover.

I then left the cover to dry completely.
The next day I found a picture on Pinterest that appealed to me and I drew this on the cover with a chalk pencil.

I brushed the chalk away and redrew the drawing in black marker.

Then I painted the whole picture in Titanium White, using acrylic paint.

I started filling in the colours that I liked. It is important to work on a white base, or the colours will appear muted and dull.

More colours were added. You should of course choose your own colour scheme from colours that appeal to you.

I added a slightly cooler colour to the chicken on the right, which was repeated on the wing of the chicken on the left.

I once again repeated the next colour.

I painted the wings of the chicken in the centre, and also remembered to paint their cheeks.

Next up were the feet and beaks.

I repainted the white in the eyes and the dangly things under their beaks - no idea what those are called.

The warmest colour was introduced.

I then waited for the paint to dry completely before adding black accents with a marker.

I used a white marker to add highlights and reflections.

Finally the cover of my book was done!
You can also watch a short video of this process here: https://youtu.be/pybJH3LCpTo
Marietjie Uys (Miekie) is a published author. You can buy my books here:
You can purchase Designs By Miekie 1 here.
Jy kan Kom Ons Teken en Verf Tuinstories hier koop.
Jy kan Kom Ons Kleur Tuinstories In hier koop.
Jy kan Tuinstories hier koop.
You can follow Miekie's daily Bible Study blog, Bybel Legkaart, here in English & Afrikaans.
You may prefer to follow the traveling blog, A Pretty Tourist.
For more crafty ideas and great product reviews, visit A Pretty Talent on Facebook.
If you are in a literary mood, follow Miekie's musings, stories and poetry on A Pretty Author - Miekie.
Remember to keep nurturing your TALENT for making life PRETTY.
You can subscribe to any of these blogs and receive regular updates by email. Simply register your email address at the top of the applicable blog.
No comments:
Post a Comment