
I told the kids to each select a picture from my book Designs By Miekie 1. The selected pictures were then printed on a single page to slightly smaller than A5 size each.
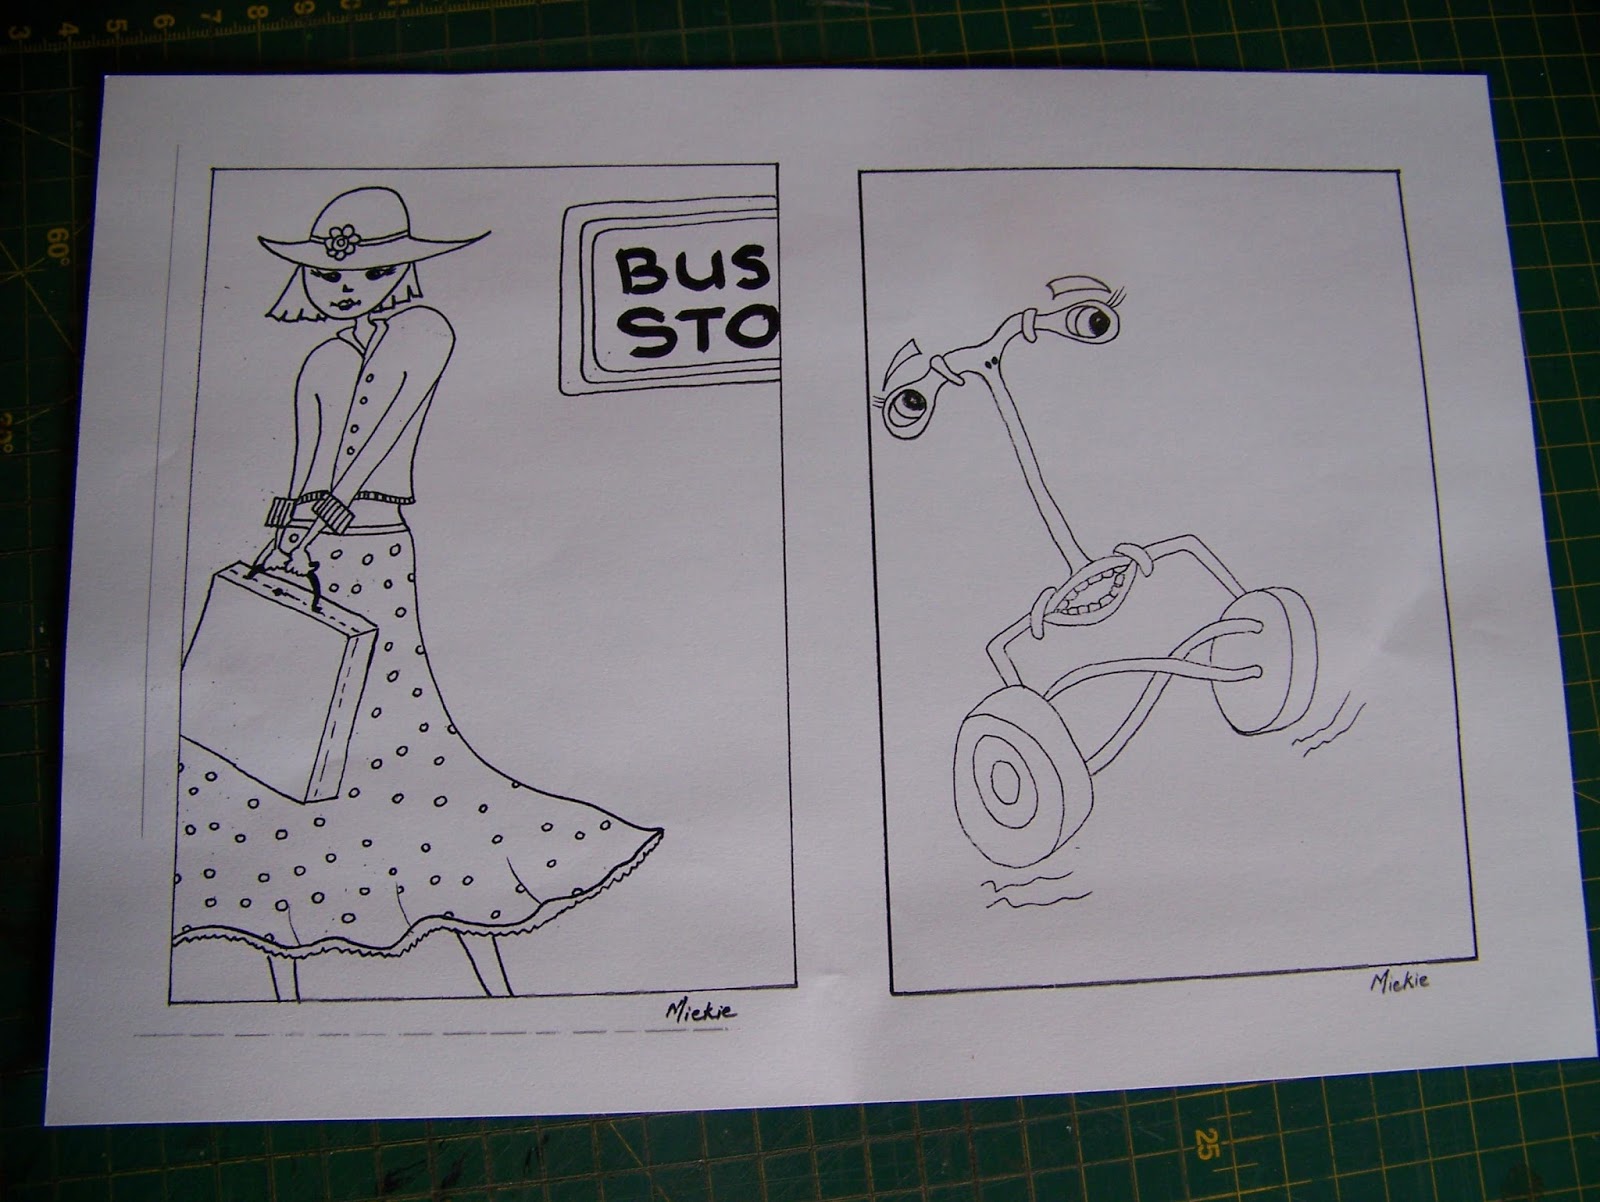
I then slid the printed paper underneath a blank printer paper and redrew the borders. The I set about tracing the designs, except that I did not draw solid lines, but opted for dots instead.

It is a brilliant fine motor skill development exercise for kids to trace along a dotted line.

In places, I did draw solid lines to help make sense of the drawings.

However, the majority of the lines were drawn as dotted lines.

Here you can compare the printed copies with the traced copies.

The kids absolutely loved the idea of drawing the pictures themselves ...

... even if it only meant that they had to draw along the dotted lines.

The five-year old coped very well with the exercise.

The six year old proved himself quite capable as well.

My boy had become fascinated with pens of late and decided to colour his drawing with pens.

He then carefully cut the picture out along the frame.

My niece had her own ideas about colouring the picture and I decided not to interfere with this creative process.

At this stage, I thought my nephew was done, but I was wrong.

My niece became engrossed in cutting along the frame of her own picture as well.

I thought we had two pretty pictures to make the cards with, but boys will be boys!

While I was supervising my niece, thinking her brother was done, he managed to do this. Not too shabby, I thought!

The pictures were finally ready to be turned into cards.

I gave each of them a sheet of paper and a punched-out glitter strip to use in their cards.

Of course there had to be a difference in the colour schemes.

We folded the sheets in half to form cards and then they glued the pictures to the fronts of the cards.

Always supervise wet glue as kids tend to overdo it a little.

Progress.

More progress.

A few more embellishments of her own choice later, and my niece's card was finished.

Our boy had his own ideas about where things should go. Widely different, aren't they?

Marietjie Uys (Miekie) is a published author. You can buy my books here:
You can purchase Designs By Miekie 1 here.
Jy kan Kom Ons Teken en Verf Tuinstories hier koop.
Jy kan Kom Ons Kleur Tuinstories In hier koop.
Jy kan Tuinstories hier koop.
You can follow Miekie's daily Bible Study blog, Bybel Legkaart, here in English & Afrikaans.
You may prefer to follow the traveling blog, A Pretty Tourist.
For more crafty ideas and great product reviews, visit A Pretty Talent on Facebook.
If you are in a literary mood, follow Miekie's musings, stories and poetry on A Pretty Author - Miekie.
Remember to keep nurturing your TALENT for making life PRETTY.
You can subscribe to any of these blogs and receive regular updates by email. Simply register your email address at the top of the applicable blog.
No comments:
Post a Comment