You will need paper and a pencil to start your drawing with.

Start with a large circle that will make up most of the body of the hippo. Make a smaller circle to the front of the bigger one, to represent the head. The two circles must be at the same height from the bottom of the page.

Draw the rear end of the hippo and connect the head to the body.

Draw place markers for the legs and huge mouth.

Add a tail. Begin to shape the legs, mouth and ears.

Add detail to the feet and face.

Redraw the hippo in pen. I used a brown Sharpie marker.

Erase the pencil lines.

We are essentially going to be painting with watercolours. Any watercolour paints will do. I will however, make use of this opportunity to introduce you to Aquatone by Derwent.

At first I use it as a normal colouring pencil, laying down the colour directly on the drawing.

I add a second colour for the light areas.

I add a third colour for the medium areas.

Finally I add indigo for the darkest areas.

I then use a wet brush, dipped in clean water, to paint over the Aquatone with.

In less than no time, a roughly coloured drawing, changes into a painting.

When I paint the background, I wet the brush, and then take the paint off the pencil, before putting it on the paper.

I can also splatter the paint onto the drawing by flicking it off the pencil with a wet brush.

I add some markings by touching the brush with paint to the hippo.

Remember to add a shadow under the hippo!

I start with a very light green to paint the foliage.

I add a darker tone.

Then I add a bright green and change the direction of my brush.

Finally I splatter patches of colour into the foliage in the foreground.

Note how I do not overthink the background and foreground. This must not detract from the focal point, which is the hippo. We merely wish to create the illusion of a setting.

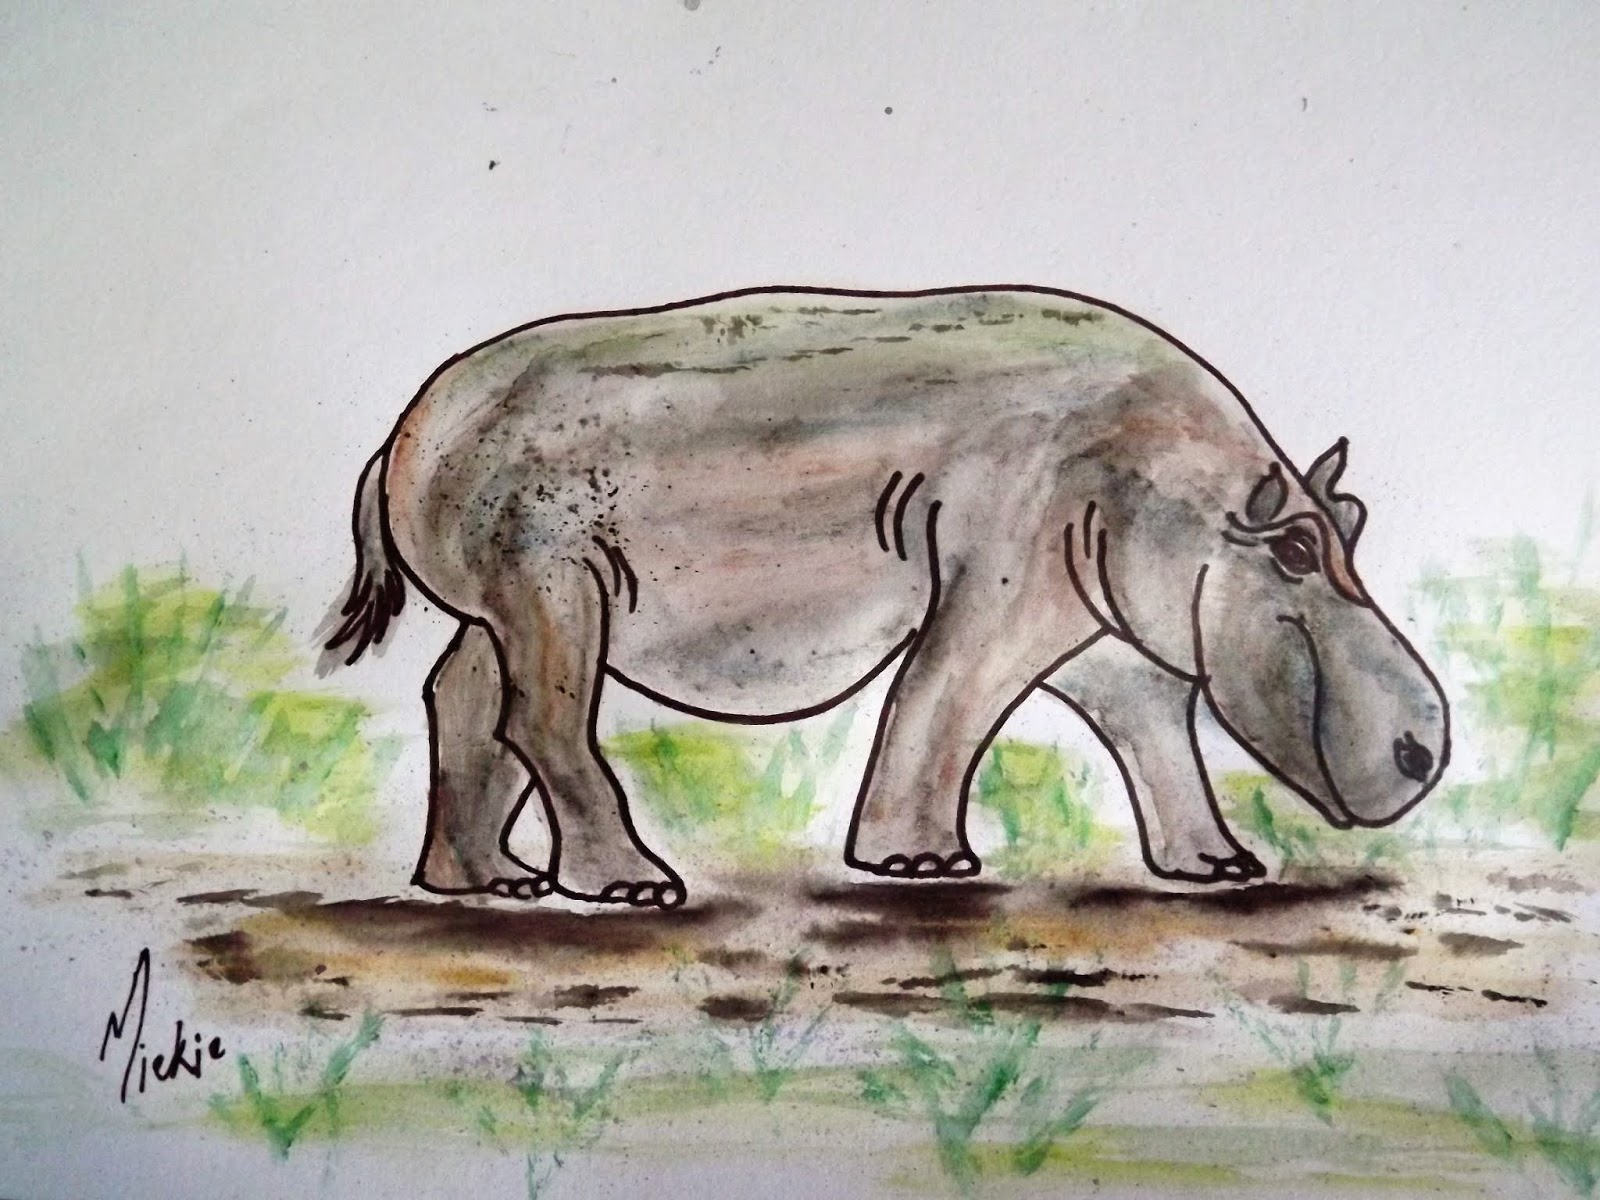
The final picture.
Marietjie Uys (Miekie) is a published author. You can buy my books here:
You can purchase Designs By Miekie 1 here.
Jy kan Kom Ons Teken en Verf Tuinstories hier koop.
Jy kan Kom Ons Kleur Tuinstories In hier koop.
Jy kan Tuinstories hier koop.
You can follow Miekie's daily Bible Study blog, Bybel Legkaart, here in English & Afrikaans.
You may prefer to follow the traveling blog, A Pretty Tourist.
For more crafty ideas and great product reviews, visit A Pretty Talent on Facebook.
If you are in a literary mood, follow Miekie's musings, stories and poetry on A Pretty Author - Miekie.
Remember to keep nurturing your TALENT for making life PRETTY.
You can subscribe to any of these blogs and receive regular updates by email. Simply register your email address at the top of the applicable blog.
No comments:
Post a Comment