
I am using pretty ordinary plastic hanger to cover.
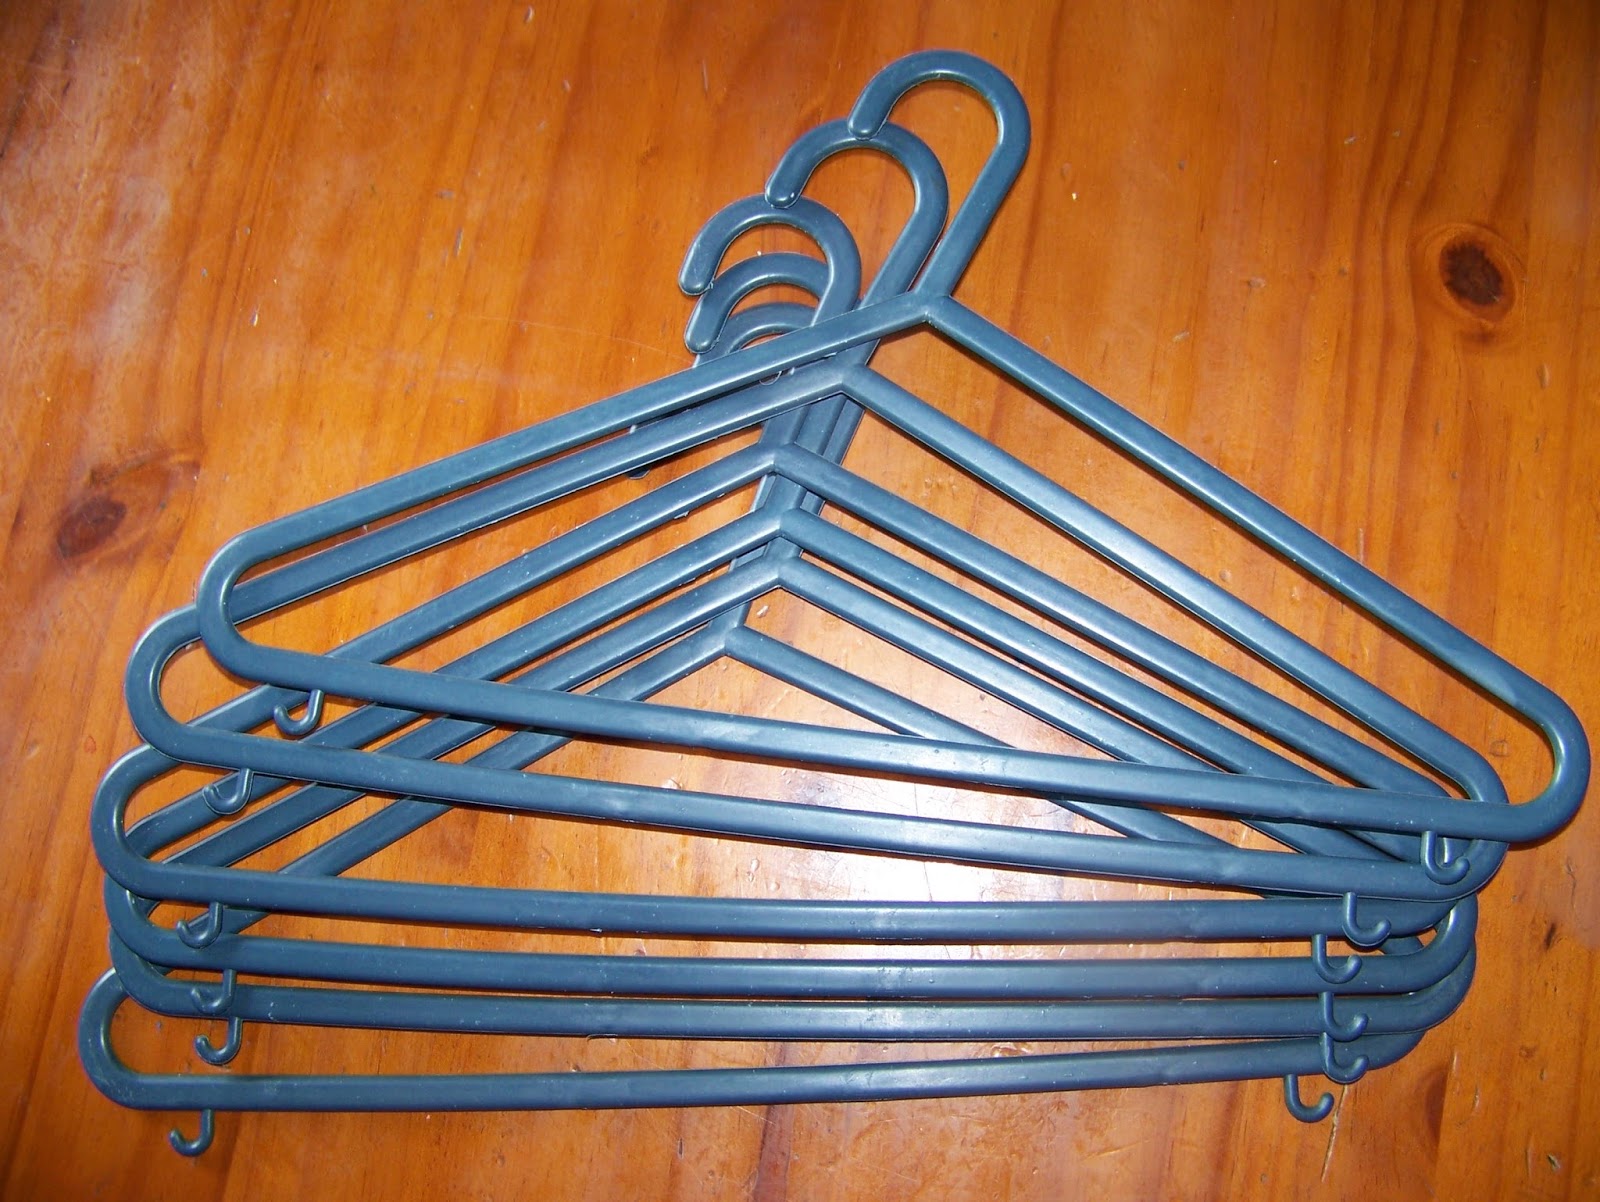
I will be making a set of 3 hangers from matching fabric.

I lay the fabric upside down on the table. Than I lay the hanger on top of it. I draw the outline of the hanger on the fabric with a fabric marker. Leave roughly 4 cm space all around the hanger.

My hangers have little hooks at the bottom and I remove these with a pair of pliers. You may find this step unnecessary.

To ensure that the two sides of the pattern are similar, I fold the pattern on the center. I fit the hanger to the pattern to make sure that I found the center accurately.

I then cut the fabric on the fold.

I test the pattern one last time, before using this fabric piece as template to cut the other pieces from. The rule of measure twice, cut once, certainly applies here.

Use the same pattern piece as template throughout the cutting process. First, I cut the other fabric pieces. I need two pieces for each hanger.

Next, I cut the batting. I once again need two pieces for each hanger.

I then find matching lining.

I cut two pieces of lining for each hanger as well.

I lay the fabric and lining on top of each other with right sides facing. I then lie the batting on the lining. The three layers are pinned in place.

Starting at one rounded end, I sew all around to the other rounded end, leaving the bottom open.

This is what it should look like at this stage.

Trim the round edges and cut notches. Cut notches at the top corners as well.

Turn the cover right side out. This is one half of the hanger cover. Repeat the steps for the second half of the cover.

Now lie the two halves on top of each other with right sides of the outer fabric facing each other. Pin together.

Starting at the top opening for the hook of the hanger, sew all the way around the rounded end, but leave the bottom open.

Repeat the previous step on the other side of the cover.

Crop the rounded ends and cut notches. Turn the cover right side out and insert the hanger from the bottom.

Fold the bottom seams in and pin in place.

Find coordinating ribbon and cut roughly 20 cm long pieces from it. Each hanger will require 5 lengths of ribbon.

Fold the ribbon pieces in half and insert them into the bottom seam of the hanger. Pin the ribbons in place.

Sew the bottom seam by hand, securing the ribbon pieces in place in the process.

I grabbed a couple of scarves from my wardrobe to show you what the hanger will look like when in use.

This is the gift set, ready to wrapped for a friend.

Marietjie Uys (Miekie) is a published author. You can buy the books here:
You can purchase Designs By Miekie 1 here.
Jy kan Kom Ons Teken en Verf Tuinstories hier koop.You can purchase Designs By Miekie 1 here.
Jy kan Kom Ons Kleur Tuinstories In hier koop.
Jy kan Tuinstories hier koop.
You can follow Miekie's daily Bible Study blog, Bybel Legkaart, here in English & Afrikaans.
For more crafty ideas and great products, visit A Pretty Talent on Facebook.
Remember to keep nurturing your TALENT for making PRETTY things.
You can subscribe to this blog and receive regular updates by email by simply registering your email address at the top of the current blog.
No comments:
Post a Comment