
I used Dala Craft Paint for this project.

Cut an empty toilet roll tube in half.

Dip one end in yellow paint.

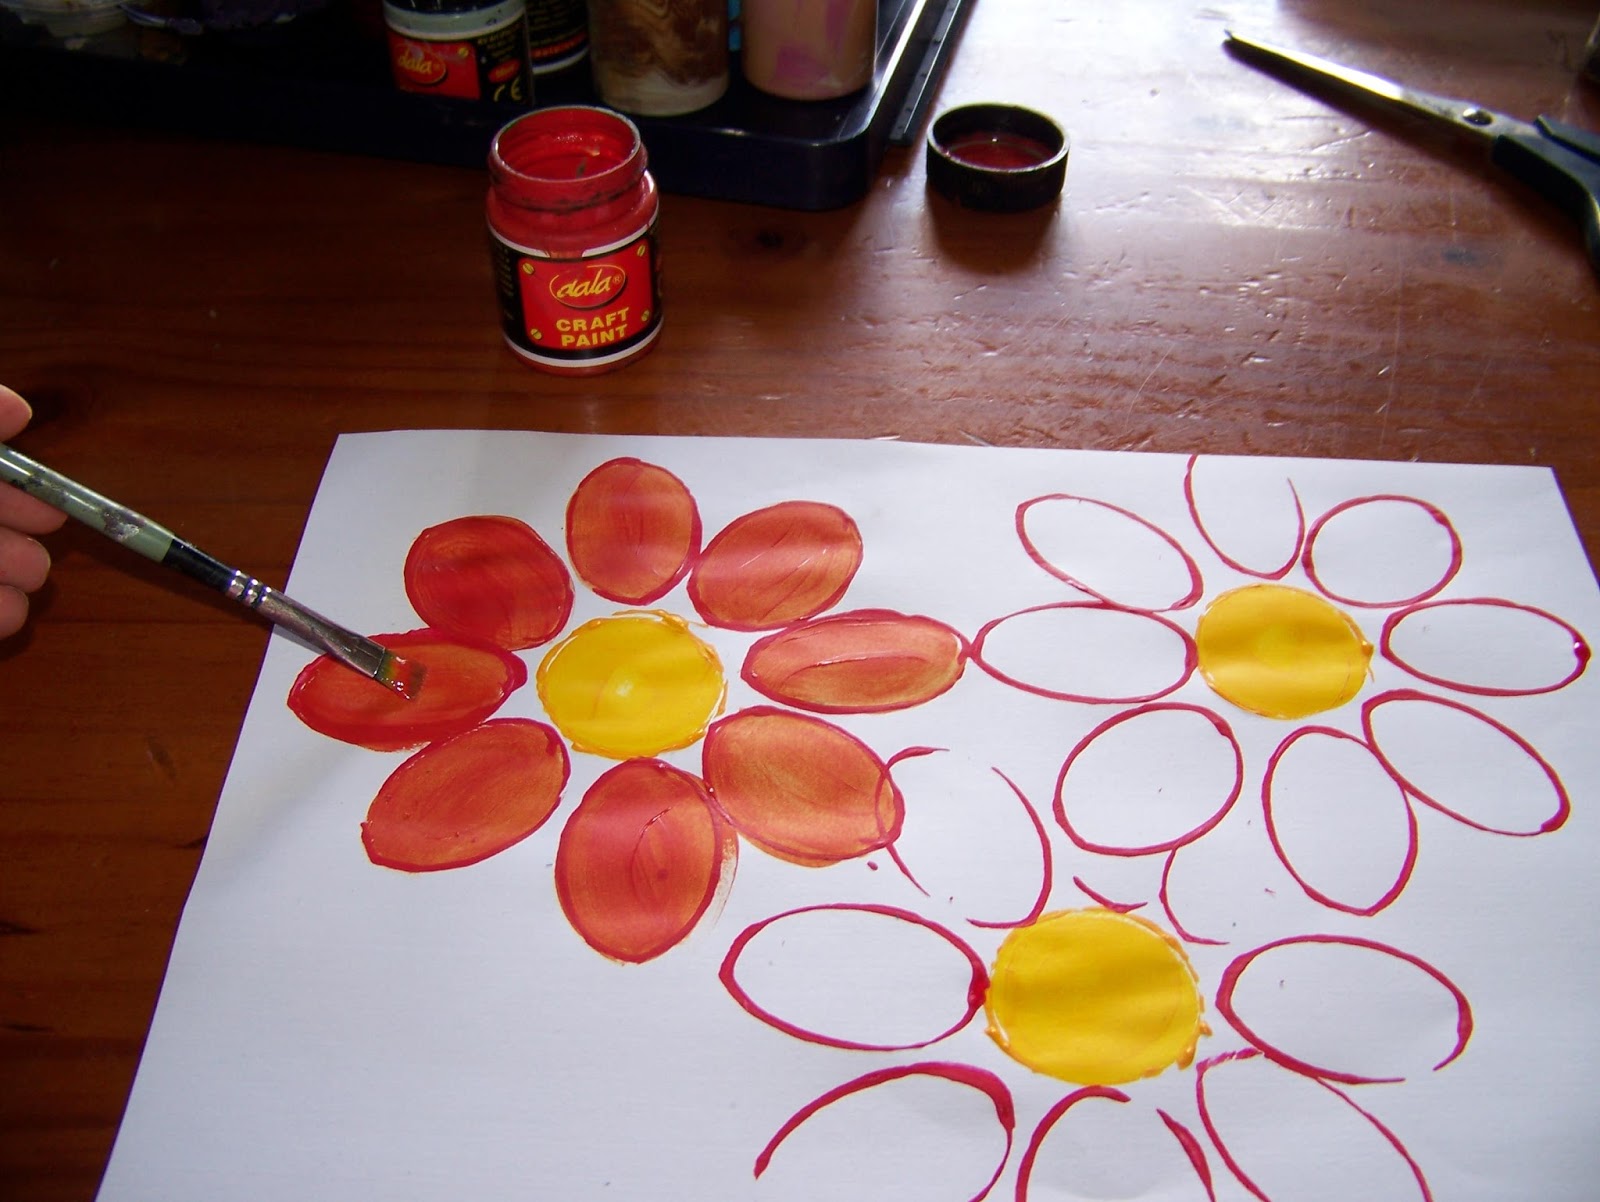
Stamp the centers of your flowers on the page, allowing for lots of space between the flowers.

Now squash the toilet roll slightly to form an oval and dip in the red paint.

Stamp the petals around the faces of the flowers. To assist with spacial orientation, you may want to teach the children to stamp one petal at the top, and the next at the bottom. Then do one on the left and the next at the bottom. Lastly, fill in the spaces between the first four petals.

As the space on the page is limited, you will find that the petals will overlap. Guide the young artists not to allow this, teaching them that some petals will disappear behind others. This is once again a wonderful exercise in spatial orientation, where the kids will need to familiarize themselves with the concepts of 'in front' and 'behind' on the page.

Use a flat brush and fill in the flower centers.

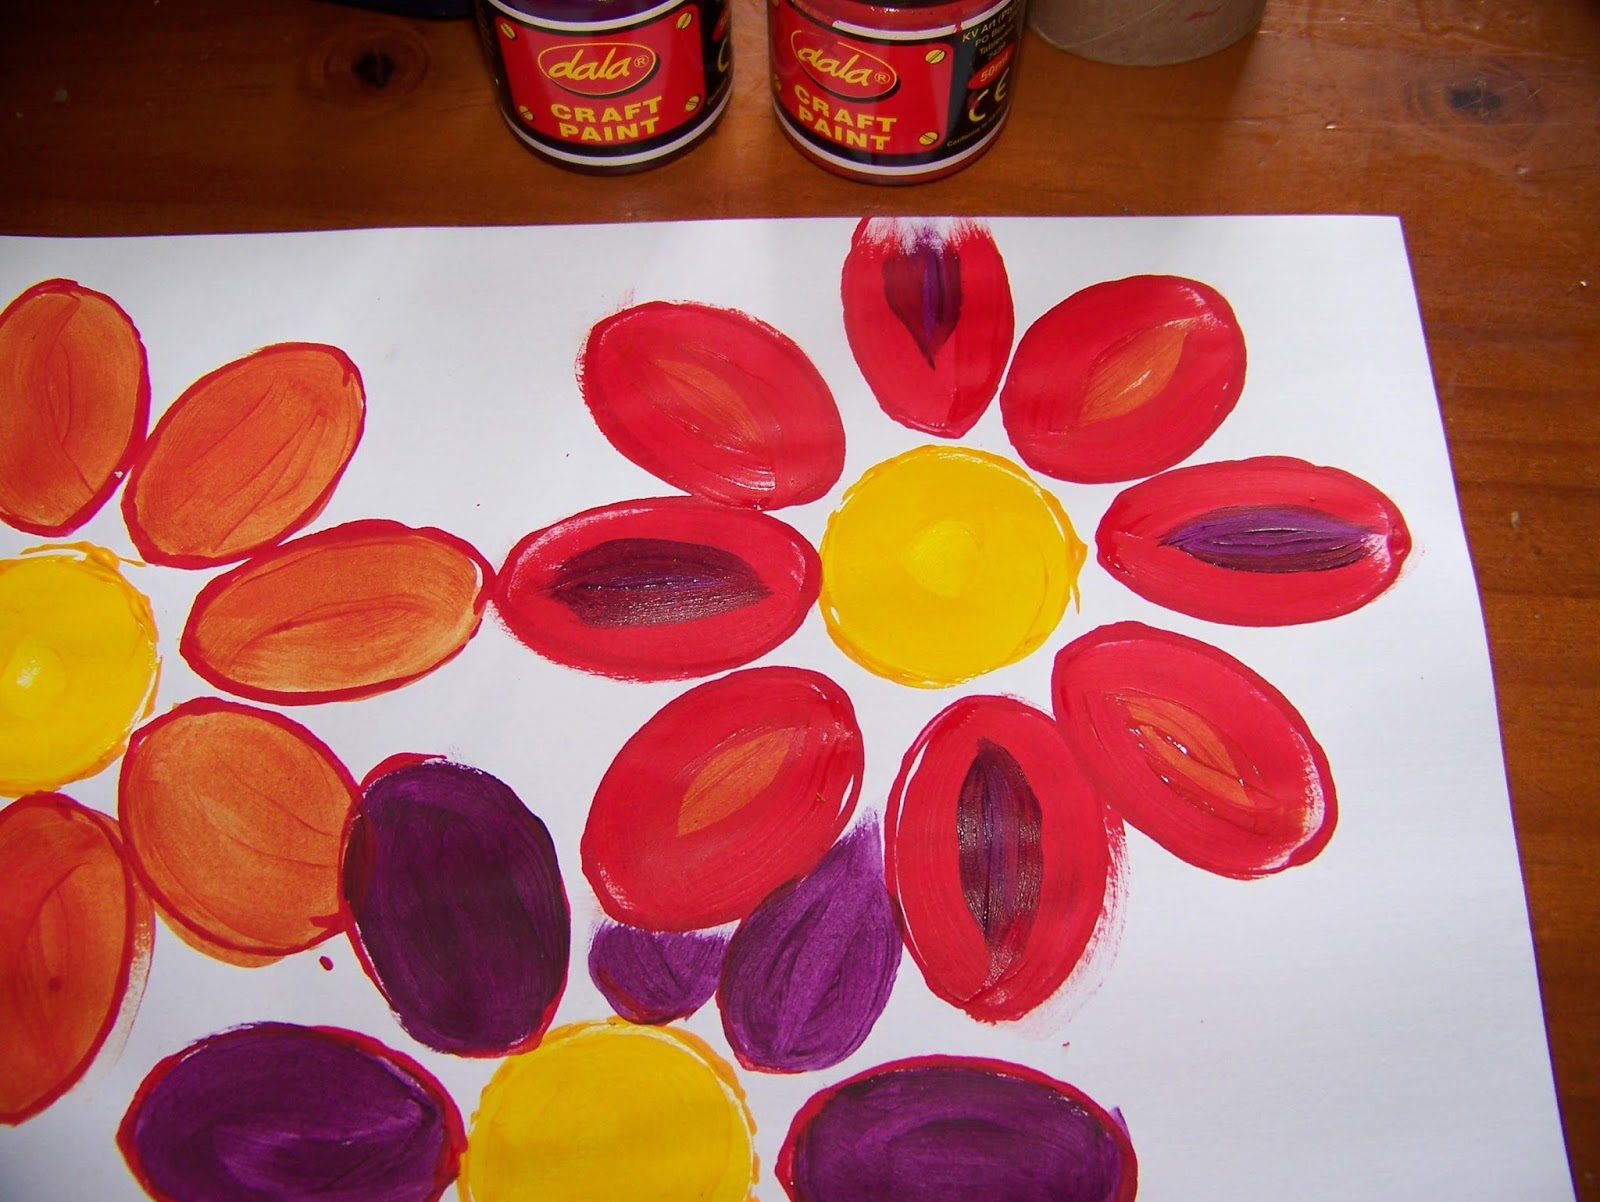
I painted the first petals in a different colour to the outline, but keeping within a monochrome colour combination. You can use this to teach the concept of similar colours.
The next flower was painted in a contrasting colour. Here I teach the concept of different colours.

With the third flower, I left the center open.

Alternate centers were painted in 'similar' colours and 'different' colours.
I then used the ovals to stamp outlines for leaves.

The leaves were painted in exact matching colours. This teaches the concept of sameness.

I then show the kids how to turn the flat brush on its side to paint a thin line for the stems of the flowers. This is a brush technique.

I would consider the picture finished at this stage, but most kids will want a sun in their garden.

I use the round stamp to add a sun to the corner.

You may not want to put it in the corner, but may prefer a fully round sun somewhere else on the page.

The sun is filled in. I then show them how to simply touch the flat brush to the paper to create the sun rays. This is yet another brush technique.

The final product, ready to go on the fridge.

Marietjie Uys (Miekie) is a published author. You can buy the books here:
You can purchase Designs By Miekie 1 here.
Jy kan Kom Ons Teken en Verf Tuinstories hier koop.You can purchase Designs By Miekie 1 here.
Jy kan Kom Ons Kleur Tuinstories In hier koop.
Jy kan Tuinstories hier koop.
You can follow Miekie's daily Bible Study blog, Bybel Legkaart, here in English & Afrikaans.
For more crafty ideas and great products, visit A Pretty Talent on Facebook.
Remember to keep nurturing your TALENT for making PRETTY things.
You can subscribe to this blog and receive regular updates by email by simply registering your email address at the top of the current blog.
No comments:
Post a Comment