
I started with the horns of the buffalo, which were most prominent to me. They will be the focal point of the painting. I then added the nose, the eyes and lastly the ears. All that was left to do, was to divide the background into playful blocks created with curved lines to repeat the curves on my deconstructed buffalo.

I neglected to mention that I used a sheet of canvas, torn from a Prime Art Canvas Pad, as the surface I am painting on.

The reference photo I was working from I found among my millions of photos on my computer.

I started my painting with a very vibrant Deep Rose.

This was used to paint the first horn with.

I then moved on to Titanium White.

The center of the first horn was painted with white, working wet on wet and allowing the two colours to blend.

The second horn was to be painted Permanent Violet.

Once again, the center was blended with white.

The eyes were painted Cadmium Deep Yellow.

Do not paint the eye balls yellow as well, as this will seem too unnatural. There is a fine line that should not be crossed when moving away from the natural appearance of things.

The colour of the eyes was filled in with Emerald Green.

Be sure to retain the white of the eyes.

It was now time to complete the eyes and I would use Lamp Black for the pupils and Titanium White for the eye balls.

Remember to put a white dot in the pupil before finishing. When an eye is alive, it is always wet and that wetness always reflects light. Eyes that do not have light reflections appear dull and lifeless.

Can you see what I mean by a dull and lifeless appearance?

The nose was painted Lamp Black, aside from the nostrils.

The nostrils were painted Cadmium Deep Yellow. I loved the sharp contrast of the yellow against the black, and this was my sole reason for choosing to use these two colours together. It added drama to the painting.

The inner of one ear was painted with the Permanent Violet, mixed with white in the center.

The inner of the other ear was painted with the Deep Rose, mixed with white in the center.

Both outer ears were painted Emerald Green. Note how I made sure to repeat all of the colours I used at least once. This creates harmony and flow in a painting.

I moved on to different shades of the colours I had been using, when starting on the background. I started with Naphtol Red.

I opted to set this off against Cerrulean Blue.

The backgrounds were painted solid.

The blue would contrast nicely with Cadmium Lemon Yellow.

The yellow also contrasts beautifully with the purple and creates natural tension.

I then opted for Yellow Green, a personal favourite colour.

This colour was used across the opposite focal area of the painting. If the canvas were to be divided in 9 equal blocks, the horns would be situated on the cross of the top right hand third corner. The Yellow Green is used opposite this focal area.

I added Cadmium Orange and then repeated the Naphtol Red in the remaining blocks. This meant that 3 of the 4 corners used the same colour, creating a natural frame.

I used a fine brush and Cerrulean Blue to draw small lines on the Yellow Green.

I used a Filbert Brush to mimic a feather pattern in the green.

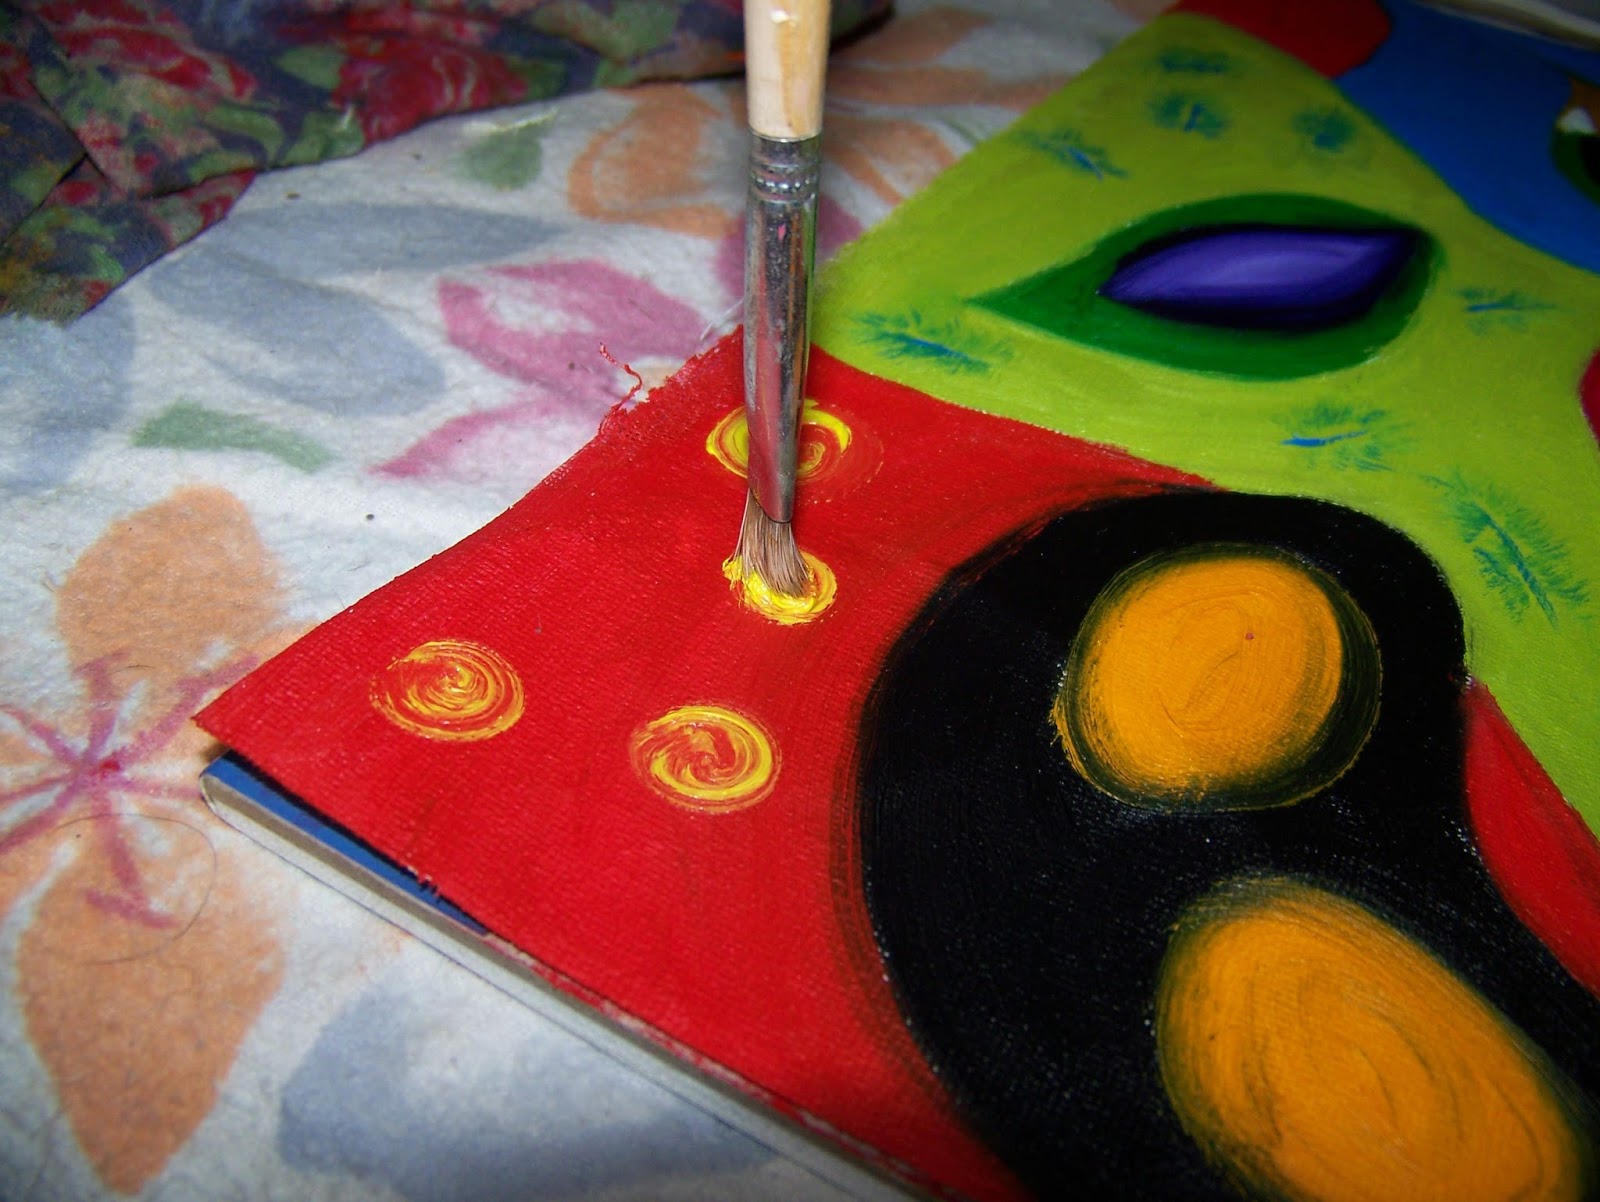
A simple twist of the brush created interesting spiral effects. All the while, I repeated the colours I have already included in the painting.
Wide cross-hatching lines created yet another interesting pattern.

Dipping the tip of a palette knife in paint and touching it to the canvas, created uneven and interesting triangular shapes.

Swirls with the tip of a fine brush, repeated the previous swirls with just enough variation to keep it interesting.

The background was now done and it was time to take a step back to see what finishing touches needed to be added.

I used a fan brush and Lamp Black to paint eyelashes using a dry brush technique.

I then used a fine brush to outline the eyes so that it would have shadows to give it depth and roundness.

White highlights were added in a number of places across the painting.

Finally, I decided to outline the whole painting with Lamp Black, using a flat brush on its thin side. That concluded my deconstructed buffalo. It turned a serous and serene nature scene, into a fun and energetic experience. This painting captures the excitement of a game drive, rather than attempting to capture the tranquility of the scenery.

Marietjie Uys (Miekie) is a published author. You can buy the books here:
You can purchase Designs By Miekie 1 here.
Jy kan Kom Ons Teken en Verf Tuinstories hier koop.You can purchase Designs By Miekie 1 here.
Jy kan Kom Ons Kleur Tuinstories In hier koop.
Jy kan Tuinstories hier koop.
You can follow Miekie's daily Bible Study blog, Bybel Legkaart, here in English & Afrikaans.
For more crafty ideas and great products, visit A Pretty Talent on Facebook.
Remember to keep nurturing your TALENT for making PRETTY things.
You can subscribe to this blog and receive regular updates by email by simply registering your email address at the top of the current blog.
No comments:
Post a Comment