
The first step is to prepare the clay through a process called wedging which removes air bubbles and produces an even texture.

The clay is then weighed out and thrown on the potter's wheel, where it has to be centered. If the clay is not centered properly, it could result in lopsided and uneven articles.

Centering continues with a range of attacks and releases on the clay.

Here you can see Elize using the cone method for centering the clay by letting it rise between her wetted hands.

Elize now uses her thumbs to create an opening in the clay for what will become a coffee mug.

Enough clay is left in the base to create a sturdy bottom. The thumbs are used to shape the thickness of the walls of the mug.

Note how Elize is using a mirror to keep track of what is happening on the wheel on her blind side.

Elize's view in the mirror.

Continuing to center and raise the cylinder for the mug. The cylinder is finished when the wall seems to of even thickness. On the last pull, you can use a soft sponge to make the surface even.

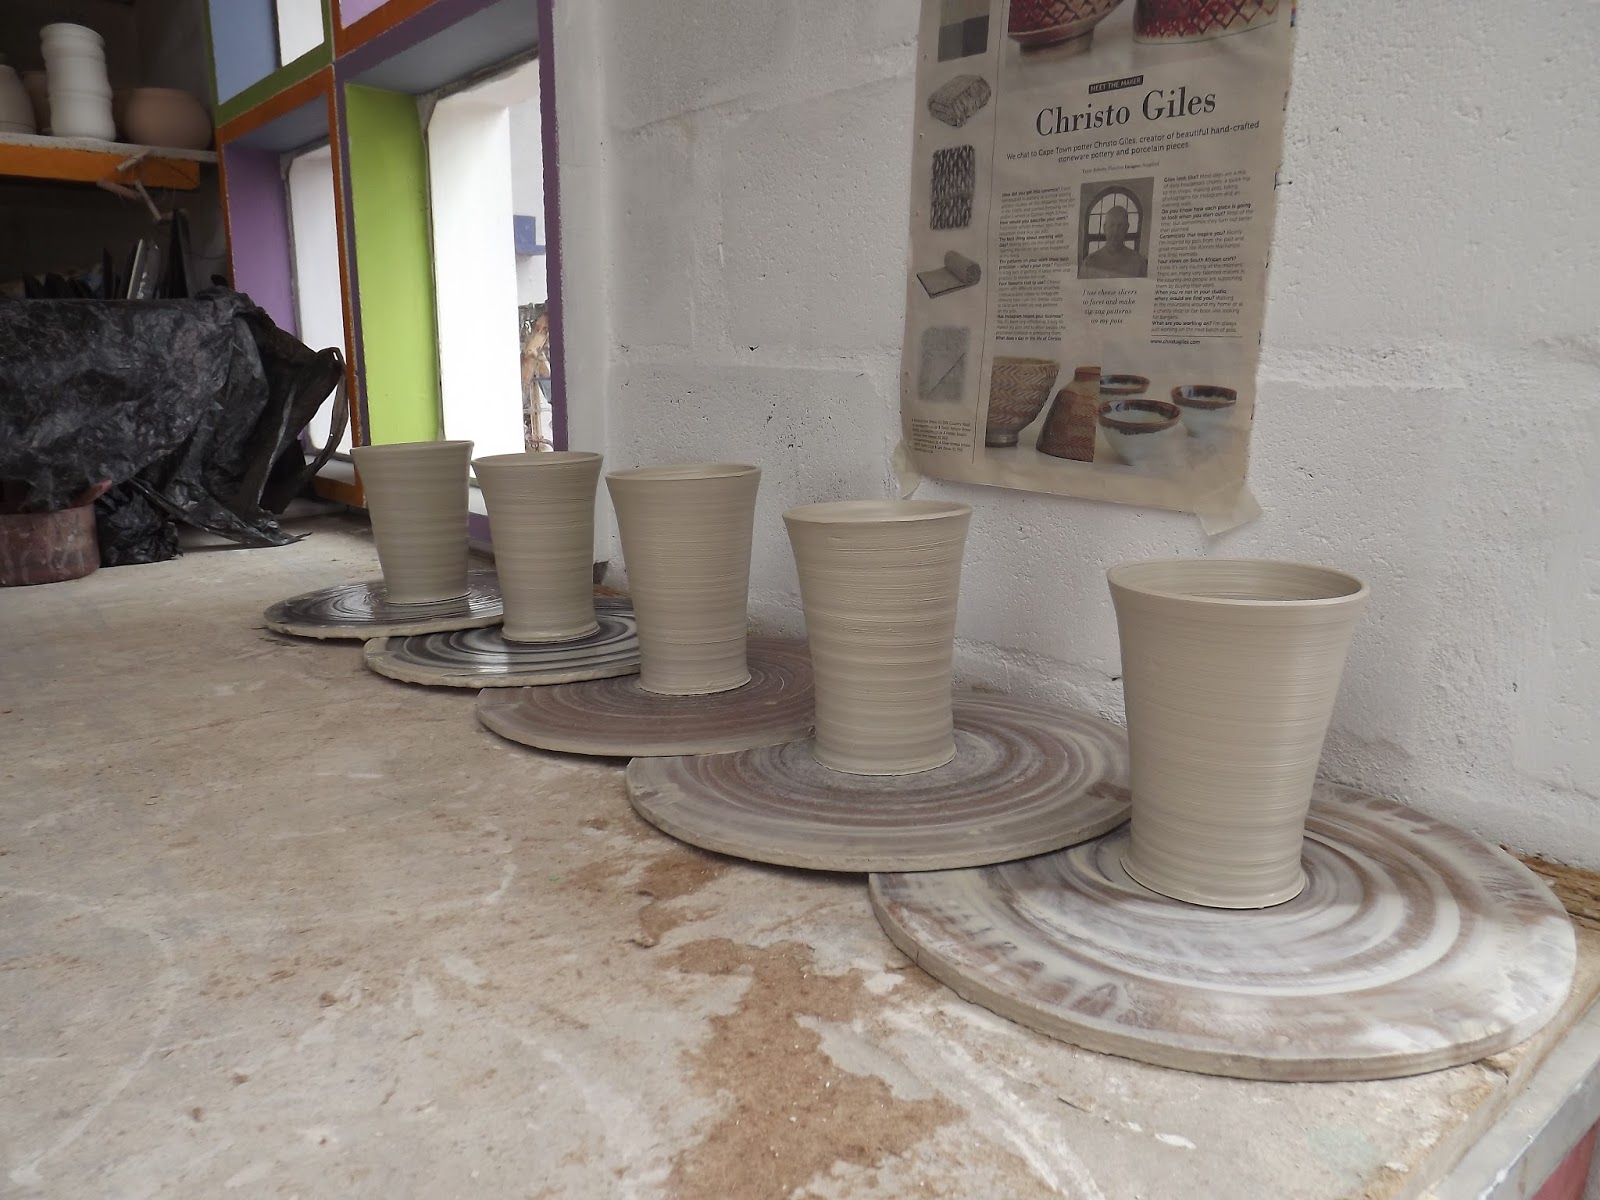
The clay shrinks during the drying and baking stages. Here you can compare a glazed mug with one of the newly shaped ones.

A couple of days later, Elize rang me up to watch the next phase of the process. It was time to pull the handles of the mugs. A piece of clay is shaped into a chubby tail. One hand holds the lump while gravity and the other hand, squeezing the clay slightly, works together to pull a tail from the lump.

It is then pinched from the lump and hung out to dry slightly.

It is now time to foot rim the mugs. The mug is inverted and centered on the wheel.

An awl is used to mark the pot where tooling is desired. The touch points of the awl will indicate if the mug is true (balanced).

Precision work.

Tooling is done to the bottom to create a hollow here which gets rid of extra weight in the clay.

The outside of the mug is tooled to remove excess clay.

Here you can see how much clay is removed with the tool.

Continuing the process.

The excess clay in the bottom is not tooled away from the foot rim.

The process is repeated until all the excess clay is removed.


Elize then uses the awl to scratch some cross-hatched lines into the clay where the handles are to be attached.

The area is dampened with a toothbrush.

The process is repeated on the ends of the handles.


The clay of the mug and the handle is carefully worked into each other.

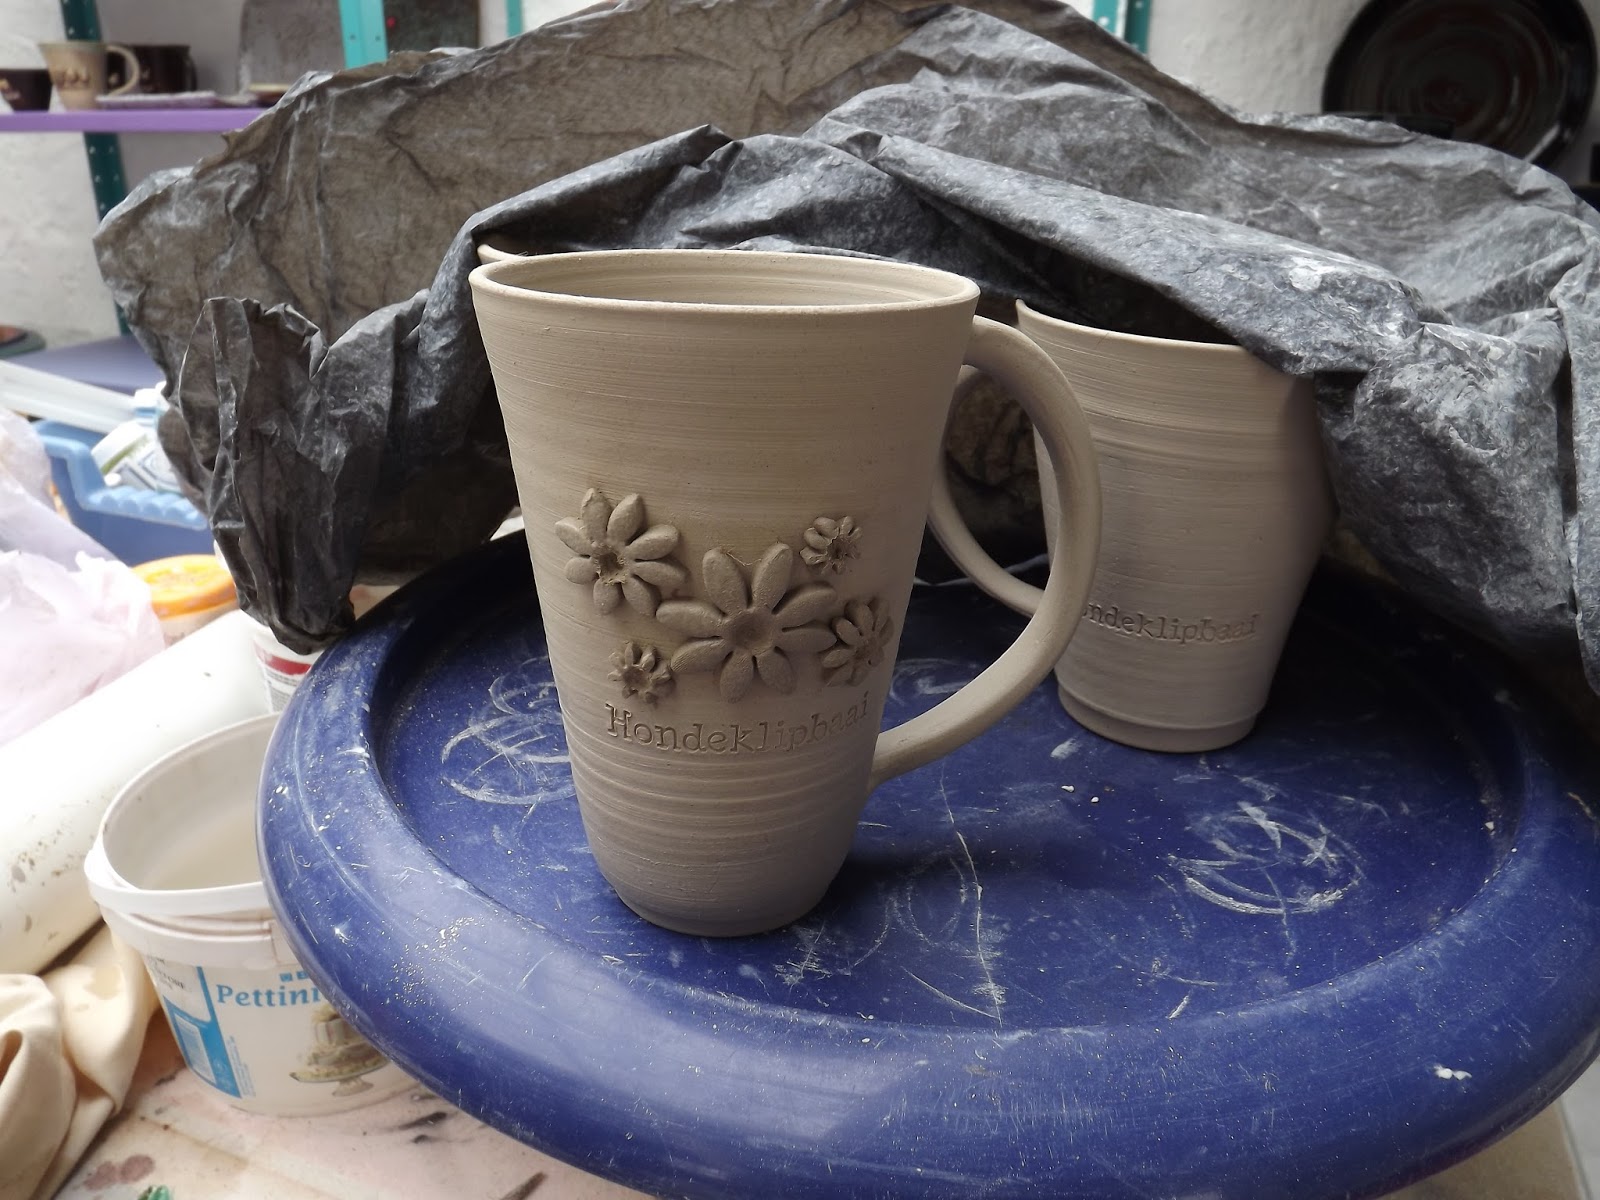
Elize uses a negative shell mold, to press the handle firmly into the clay. This is in keeping with the Namaqualand coastal wildflower town of Hondeklipbaai.

The mug is wrapped in plastic while the handle is left to dry.

An actual shell was used to make a mold, from which Elize made the negative mold/stamp used on the mugs.

Elize and Ninnette uses cookie cutters to shape the flowers that go on to the mugs. Stamps are also made from these.

Here is an example of what the mugs will look like when they are done.

Here a flower stamp was used to attach the handle.

Specially designed stamps are used to personalize the mugs to Namaqualand.

The mugs are now placed under a plastic cover and left to dry once again.

A couple of days later Ninnette called me to come watch the next phase take shape. She rolled out some clay to an even thickness.


A view of the cut flowers in the cookie cutter.

These were set aside to dry slightly.

The mugs were dampened and slightly scratched.

The flowers were attached to the mugs by applying slight pressure.

What a lovely floral arrangement!

The centers of the flowers received some detail.

The mugs were once again left to dry under plastic sheets.
With the mugs completely air dry and enough stock to warrant turning on the oven, is was ready to start the baking process. I arrived to find the oven already packed and ready to go.

You will see these spacers everywhere in the oven, separating the layers from each other.

It is hard to give you exact reading for the oven as you get a variety of clay types, each baking at their own temperature and its own length of time. Best check with your supplier, if you are uncertain.

This is what the mug looks like once it is baked.

Now it is time for Nienie to paint the flowers, before the mug is glazed and baked once more.

The final product is ready to go onto the shelves.
Marietjie Uys (Miekie) is a published author. You can buy my books here:
You can purchase Designs By Miekie 1 here.
Jy kan Kom Ons Teken en Verf Tuinstories hier koop.
Jy kan Kom Ons Kleur Tuinstories In hier koop.
Jy kan Tuinstories hier koop.
You can follow Miekie's daily Bible Study blog, Bybel Legkaart, here in English & Afrikaans.
You may prefer to follow the traveling blog, A Pretty Tourist.
For more crafty ideas and great product reviews, visit A Pretty Talent on Facebook.
If you are in a literary mood, follow Miekie's musings, stories and poetry on A Pretty Author - Miekie.
Remember to keep nurturing your TALENT for making life PRETTY.
You can subscribe to any of these blogs and receive regular updates by email. Simply register your email address at the top of the applicable blog.
No comments:
Post a Comment