
Les, the groundsman where I'm staying, once again gave me metal plate that had already been painted with two coats of white enamel paint.

I printed out some very large letters, which I then cut out to use as stencils.

I wanted to include an image of a camp fire as well and planned my layout accordingly.

When drawing a simple camp fire, you will start with two circles.

Turn these into logs, crossing each other, by drawing straight lines, extending from the circles.

End the logs with curved lines. To draw the flames, start with an extended bucket-shaped U. Fill in the top as shown.

Repeat a similar design inside the flames.

Add a couple of wayward flames.

Progress photo.

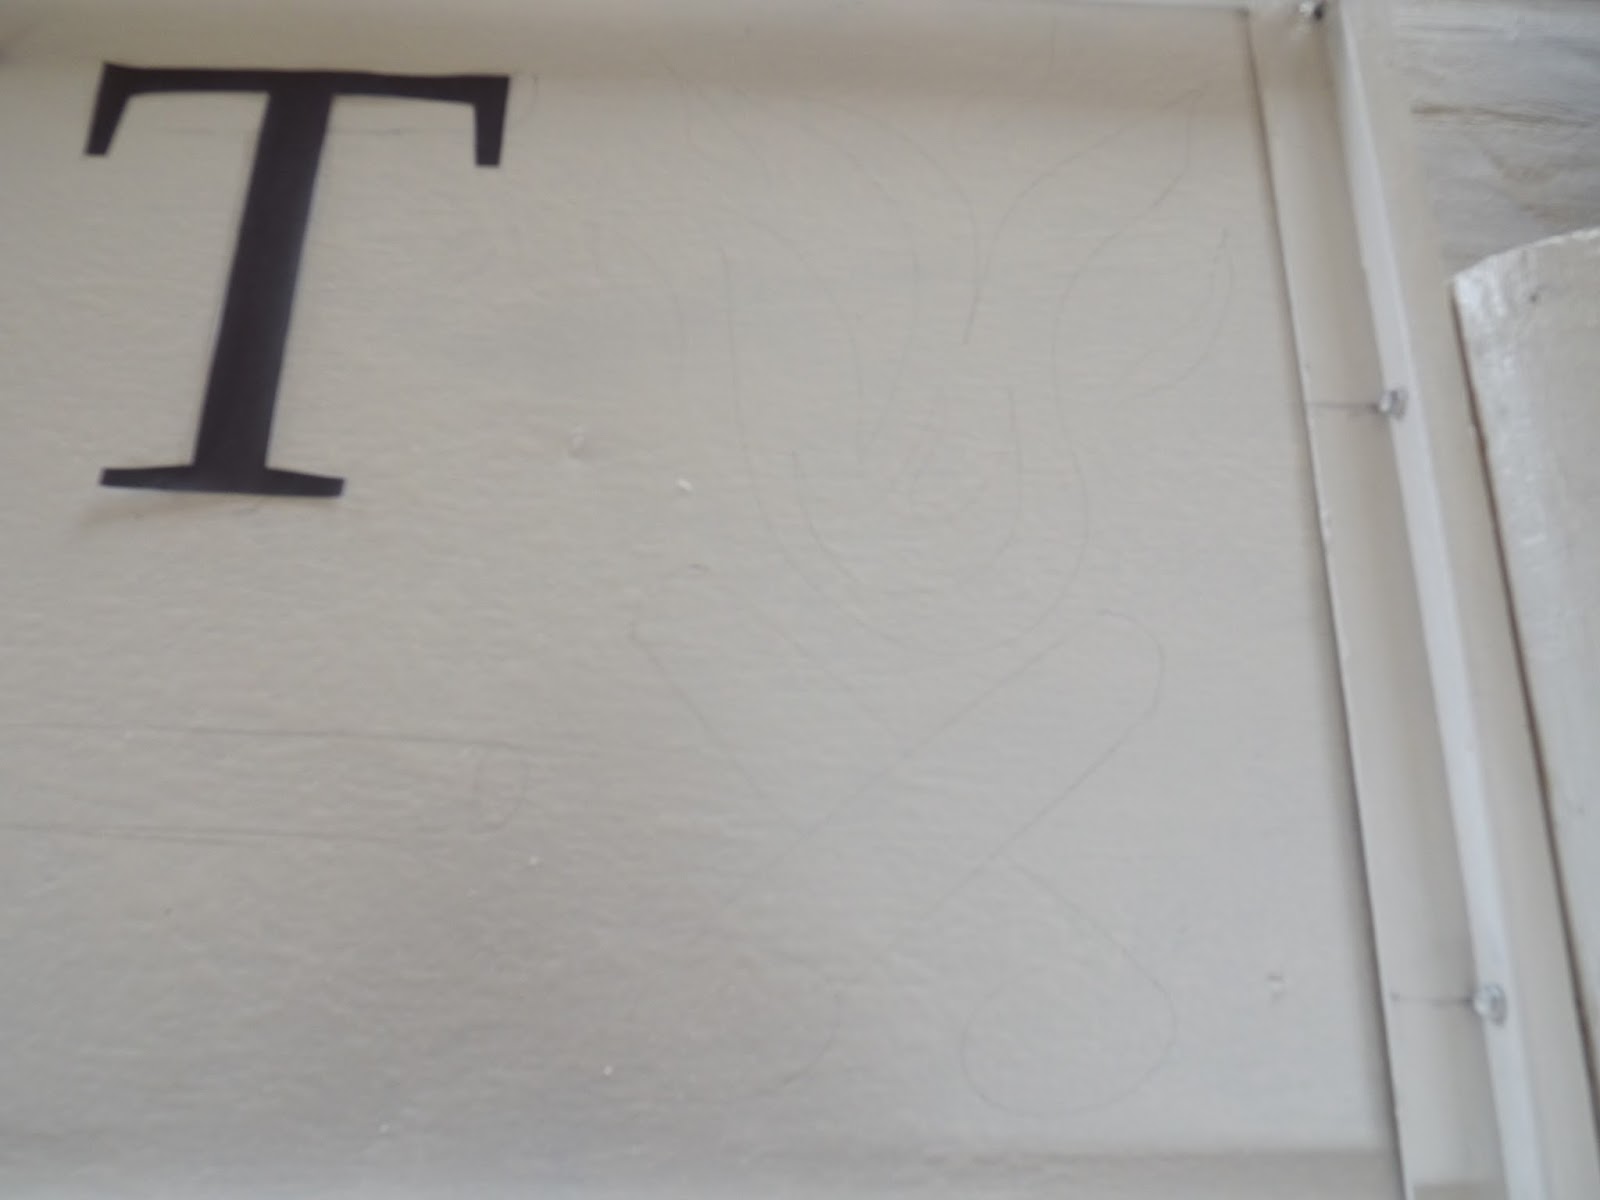
Trace the outline of the letters.

This is what it looks like when you remove the stencil/template.

Progress photo.

I then decided to make this a little more interesting, by drawing a small camp fire inside the O.

I used a damp cloth to wipe away the pencil lines at the top of the H.

These were replaced with flames.

I did the same thing with the U.

The T was given a drawing of a small fire on top of it.

This sign board also had to have its reverse side painted. I asked Les to mount the board on the frame so I would be able to see exactly which space I had to work with.

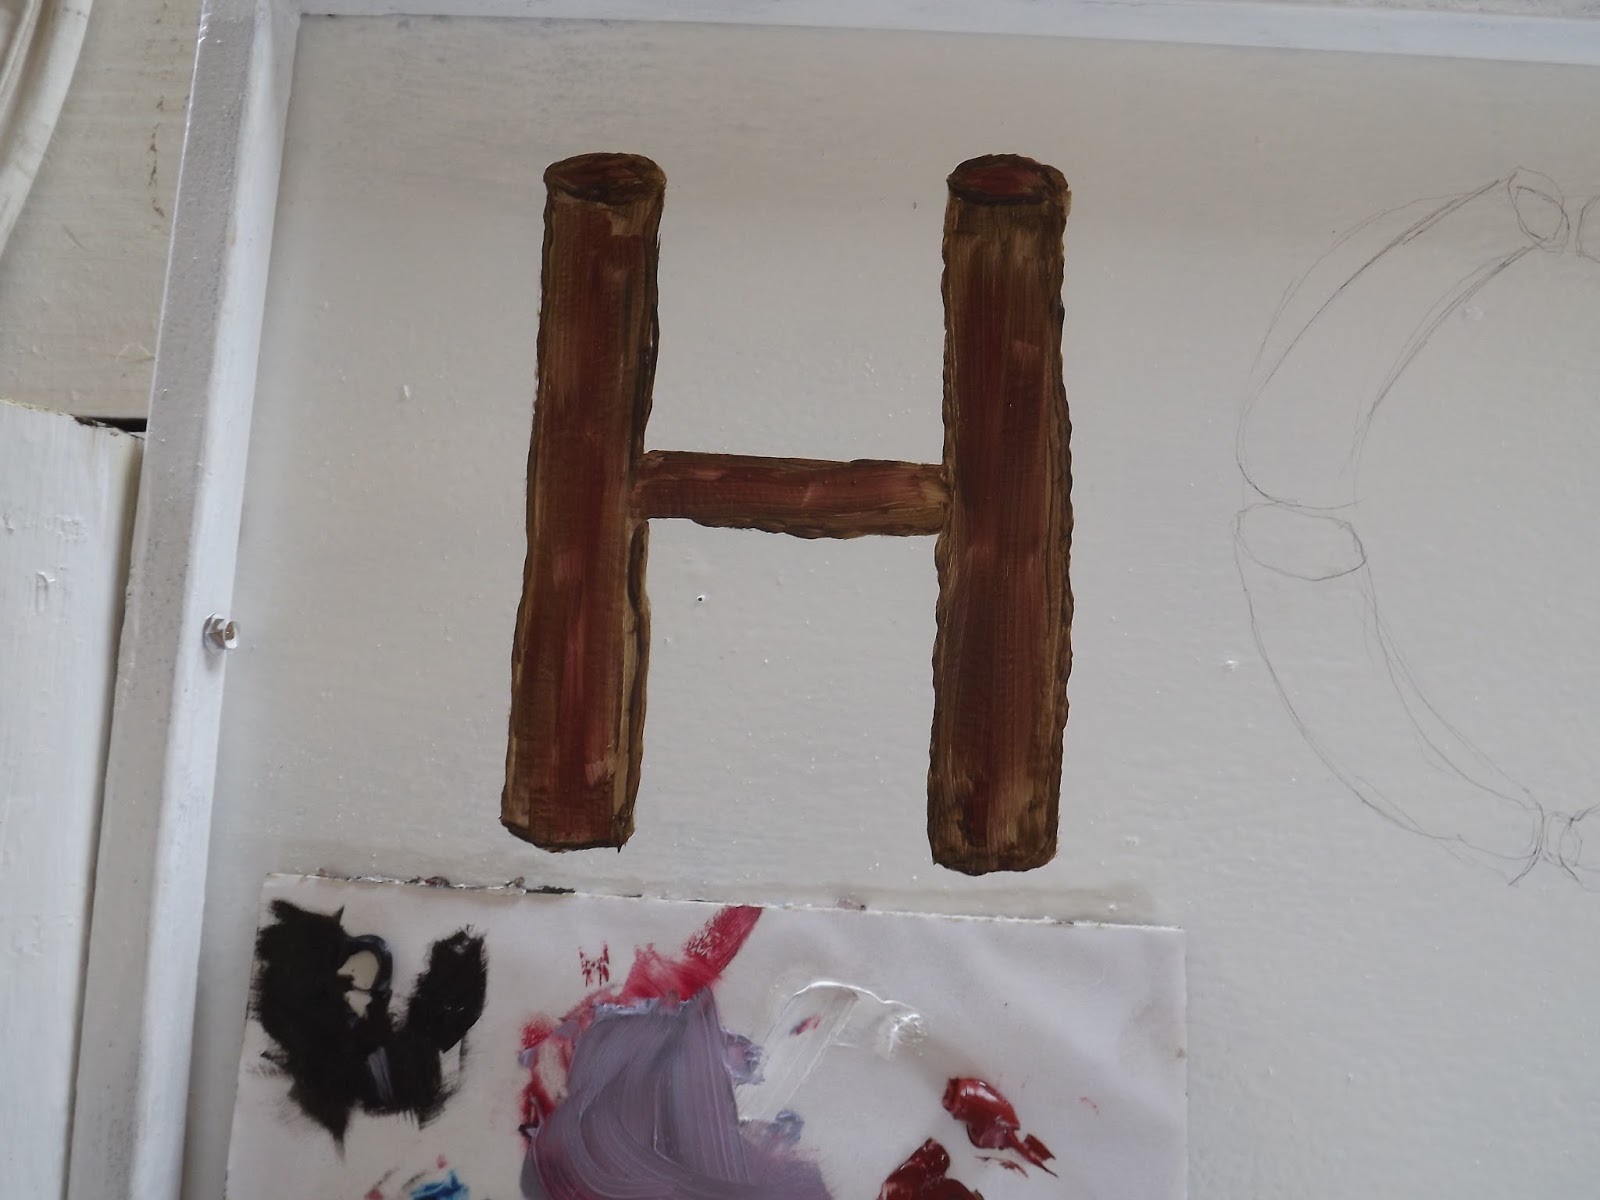
For this side, I decided to use the same lettering size, but to turn the letters into 'logs.'

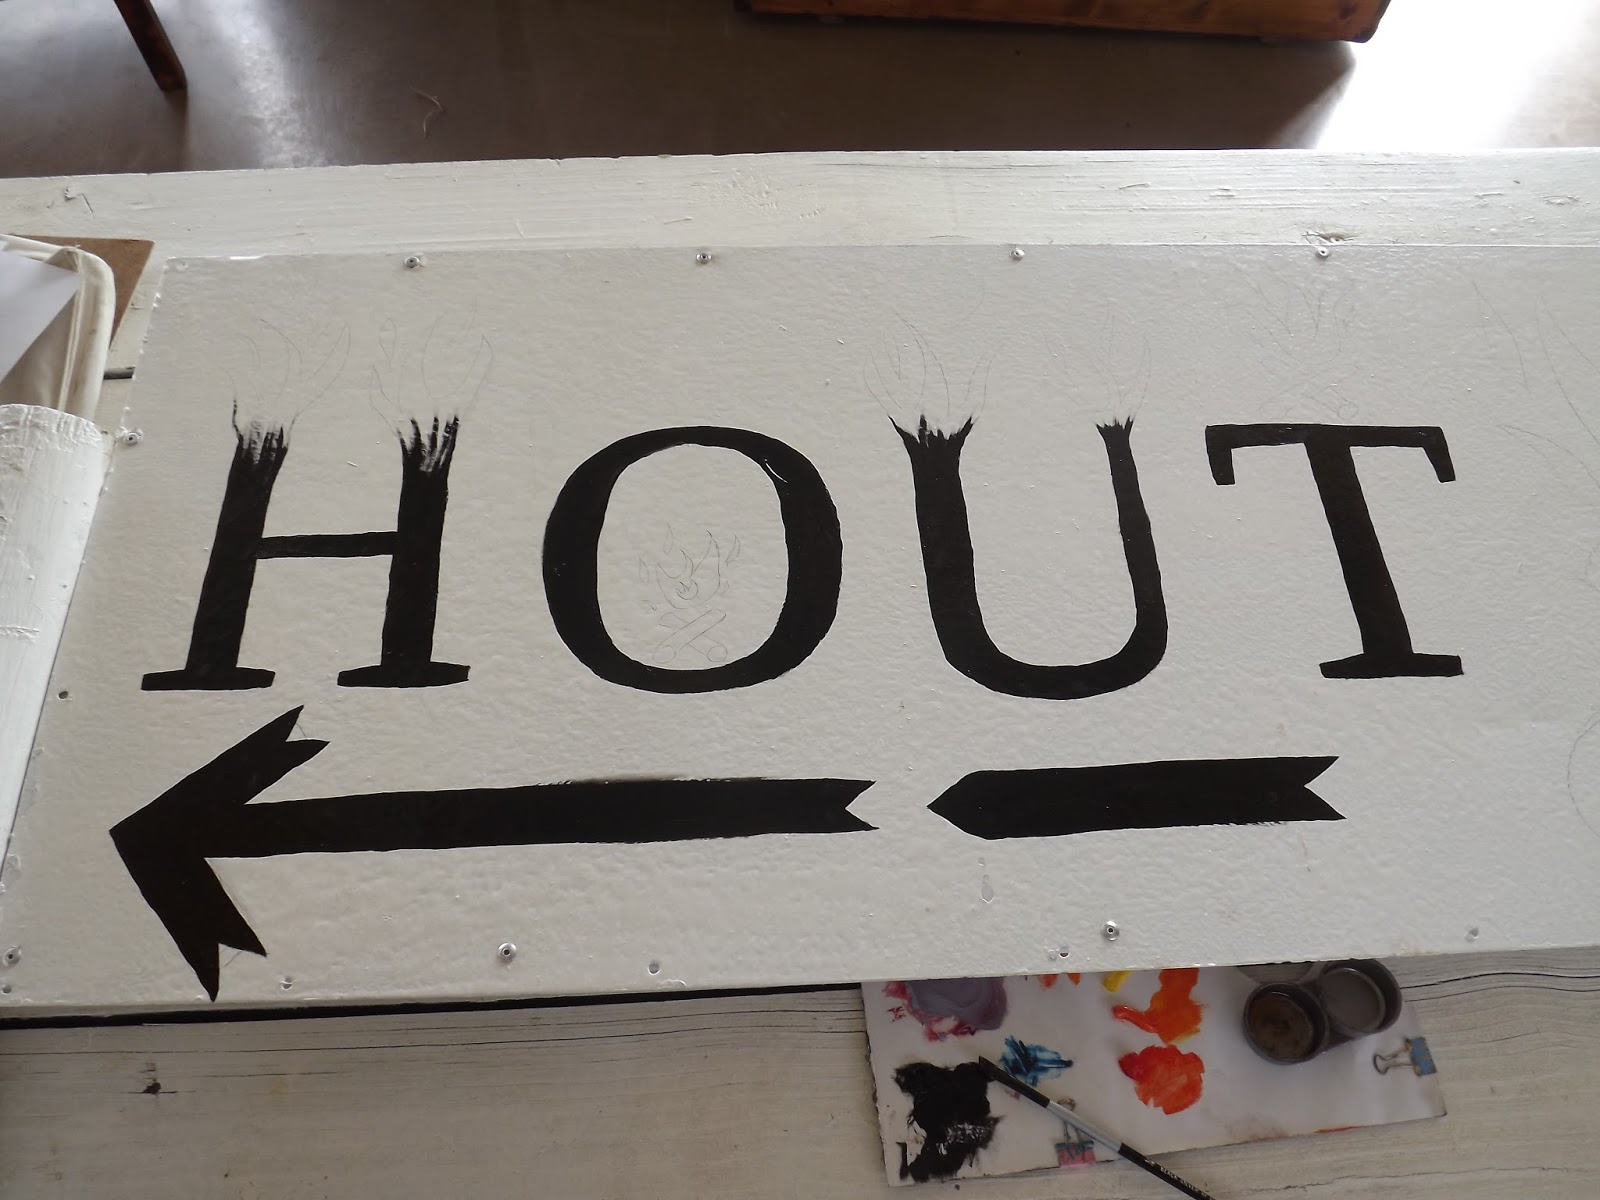
It was very important that the sign should point visitors in the right direction and I accordingly added arrows to the sign.

I drew another camp fire.
I would paint the flames in yellow, orange and red.

Start with the yellow in the center of the flames.

Outline the yellow in orange.

Red is painted on the outside of the flames.

I used Burnt Sienna, Red Ochre and Yellow Ochre to paint the logs.

Start with the Burnt Sienna. Paint in the direction of the natural lines in the logs. The sawed off edges are painted in concentric circles.

The logs are painted in broken lines. I use the uneven brush strokes to create texture on the logs.

Shading is done with Yellow Ochre. The edges remain dark to create an illusion of round logs.

A very simple, but effective camp fire to attract attention.

The logs for the lettering is painted in much the same fashion.

The H is shaded with Red Ochre.
The O is once again shaded with Yellow Ochre.

The lettering is alternated in Red and Yellow Ochre.

The logs for the arrows are painted the similarly.

With the first side finished, I can turn the board over as the frame will keep it lifted off the surface. This means I do not have to wait for the paint to dry before being able to continue on the reverse side.

This time the lettering will be done in black.

The top legs of the H is left open-ended so I can pain the flames. The O is painted solid black.

The U and T is treated much the same way.

The arrows are painted.
I start the flames in yellow.

I continue in orange.

I finish the flames with red.

The logs are once again painted as on the reverse side. I now leave the sign to allow the paint to dry.

Now it was over to Les, the groundsman, to give both sides a layer of varnish to seal in the paint.

Finally the sign could be erected.

Marietjie Uys (Miekie) is a published author. You can buy my books here:
You can purchase Designs By Miekie 1 here.
Jy kan Kom Ons Teken en Verf Tuinstories hier koop.
Jy kan Kom Ons Kleur Tuinstories In hier koop.
Jy kan Tuinstories hier koop.
You can follow Miekie's daily Bible Study blog, Bybel Legkaart, here in English & Afrikaans.
You may prefer to follow the traveling blog, A Pretty Tourist.
For more crafty ideas and great product reviews, visit A Pretty Talent on Facebook.
If you are in a literary mood, follow Miekie's musings, stories and poetry on A Pretty Author - Miekie.
Remember to keep nurturing your TALENT for making life PRETTY.
You can subscribe to any of these blogs and receive regular updates by email. Simply register your email address at the top of the applicable blog.
No comments:
Post a Comment