
My sourdough starter was alive and bubbling - a good sign that it was ready to be used. Read all about making your own in this previously published blog: Making a Sourdough Starter.

In a large mixing bowl, add: 2 cups (500 ml) cake flour, 1 cup (250 ml) brown bread flour, 1/2 cup (125 ml) mixed seeds, 1 tablespoon (12,5 ml) salt and 1 tablespoon (12,5 ml) sugar. The mixed seeds I discovered in the cupboard consisted of pumpkin seeds, sunflower seeds, sesame seeds and flax seeds. Mix the dry ingredients together.
Option 1: Add a packet of Instant Yeast instead of the sourdough starter as a raising agent.

Add 1 cup (250 ml) sourdough starter, 1 egg, roughly 1 cup (250 ml) water and 60 ml olive oil. Water is added last and only enough is added to bring the dough together. That is why it reads that you should add roughly a cup of water.

Make sure to mix the dry ingredients well before adding the wet ones.

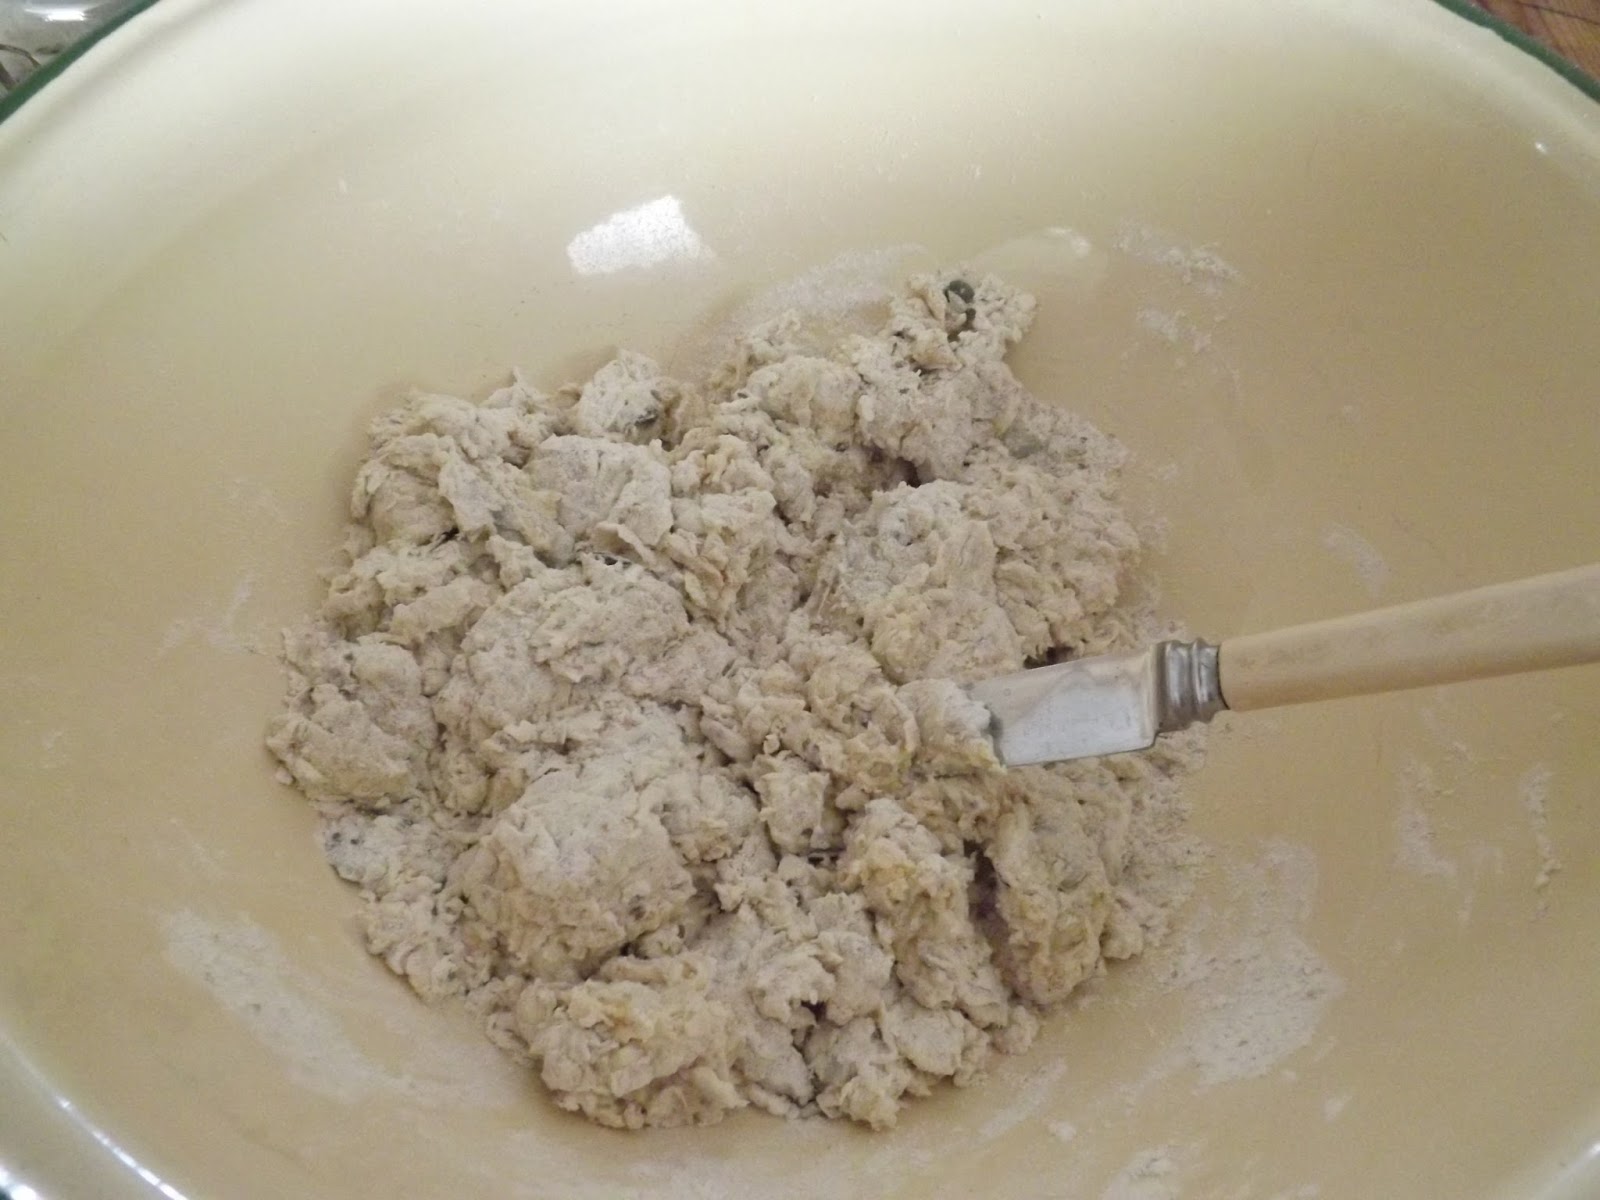
Bring the dough together with a knife or spatula. Add water as needed.
Once the dough is formed into a ball, it is ready to be kneaded.

Knead the dough on a lightly floured surface to prevent it from sticking to the surface.

Knead for roughly 10 minutes until the dough resembles an elastic ball.

Coat a pot or pan with non-stick spray. I found actual fat in this Namaqualand kitchen!

Lightly flour the pot or pan.

Transfer the dough to the pot/pan and score the top to prevent the crust from cracking.

Cover with plastic and leave in the sun to rise.

Once risen, preheat the oven to 220 °C and bake for around 40 minutes. The bread is ready when you hear a hollow sound when you tap the bottom. Leave the bread in the pan/pot to sweat for a minute or two before turning it out.

If you prefer a soft crust, you can cover the warm bread with a damp dish cloth to steam slightly. I enjoyed mine with real butter.

Marietjie Uys (Miekie) is a published author. You can buy my books here:
You can purchase Designs By Miekie 1 here.
Jy kan Kom Ons Teken en Verf Tuinstories hier koop.
Jy kan Kom Ons Kleur Tuinstories In hier koop.
Jy kan Tuinstories hier koop.
You can follow Miekie's daily Bible Study blog, Bybel Legkaart, here in English & Afrikaans.
You may prefer to follow the traveling blog, A Pretty Tourist.
For more crafty ideas and great product reviews, visit A Pretty Talent on Facebook.
If you are in a literary mood, follow Miekie's musings, stories and poetry on A Pretty Author - Miekie.
Remember to keep nurturing your TALENT for making life PRETTY.
You can subscribe to any of these blogs and receive regular updates by email. Simply register your email address at the top of the applicable blog.
No comments:
Post a Comment