
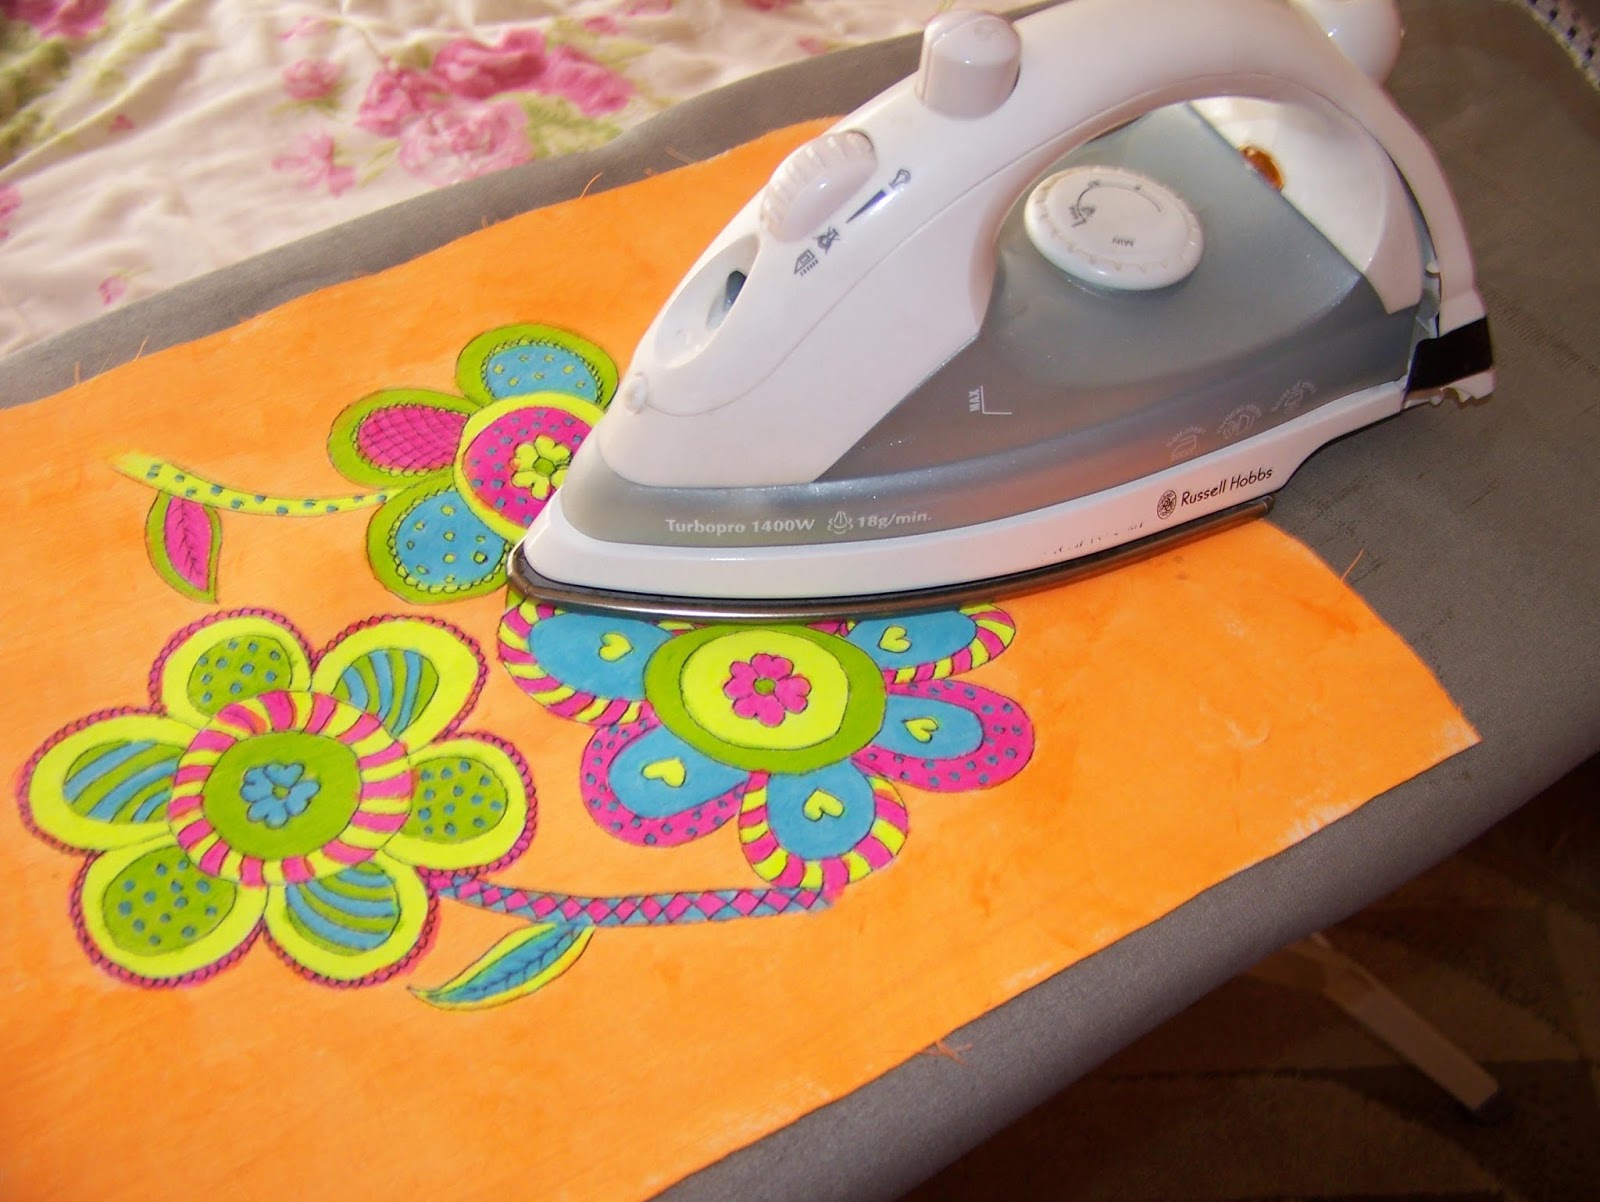
Start by setting the colours to the fabric with a hot iron.
Cut batting squares for the painted designs.

Pin the batting squares to the designs to secure them in place.

We will now quilt the designs free hand with the machine.

Set your stitch length to longer. Mine is 3.7. Slow the machine down, and set the needle to end in the dropped position.

Sew all around the edges of the designs. When you reach tight corners, stop the machine, with the needle in the dropped position. Lift the foot, turn the fabric, drop the foot and continue stitching.

When you are done, the quilted design should look more or less like this. Do this with all three designs.

Lay your designs on sturdy fabric. I opted to use denim.

Cut the denim to size. Leave enough extra length and width to accommodate seams and hems, as well as an tube to run a rod through.

It is time to fix the designs to the denim. In order to fold neat corners, fold the corner in as shown.

Now fold the two sides in to meet at the middle.

Pin the corner in place. Do this with all of the corners.

Fold the seams in and pin the designs to the fabric.

Progress photo.

Sew all around the edges of all three designs to secure them to the denim.

Progress photo.

Fold and pin double hems at both the top and the bottom of the book bag.

Sew the rolled hems.

Fold the fabric over to form the bag and pin the sides in place. Make sure both sides are at the same height.

Sew the side seams.

Pin the seams of the fold-over (for the tube where the rod will go in).

Sew the seams.

Fold the bag right side out.

Fold the tube over and pin it in place.

Pin down the center of the designs as a guide for straight sewing when you sew the pocket divider seams.

Sew the tube seam.

Sew the pocket divider seams.

Your book bag is now ready to be hung and to receive its first books!

Marietjie Uys (Miekie) is a published author. You can buy my books here:
You can purchase Designs By Miekie 1 here.
Jy kan Kom Ons Teken en Verf Tuinstories hier koop.
Jy kan Kom Ons Kleur Tuinstories In hier koop.
Jy kan Tuinstories hier koop.
You can follow Miekie's daily Bible Study blog, Bybel Legkaart, here in English & Afrikaans.
You may prefer to follow the traveling blog, A Pretty Tourist.
For more crafty ideas and great product reviews, visit A Pretty Talent on Facebook.
If you are in a literary mood, follow Miekie's musings, stories and poetry on A Pretty Author - Miekie.
Remember to keep nurturing your TALENT for making life PRETTY.
You can subscribe to any of these blogs and receive regular updates by email. Simply register your email address at the top of the applicable blog.
No comments:
Post a Comment