Search This Blog

Friday, 22 February 2019

Cardmaking - Watercolours & Ink: Dancing Couple

Today's blog is a fun one. I show you how to draw your picture in ink with a dipped pen. We then paint the picture in liquid ink. Then we use Derwent Inkbars to continue the painting process. To finish it off, we splatter ink all over the painting. The we have even more fun with it by creating a large A4 sized card from the painting.


Use Dala Acrylic Ink and a dip pen to draw the figure of a dancing woman in free flowing lines.


Use a flat brush to pain the red ink in the dress.


Pink Golden Yellow onto the dress.


Add blue while the yellow is still wet, so that shades of green is created along with the blue being added.


Add a lighter shade of yellow.


I now turn to Derwent Inktense Blocks to paint the flesh parts of the body.


I use the Inktense Blocks to paint her hair.


Then I use a watersoluble grey pencil to draw the rough outline of a dancing partner.


I paint the mail figure in grey.


Then I wash the bakground in diluted Inktense colours.


I spilled some ink on my painting somewhere during the beginning of the project. I now incorporate this in my art by adding more ink splatters to the painting.


The finished painting.


I will now turn the painting into a large A4 size card. I find complimentary colours for the matting and card.


Fold the cardboard in half to form the card.


Crop the matting and the painting to fit the card.


Stick the painting to the matting.


Stick the matting to the card.


The finished card.


You can watch a short compilation video of the steps above on YouTube:
https://youtu.be/8TT8F7UQmaw


Marietjie Uys (Miekie) is a published author. You can buy my books here:
You can purchase Designs By Miekie 1 here.
Jy kan Kom Ons Teken en Verf Tuinstories hier koop.
Jy kan Kom Ons Kleur Tuinstories In hier koop.
Jy kan Tuinstories hier koop.
You can follow Miekie's daily Bible Study blog, Bybel Legkaart, here in English & Afrikaans.
You may prefer to follow the traveling blog, A Pretty Tourist.
For more crafty ideas and great product reviews, visit A Pretty Talent on Facebook.
If you are in a literary mood, follow Miekie's musings, stories and poetry on A Pretty Author - Miekie.
Remember to keep nurturing your TALENT for making life PRETTY.
You can subscribe to any of these blogs and receive regular updates by email. Simply register your email address at the top of the applicable blog.

Wednesday, 20 February 2019

Cardmaking - Watercolours & Ink: Pansy

Today I show you how to paint a close-up of a single pansy with a combination of watercolours and ink. We start off by stretching our paper for this painting. When we are done, we once again turn the painting into a card to be saved for a special occasion.


Use masking tape to secure your watercolour paper to your surface.


I use a watercolour grey pencil to draw the outline of the flower. I start at the centre of the flower.


Then I fill in the detail for the petals.


I pain the area that will be painted first with water, before painting it with the ink. This I do throughout the painting, as it helps to restrict the very liquid ink to the desired space, without flowing into other areas.


I paint all the desired areas with Dala Acrylic Ink in Violet.


Then I add lighter shades of violet with my watercolours.


I add Process Yellow ink to the centre of the flower.


Then I paint all of the white areas with white ink. This is not strictly necessary, but I like doing this, as some of the pain on my brush will mix with the white ink, making it slightly muddy and less monotone than the white paper would be.


I sign my name in violet ink with a dip pen.


The finished painting.


I now find coordinating paper and cardboard to turn the painting into a card.


Fold the cardboard in half to form a card.


Crop the matting paper and the painting to the required sizes.


Ink the edges of the painting.


Stick the painting to the matting and then ink the edges of the matting.


Stick the matting to the card.


The finished card.


You can watch a short compilation video of the above steps on YouTube:
https://youtu.be/3DfH7oms5N8


Marietjie Uys (Miekie) is a published author. You can buy my books here:
You can purchase Designs By Miekie 1 here.
Jy kan Kom Ons Teken en Verf Tuinstories hier koop.
Jy kan Kom Ons Kleur Tuinstories In hier koop.
Jy kan Tuinstories hier koop.
You can follow Miekie's daily Bible Study blog, Bybel Legkaart, here in English & Afrikaans.
You may prefer to follow the traveling blog, A Pretty Tourist.
For more crafty ideas and great product reviews, visit A Pretty Talent on Facebook.
If you are in a literary mood, follow Miekie's musings, stories and poetry on A Pretty Author - Miekie.
Remember to keep nurturing your TALENT for making life PRETTY.
You can subscribe to any of these blogs and receive regular updates by email. Simply register your email address at the top of the applicable blog.

Monday, 18 February 2019

Cardmaking - Watercolours & Ink: Blue Flowers

Today we once again use a combination of watercolours and ink to produce a painting of flowers. We also use the drip technique again. However, this time we control the whole process a little more and we also make use of splattering to finish the painting. When we are done, we again turn it into a card.


I start this project by dripping three drops of water onto a sheet of sturdy watercolour paper. I manipulate the drops with my finger resemble flowers. Then I drop some blue ink onto the water puddles.


I let the ink dry completely before adding stems with a dip pen and black ink.


I add detail to the petals and centres of the flowers. I sign my name while I'm at it.


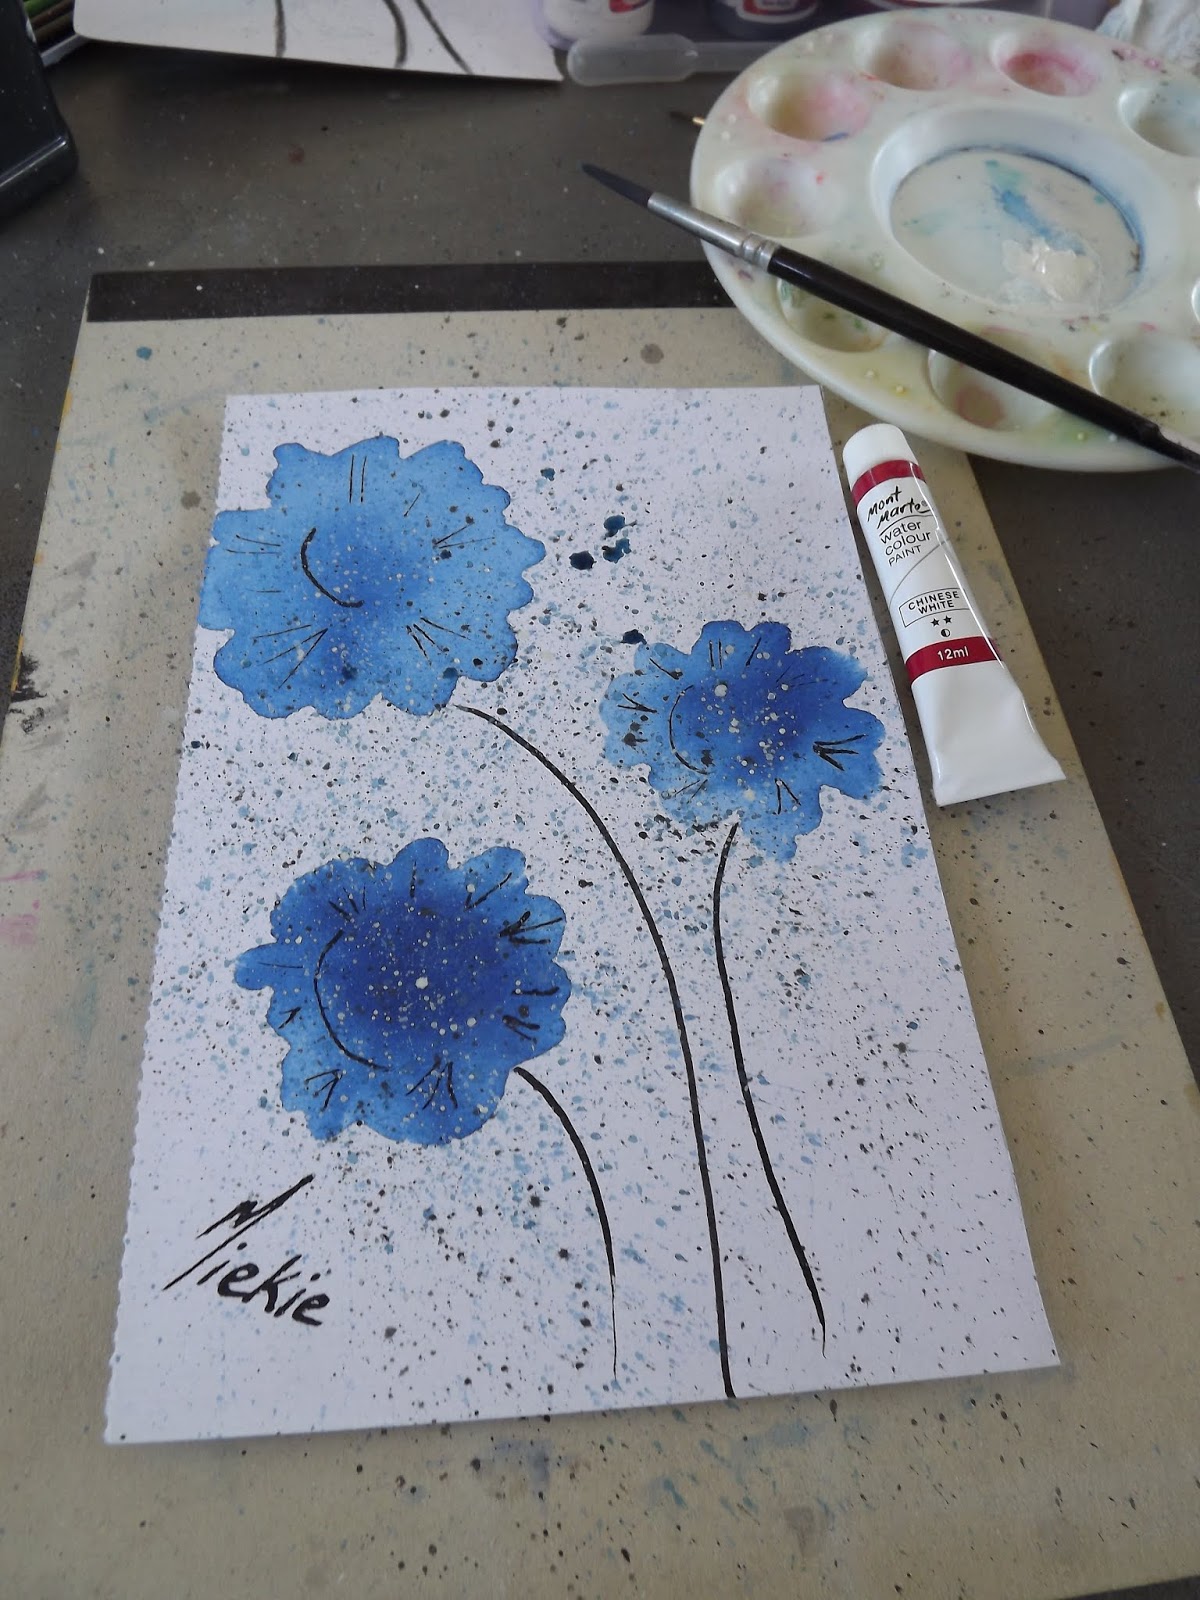
Then I use a very wet brush to pick up colour from my water palette. I splatter blue paint over the paper.


I add more splatters of paint in another shade of blue.


More splatters are added in black.


Lastly, I add white splatters from a tube of watercolour paint.


The finished painting.


When I search for coordinating papers to turn the painting into a card, I find a pre-cut frame that will work beautifully with this painting. I also find a sheet of cardboard to serve as a card.


I fold the cardboard in half to form the card.


I crop the painting to fit the frame.


I stick the frame onto the painting.


I then ink the edges of the frame.


I stick the frame with the painting onto the card.


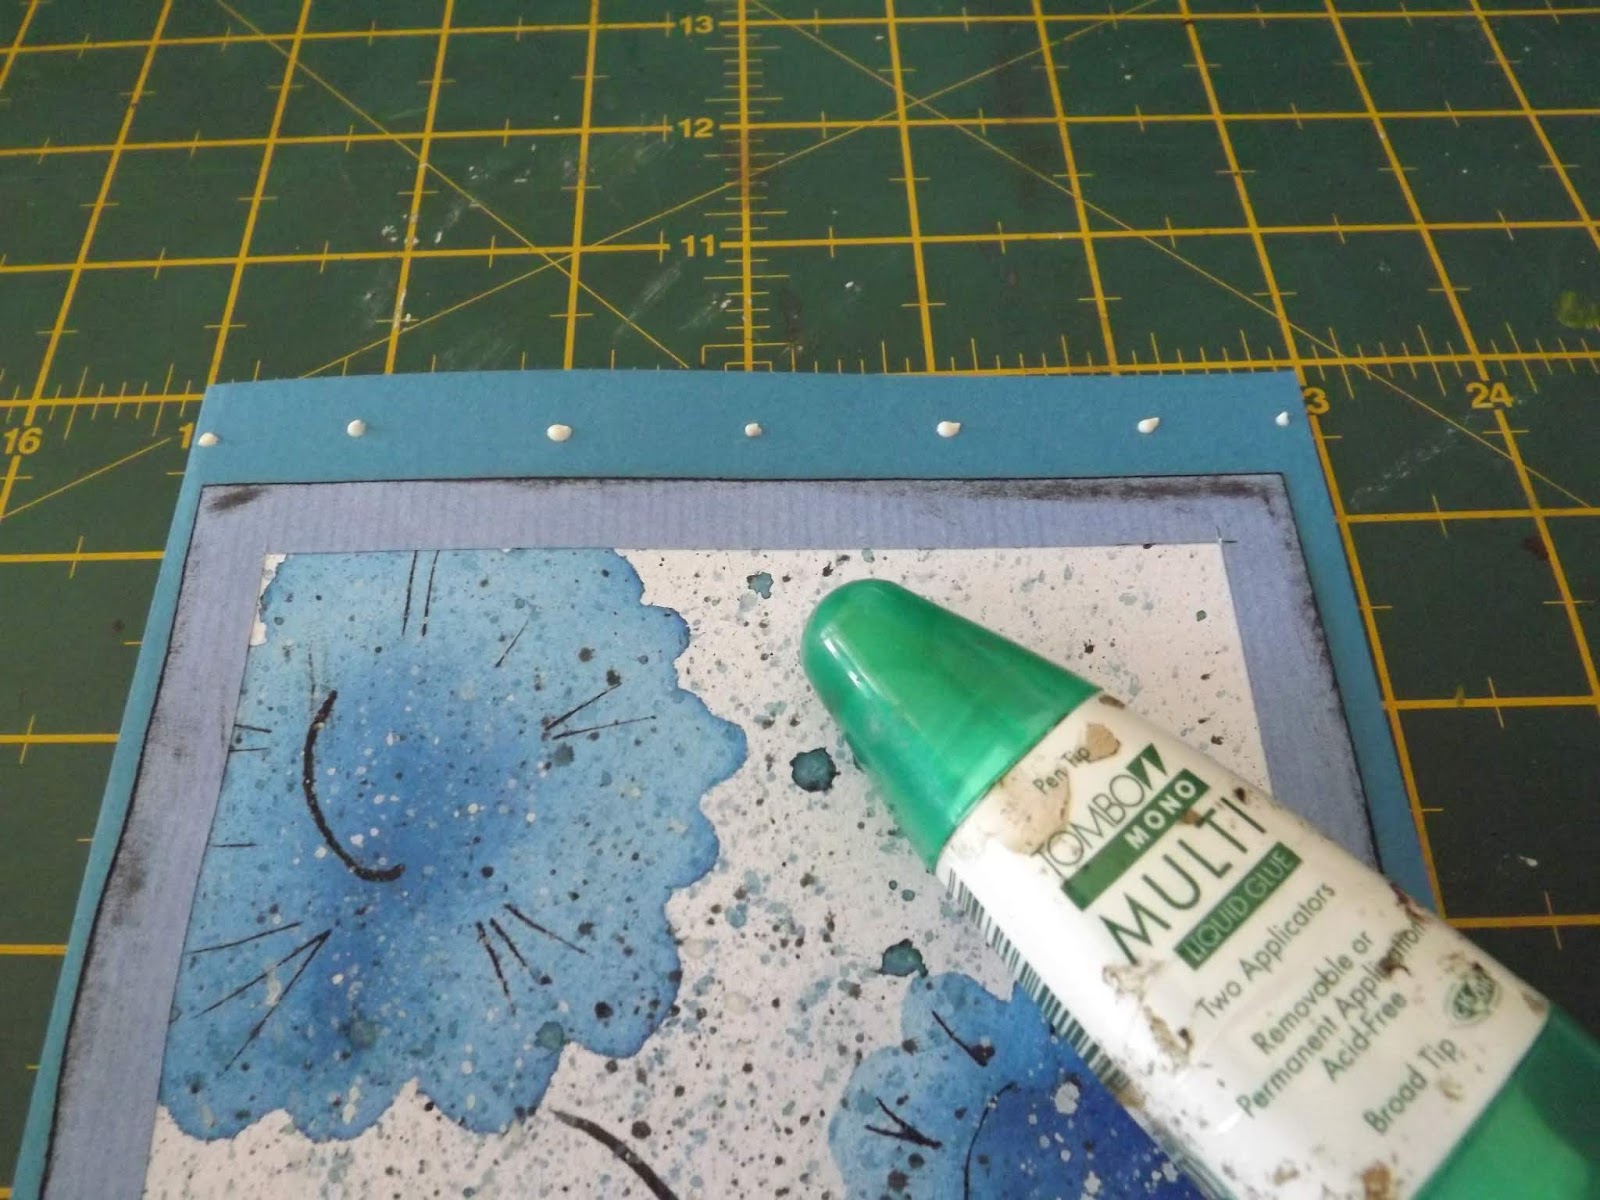
Then I lay down a row of glue dots at the top of the card.


I stick some glitzy finishing touches onto the card.


The finished card.


You can watch a short compilation video of the above steps on YouTube:
https://youtu.be/CPitRZOlpKA


Marietjie Uys (Miekie) is a published author. You can buy my books here:
You can purchase Designs By Miekie 1 here.
Jy kan Kom Ons Teken en Verf Tuinstories hier koop.
Jy kan Kom Ons Kleur Tuinstories In hier koop.
Jy kan Tuinstories hier koop.
You can follow Miekie's daily Bible Study blog, Bybel Legkaart, here in English & Afrikaans.
You may prefer to follow the traveling blog, A Pretty Tourist.
For more crafty ideas and great product reviews, visit A Pretty Talent on Facebook.
If you are in a literary mood, follow Miekie's musings, stories and poetry on A Pretty Author - Miekie.
Remember to keep nurturing your TALENT for making life PRETTY.
You can subscribe to any of these blogs and receive regular updates by email. Simply register your email address at the top of the applicable blog.