Today we will make the last of the scatter cushions for the bed set that we are busy with. This time we want to convey the message of love. When you want to tell a little girl that she is loved there are fewer things that will get the message across as successfully as a pink heart shaped cushion and that is precisely what we will be making today.
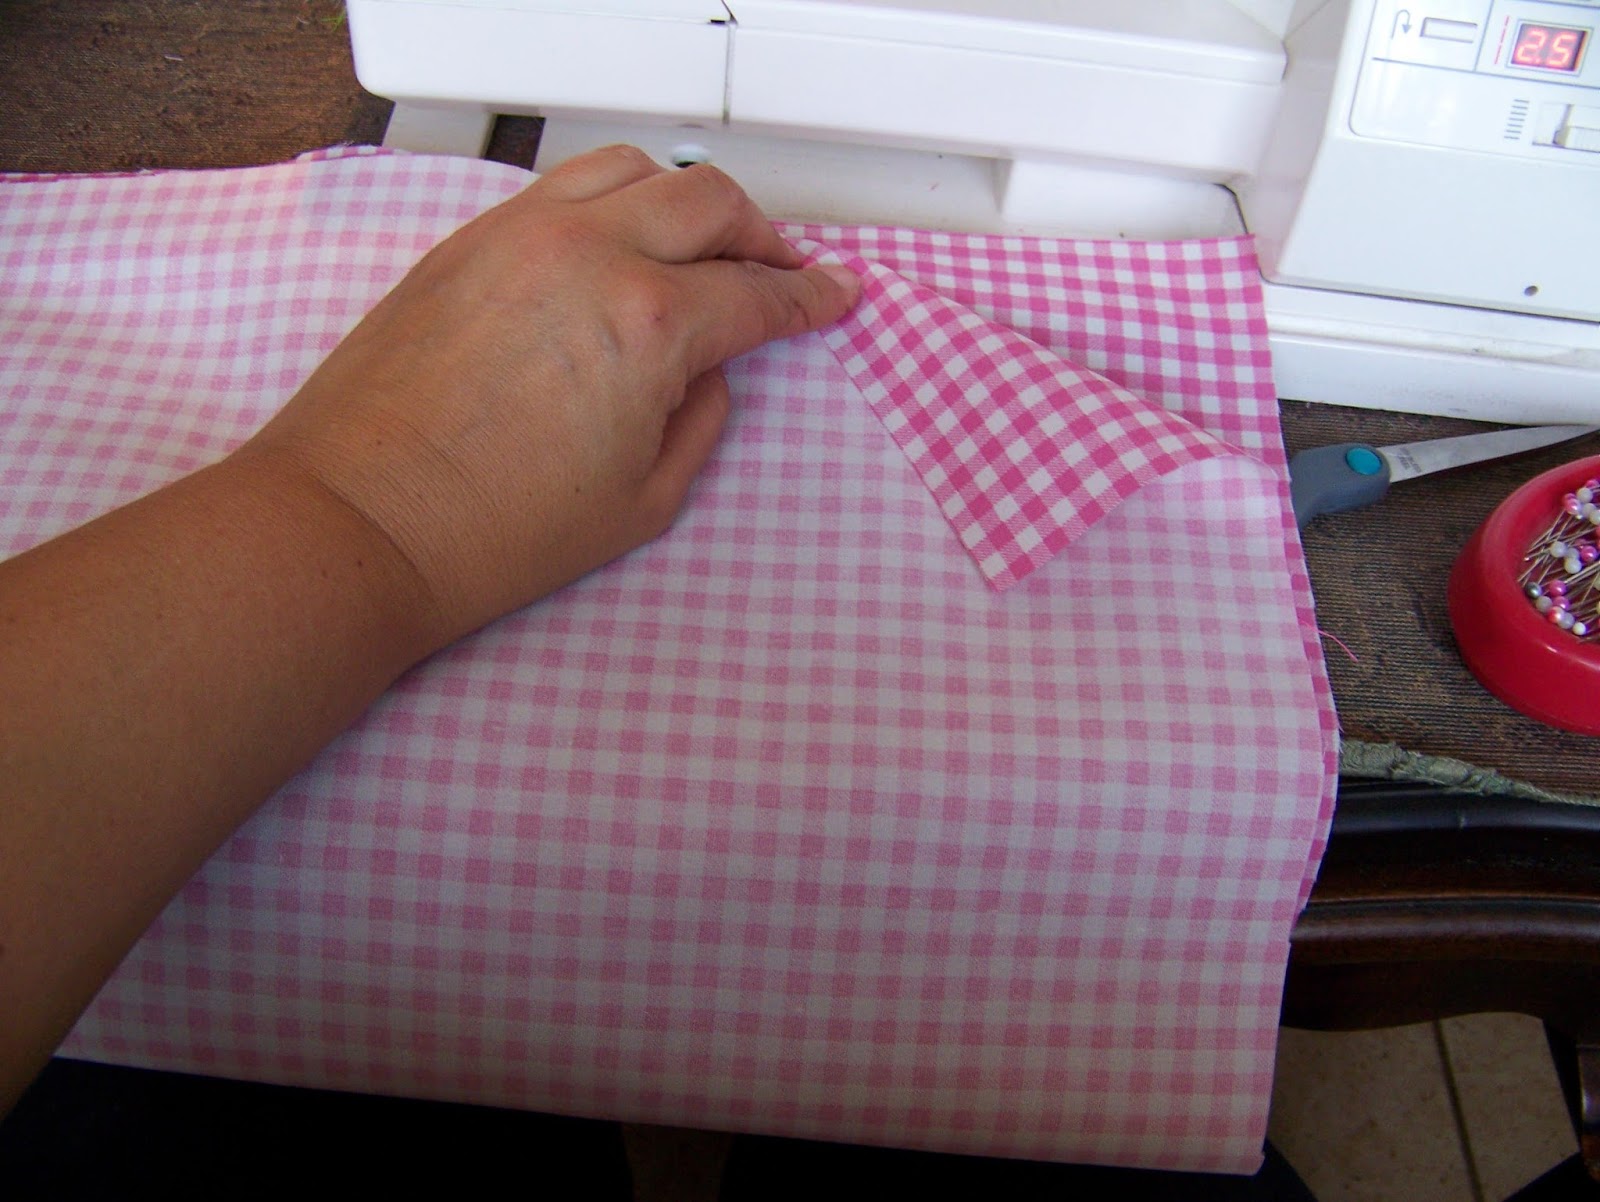
Measure and cut the fabric to 50 cm x 50 cm.
Fold the fabric on the center line.
Use a fabric marker to draw a pleasing heart that fills the fabric side to side. Try to avoid angles that are too sharp. Keep it rounded. Cut out on the fold to make sure the two sides of the heart are similar.
Unfold the fabric to see if the heart needs tweaking. Mine will do just fine.
Lay the two panels of the cushion on top of each other with the right sides facing.
Pin all along the outside of the heart. Leave a space on one of the straight sides unpinned.
Sew at seam allowance 1,5 cm.
Notice that I have left ample space to insert stuffing.
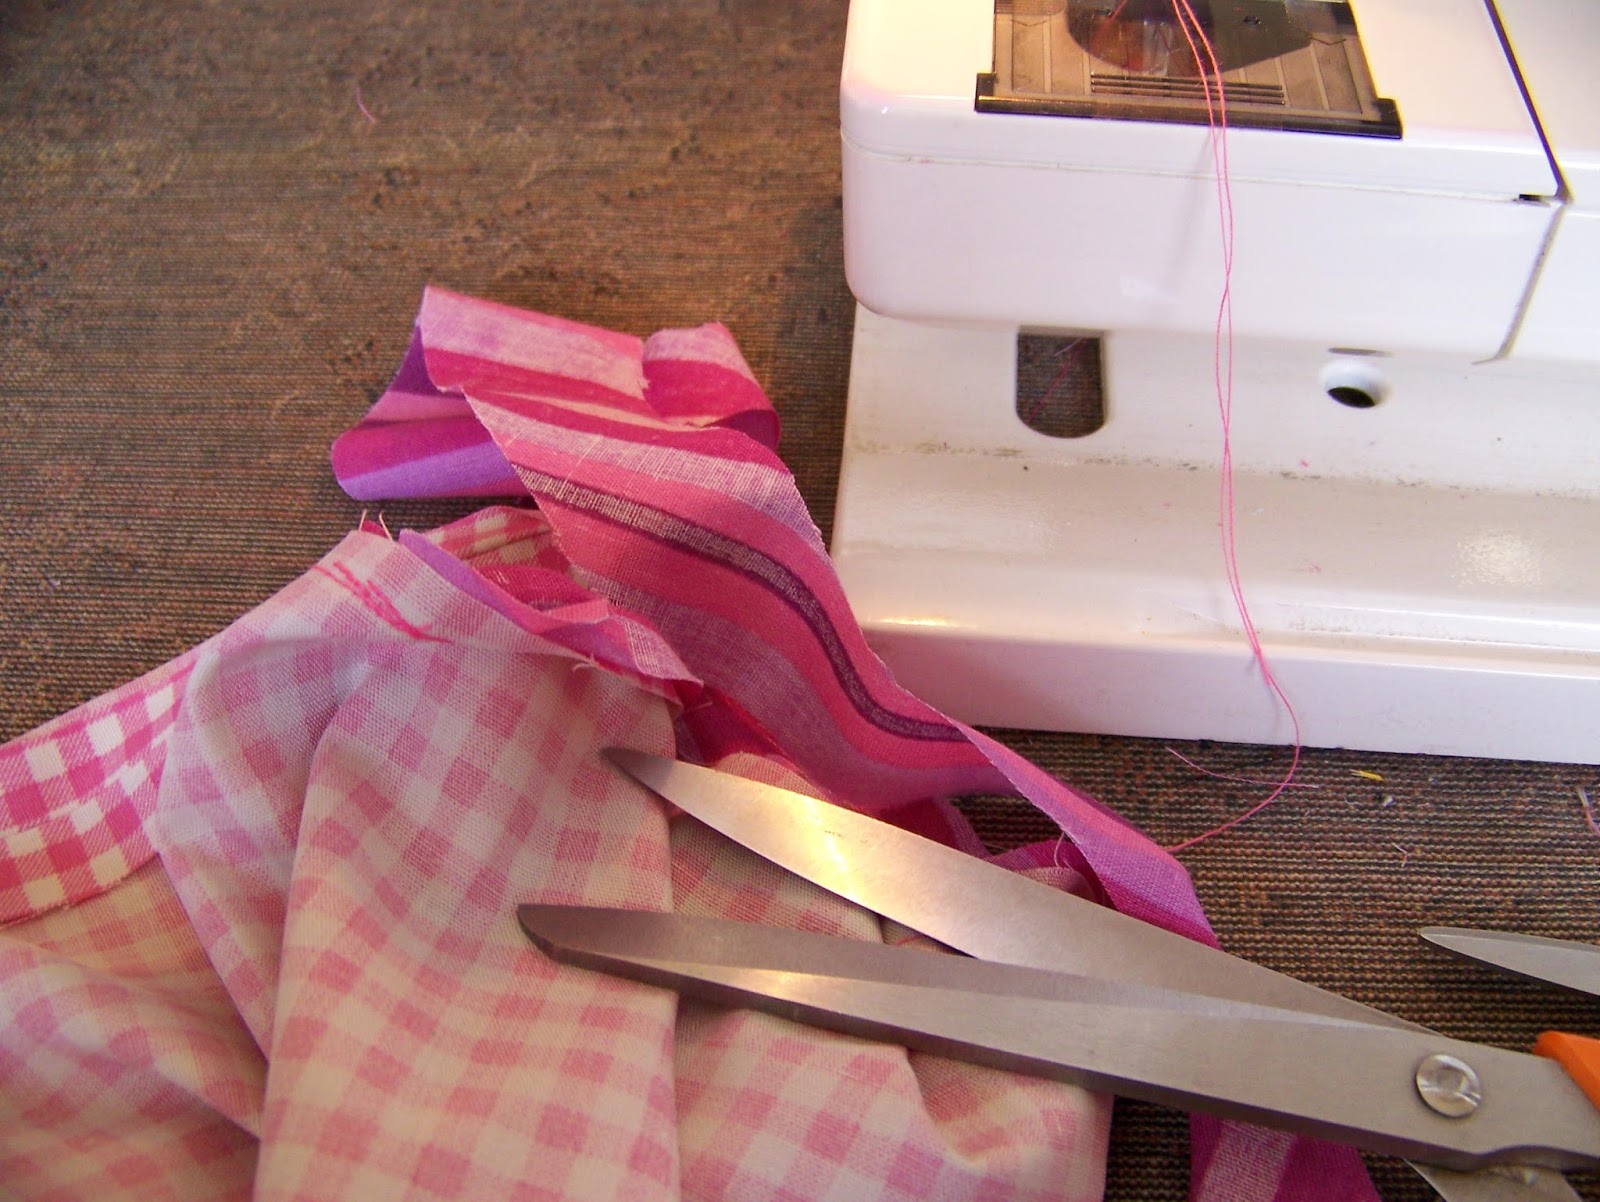
Trim away the excess fabric in the corners and on the roundings.
Turn the cushion right side out.
It is time to put the stuffing into the cushion. This cushion will take approximately half a bag of stuffing.
Make sure to work the stuffing well into the corners and crevices of this cushion or it will look odd once closed.
Stuff the cushion chockablock with stuffing.
Fold the seams in and pin together.
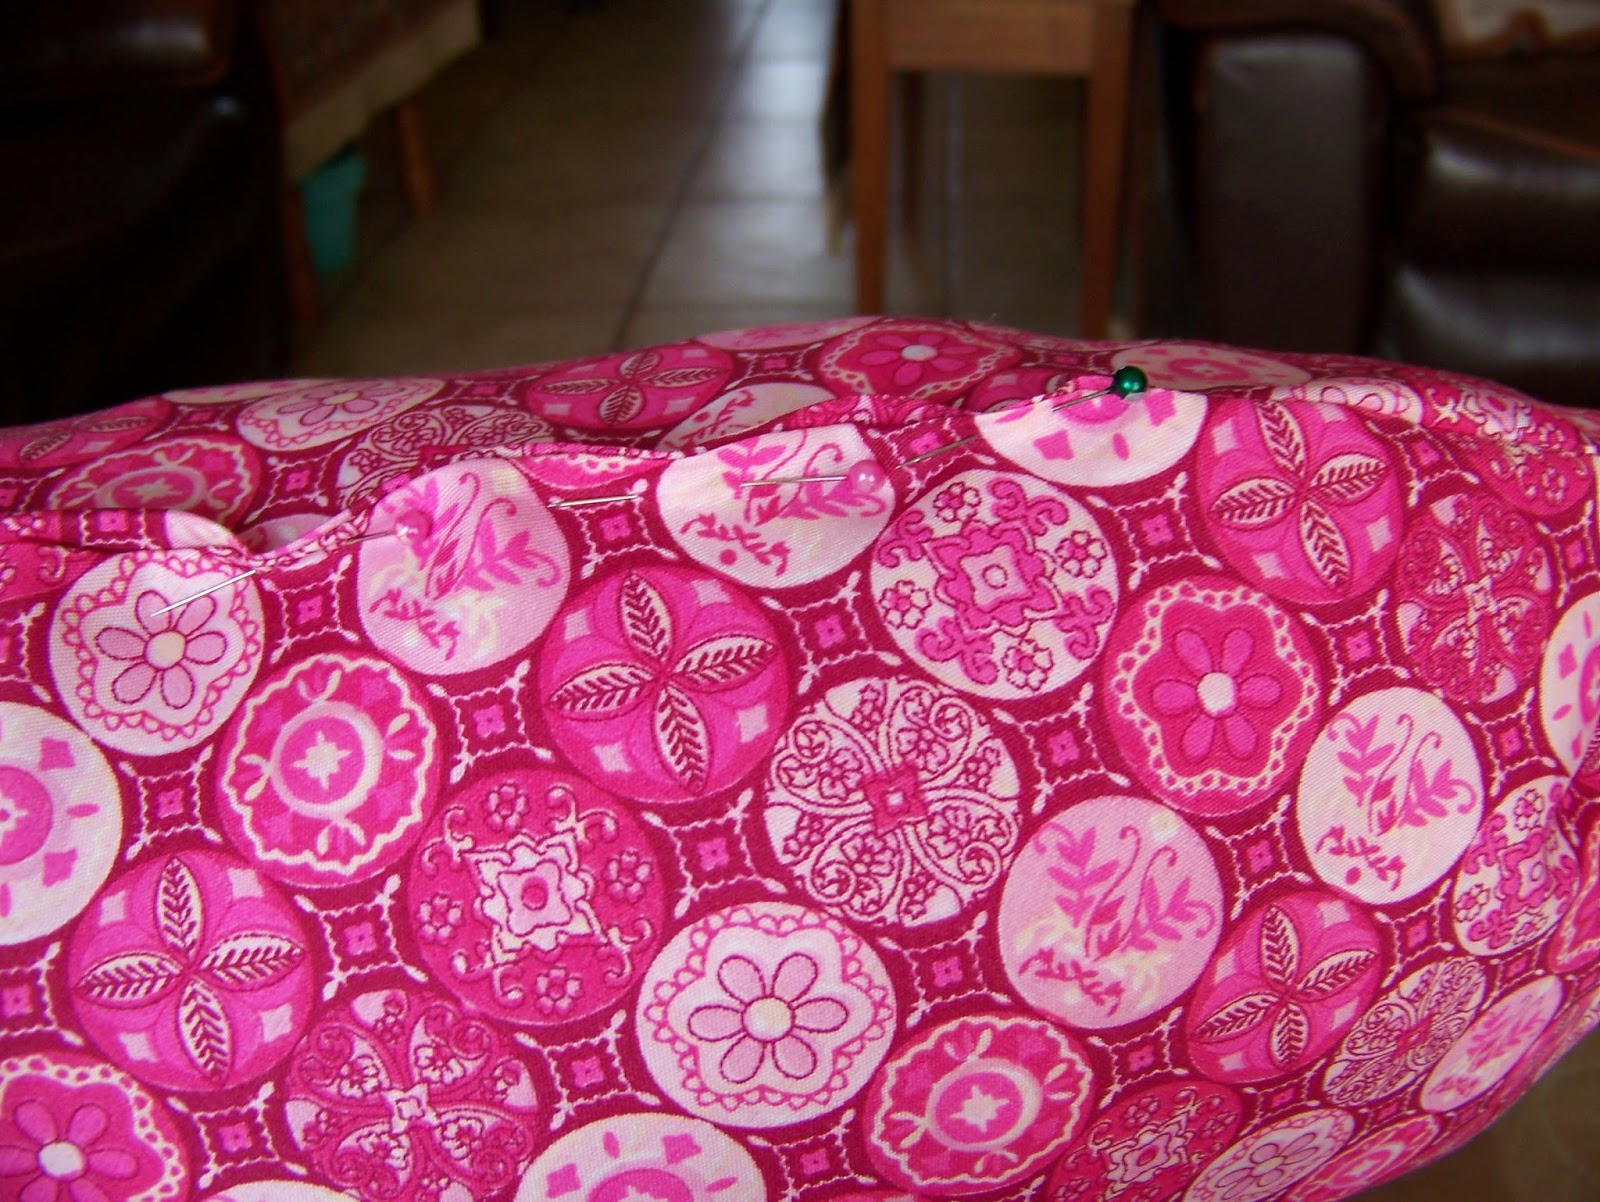
Close by hand.
Shouldn't hearts always come in pairs?
An added advantage of these heart-shaped pillows is that they are naturally shaped to support small babies. (Do not leave them unguarded in the pillows! Small babies can not support their own weight and could smother in pillows).
For more crafty ideas and great products, visit APrettyTalent.com.
Remember to keep nurturing your TALENT for making PRETTY things.
You can subscribe to this blog and receive regular updates by email by simply registering your email address at the top of the current blog.
This blog is about empowering everyone who has a talent for making pretty things, be it a latent or developed one. I bring you practical tips and tricks to make and do the things you've always wanted to.
Search This Blog
Thursday, 3 September 2015
Wednesday, 2 September 2015
Make a Round Scatter Cushion
A single scatter cushion on a bed is seldom successful. I love to fill my bed with cushions and pillows. That is why we make yet another scatter cushion for the bed sets we are busy with. This time we use a plainer fabric, but we opt for an interesting shape.
Start by measuring your fabric to 50 cm x 50 cm. Cut to size.
Set a compass to radius 11 cm. This will enable you to circumscribe a circle of 22 cm diameter.
I choose to make the sides of the cushion in a coordinating fabric. Cut a piece of fabric to measure 25 cm x 25 cm. Fold along the center.
Center the compass on the fold and circumscribe a semi-circle.
Cut out on the fold.
This is the side panel of the cushion.
You will need two circles per cushion. I am making two cushions and need to cut 4.
Fold the fabric for the cushion at the center and pin in place.
Sew at seam allowance 1,5 cm.
Iron the seam open.
Mark the round scatter cushion in quarters with pins.
Mark the circle endings in quarters with pins.
Line the pins up and then pin the circle ending to the cushion opening.
Sew a foot width away from the side.
Trim away the excess fabric from the circle.
Turn the cushion right side out.
It is time to insert the stuffing into the pillow. The pillow will take approximately half a bag of stuffing.
Scoop the stuffing into the sleeve. Folding the tops over makes it much easier to achieve.
Stuff the pillow quite tightly, pushing the stuffing down the tube.
Fill to the brim, pushing down all the while.
Mark the quarter marks around the 'lid'.
Mark the quarter marks around the opening.
Line up and pin the quarter marks together.
Pin all around, folding the seams in as you go.
Close the tube by sewing the 'lid' on by hand.
The finished product. These are also handy to use as buffers against walls and other hard surfaces.
For more crafty ideas and great products, visit APrettyTalent.com.
Remember to keep nurturing your TALENT for making PRETTY things.
You can subscribe to this blog and receive regular updates by email by simply registering your email address at the top of the current blog.
Start by measuring your fabric to 50 cm x 50 cm. Cut to size.
Set a compass to radius 11 cm. This will enable you to circumscribe a circle of 22 cm diameter.
I choose to make the sides of the cushion in a coordinating fabric. Cut a piece of fabric to measure 25 cm x 25 cm. Fold along the center.
Center the compass on the fold and circumscribe a semi-circle.
Cut out on the fold.
This is the side panel of the cushion.
You will need two circles per cushion. I am making two cushions and need to cut 4.
Fold the fabric for the cushion at the center and pin in place.
Sew at seam allowance 1,5 cm.
Iron the seam open.
Mark the round scatter cushion in quarters with pins.
Mark the circle endings in quarters with pins.
Line the pins up and then pin the circle ending to the cushion opening.
Sew a foot width away from the side.
Trim away the excess fabric from the circle.
Turn the cushion right side out.
It is time to insert the stuffing into the pillow. The pillow will take approximately half a bag of stuffing.
Scoop the stuffing into the sleeve. Folding the tops over makes it much easier to achieve.
Stuff the pillow quite tightly, pushing the stuffing down the tube.
Fill to the brim, pushing down all the while.
Mark the quarter marks around the 'lid'.
Mark the quarter marks around the opening.
Line up and pin the quarter marks together.
Pin all around, folding the seams in as you go.
Close the tube by sewing the 'lid' on by hand.
The finished product. These are also handy to use as buffers against walls and other hard surfaces.
For more crafty ideas and great products, visit APrettyTalent.com.
Remember to keep nurturing your TALENT for making PRETTY things.
You can subscribe to this blog and receive regular updates by email by simply registering your email address at the top of the current blog.
Tuesday, 1 September 2015
Make a Square Scatter Cushion
We are a long way from finished with the bed sets we are preparing for those long awaited twins we are expecting. Today we will make a square scatter cushion for the bed. We use a printed fabric that is quite expensive and we want to make the most of the pictures on the fabric. This is why we keep the shape of the cushion quite simple.
Measure the fabric to 50 cm x 1 m and cut to size.
Fold the fabric at the center with right sides facing. Pin two sides.
Sew the two pinned sides with seam allowance 1,5 cm.
Cut away the excess fabric in the corner.
Turn the pillow slip right side out.
It is time to add the stuffing to the scatter cushion. Open the plastic bag and shove it into the fabric sleeve to prevent spillage. Shake out and recycle the plastic bag.
Work the stuffing into the corners of the cushion.
Fold the seams in and pin closed.
Sew the seam by hand.
You can stuff the cushion more tightly, but I wanted to keep it softer to accommodate the two tiny babies on whose beds they would go.
For more crafty ideas and great products, visit APrettyTalent.com.
Remember to keep nurturing your TALENT for making PRETTY things.
You can subscribe to this blog and receive regular updates by email by simply registering your email address at the top of the current blog.
Measure the fabric to 50 cm x 1 m and cut to size.
Fold the fabric at the center with right sides facing. Pin two sides.
Sew the two pinned sides with seam allowance 1,5 cm.
Cut away the excess fabric in the corner.
Turn the pillow slip right side out.
It is time to add the stuffing to the scatter cushion. Open the plastic bag and shove it into the fabric sleeve to prevent spillage. Shake out and recycle the plastic bag.
Work the stuffing into the corners of the cushion.
Fold the seams in and pin closed.
Sew the seam by hand.
You can stuff the cushion more tightly, but I wanted to keep it softer to accommodate the two tiny babies on whose beds they would go.
For more crafty ideas and great products, visit APrettyTalent.com.
Remember to keep nurturing your TALENT for making PRETTY things.
You can subscribe to this blog and receive regular updates by email by simply registering your email address at the top of the current blog.
Subscribe to:
Posts (Atom)