Search This Blog

Saturday, 15 February 2025

Getting creative with the opening pages of your creative Bible

 You may have come across my earlier blogs where I have written about the new creative Bible I have purchased. I am still dealing with those opening pages in the Bible before we even get to the text. Let me show you what I do to make these pages look a little more the way I wish the Bible to look. For today's double page spread, I use decoupage, die-cuts, colouring, ink-blending, stamping, foiling and more. This one is fun!


I started off by colouring the word 'Contents' in two shades of aquamarine blue. (My apologies for the pink tint that my curtains threw on the page.


I wanted to decoupage a quarter of a serviette onto the contents page. The left-hand page contains the legal information pertaining to the sharing and copying of the Bible, etc. I would glue two pictures onto this page. One picture was cut in two and continued on the right-hand page. The theme for this layout is inspired by the Great Command to go out into the whole world, preaching the Gospel of Jesus Christ, and making people His disciples, i.e. being a fisher of men.


I found some ink pads in the colour scheme of the page.


I blended these colours onto the open spaces between the pictures.


I slipped some protective laminated sheets behind the pages and proceeded with the gluing and decoupaging of the pictures and serviette. I used Dala's Acrylic Gel Medium for this. I did not coat the pictures with the medium after sticking them down with it.


I then sandwiched the dies I wished to use between the cutting plates of my die-cut machine. I used the back of a white index card to cut the shapes from.


I then cut the shapes using the die-cut machine.


I laid the die-cut pictures out on the laminated sheet (my timetable from last year!), so that I could colour it.


I then found some brown ink and a lovely stencil to use on the layout.


I stamped the feint impressions of maps on the left-hand page in the open spaces.


I tested the layout of the die-cuts before committing myself to the colouring process.


I simply inked the fishing net with the same ink I used for the stamps of the maps.


I glued a piece of red cardboard behind the lighthouse and then carefully cut the excess away.


I used the brown ink pad to copur the rock on which the lighthouse rested.


I then used alcohol ink markers to colour the die-cut images.


The spread was starting to take shape.


I pulled out my foiling pen to add some sparkle to some of the coloured images.


I didn't want the bling to overpower the images and kept it rather low-key. The pen heats up, melting the foil to the paper.


Just a few lines of shiny stuff.


I did the same on a few more of the creatures, but not on all of them.
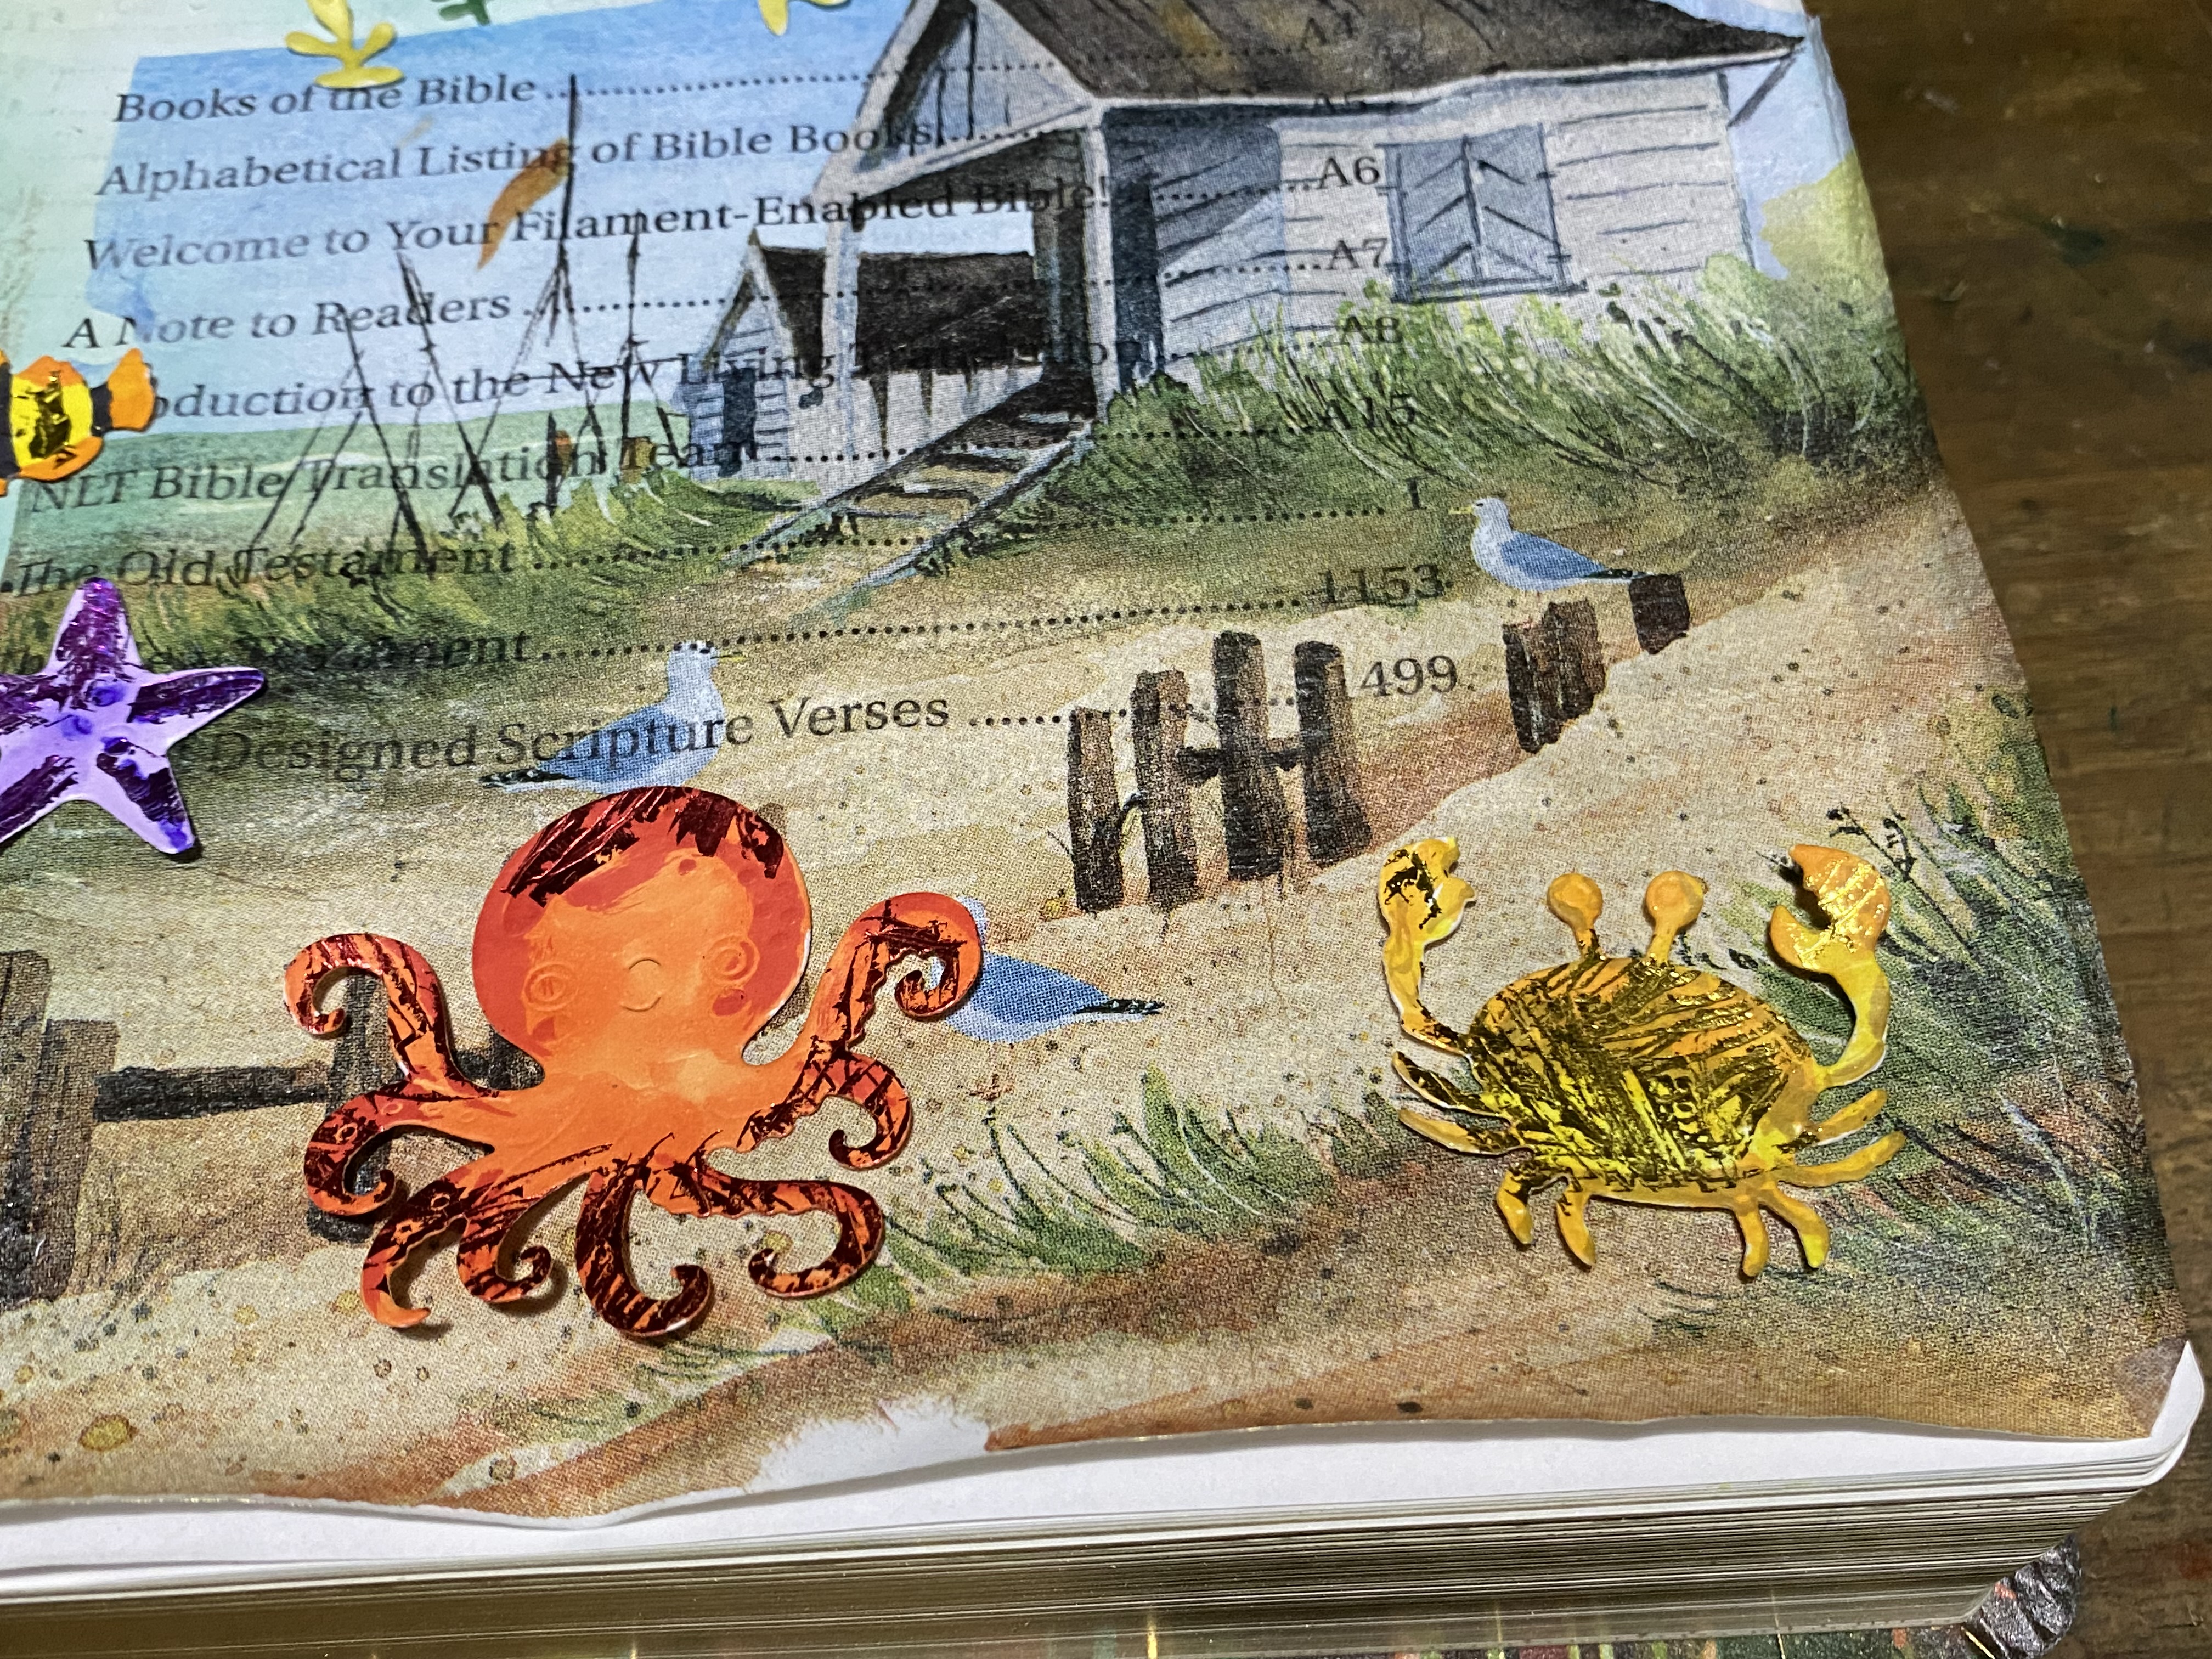

I used some washi tape to finish the edges of the pictures in a decorative manner.


It was now time to glue the die-cut images in place.


I am happy with the final result. It conveys the message I was looking to share and my mind was concentrated on this idea all the while I was busy with the page, making it time well spent in the Word, even though these were not pages filled with Bible passages.

Marietjie Uys (Miekie) is a published author. You can buy my books here:

You can purchase Designs By Miekie 1 here.
Jy kan Kom Ons Teken en Verf Tuinstories hier koop.
Jy kan Kom Ons Kleur Tuinstories In hier koop.
Jy kan Tuinstories hier koop.
You can follow Miekie's daily Bible Study blog, Bybel Legkaart, here in English & Afrikaans.
You may prefer to follow the traveling blog, A Pretty Tourist.
For more crafty ideas and great product reviews, visit A Pretty Talent on Facebook.
If you are in a literary mood, follow Miekie's musings, stories and poetry on A Pretty Author - Miekie.
Remember to keep nurturing your TALENT for making life PRETTY.
You can subscribe to any of these blogs and receive regular updates by email. Simply register your email address at the top of the applicable blog.

Saturday, 8 February 2025

How to Cover a Dull Colouring Page in your Bible with a Serviette

I am still taking early steps in my brand new journaling Bible, but I already came upon a double page spread that I did not enjoy colouring. In today's blog I show you how to deal with these pictures, using serviettes and decoupage techniques. This is also the first blog for which I have produced a video recording, rather than a slideshow compiled from photos. Let me know what you think about this new collaboration of media.


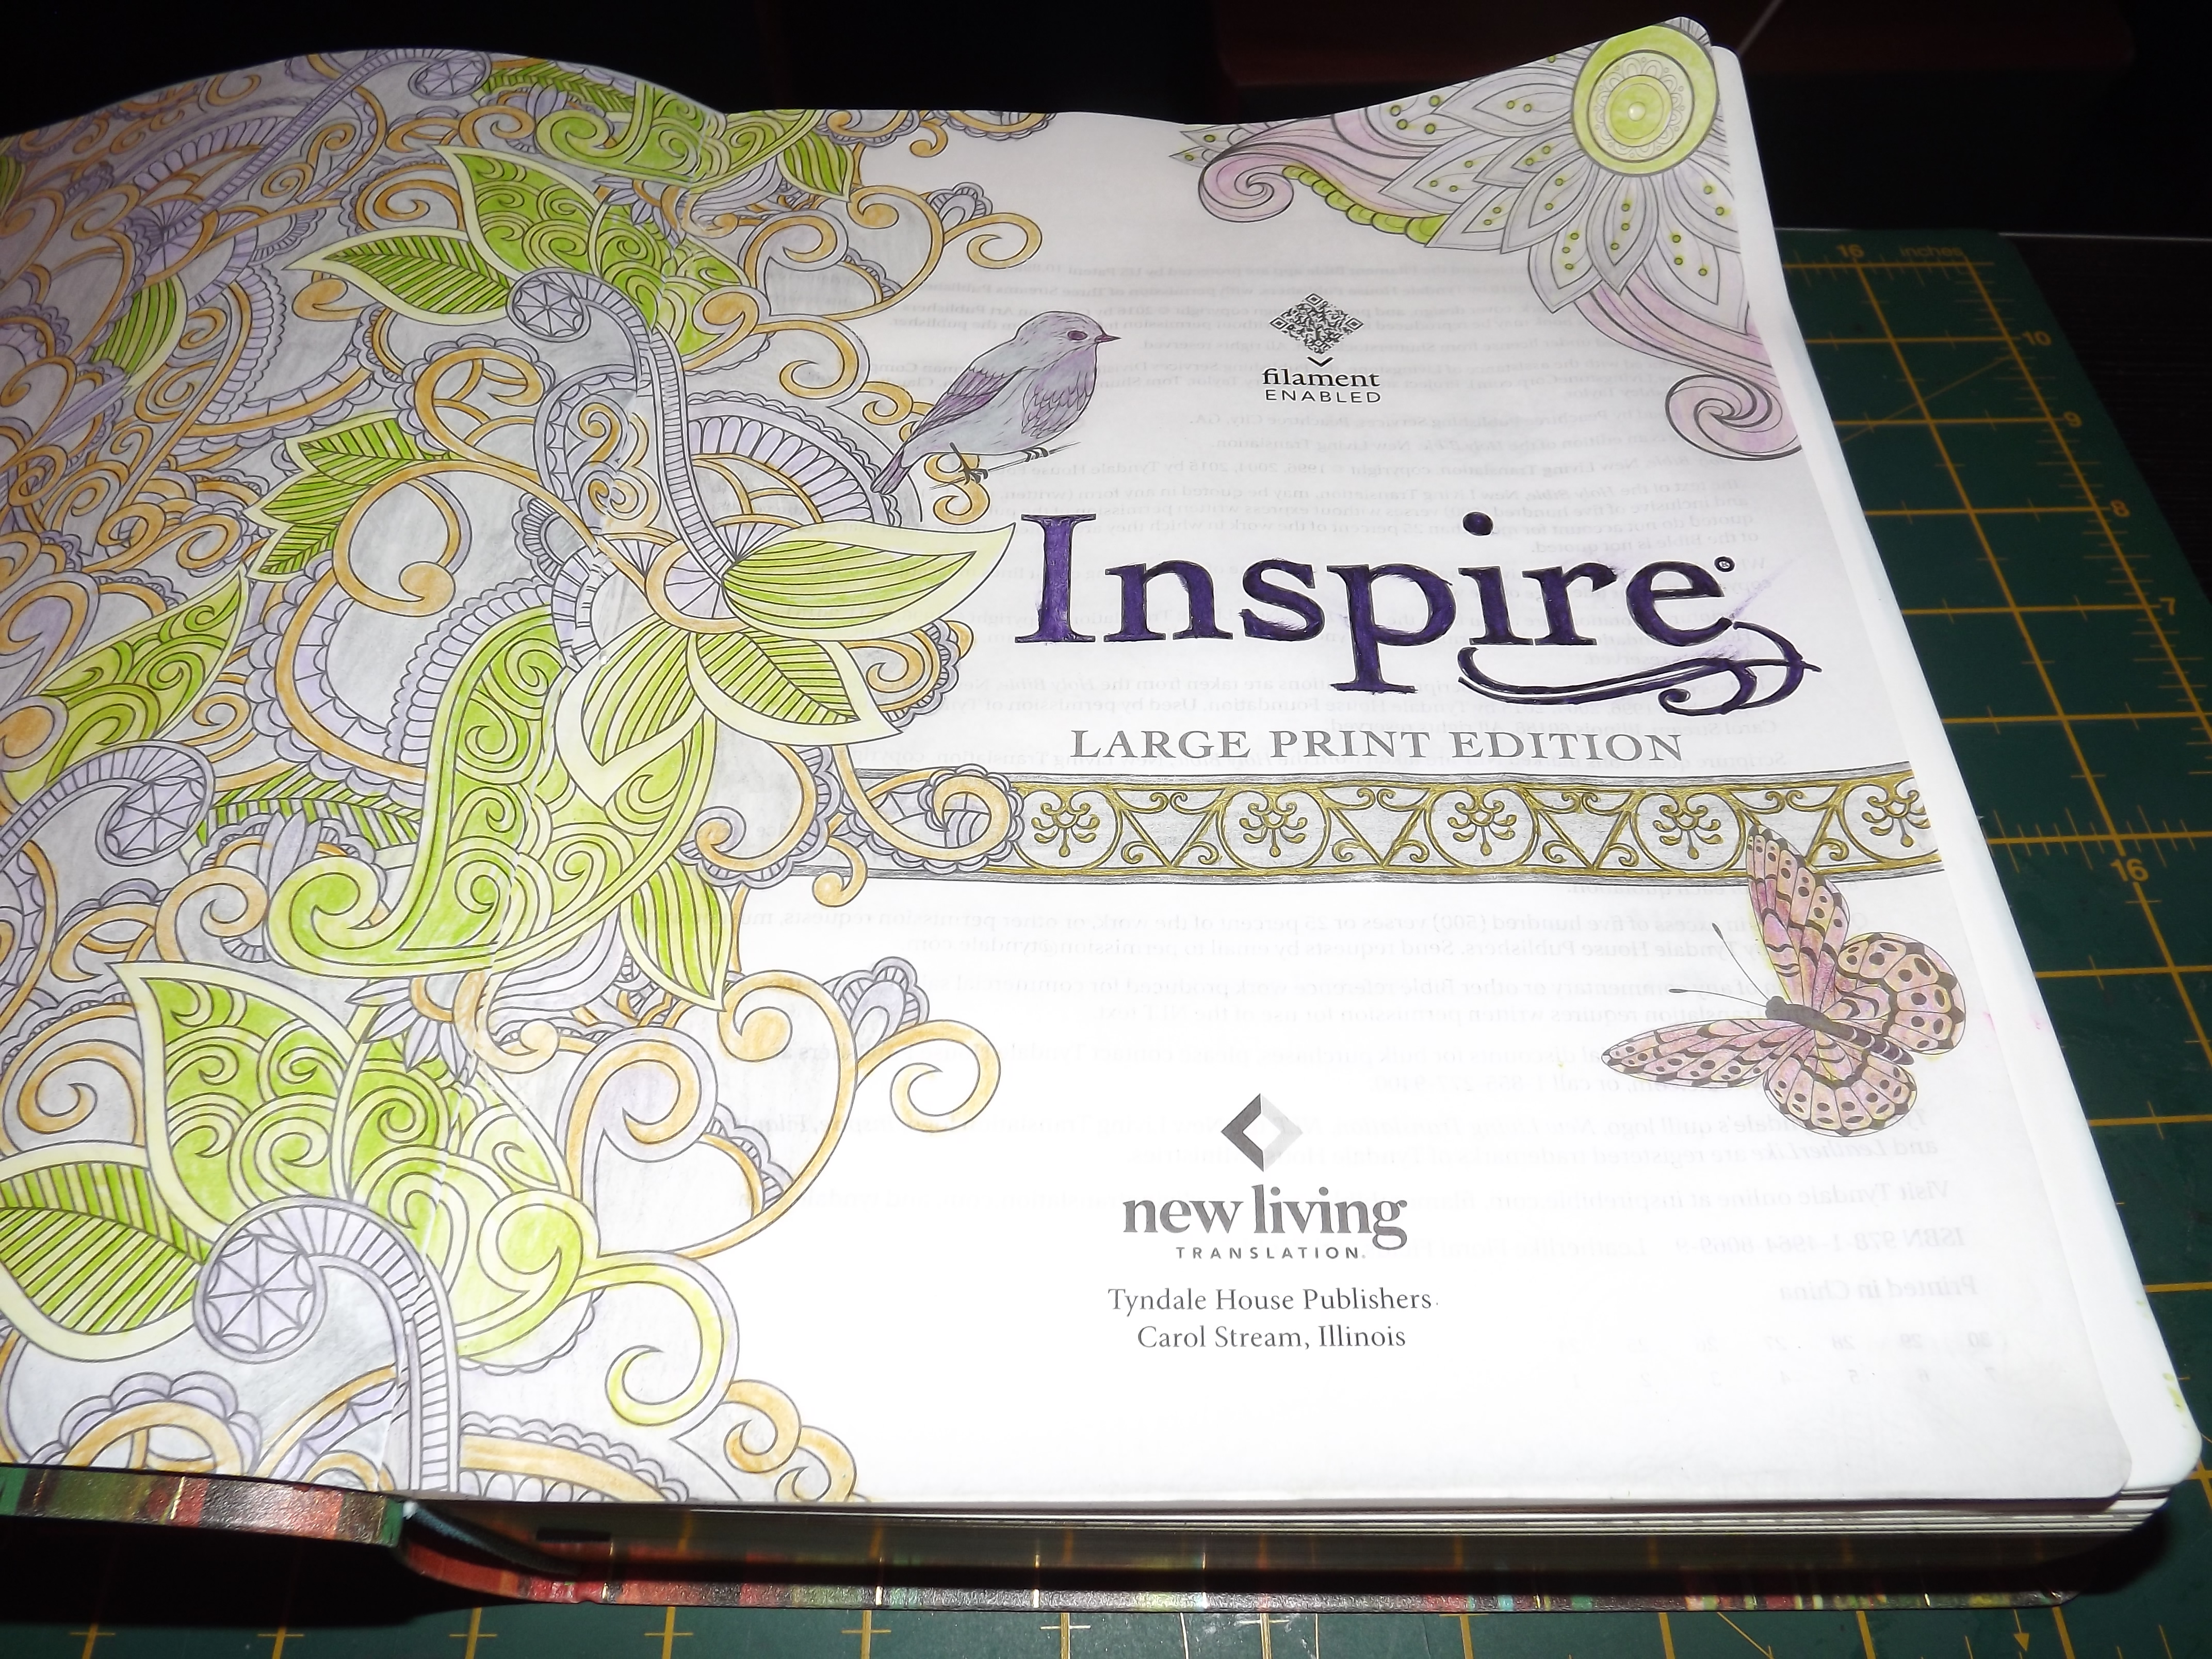
A quick reminder of the Bible I am working in today.


I did a very cursory colouring of the title pages, with no blending or shading. I basically just needed to make sure the spaces were filled with colour.


I used some gel pens on the finer details.


I put a little more effort into colouring the bird and the butterfly, but I still did not fully develop the colouring.


I then used Hickory Smoke Distress Ink to add some colour to the white areas on the page.


I removed the backing from the serviette I wanted to use and cut it into pieces before testing a layout on my page. I as careful to cut out a hole for the QR code to the Filament app.


I used Dala Acrylic Gel Medium to decoupage with, but you can use whatever works best for you. My bottle is almost empty and I want to use it up before the last bit dries in the bottle.


Leave it to dry once decoupaged.


Trim the edges where the serviettes extended over the edges of the pages.


I fixed a hole I had unintentionally created but decoupaging a small piece of serviette over the whole.


I test a stencil layout with which to add some stenciled words to the pages.


I stencil the word Trust in Water Drop Pearlescent Purple.


Faith is stenciled in Pearlescent Mint.


Love is stenciled in Pearlescent Lime.


Joy is stenciled in Pearlescent Orange.

When I am done, the serviette pieces take centre front the and the ghastly colouring picture has moved to the background.

You can watch a short video on how I created this page on YouTube by clicking on the link here: How to Cover a Dull Colouring Page with Serviette

Marietjie Uys (Miekie) is a published author. You can buy my books here:

You can purchase Designs By Miekie 1 here.
Jy kan Kom Ons Teken en Verf Tuinstories hier koop.
Jy kan Kom Ons Kleur Tuinstories In hier koop.
Jy kan Tuinstories hier koop.
You can follow Miekie's daily Bible Study blog, Bybel Legkaart, here in English & Afrikaans.
You may prefer to follow the traveling blog, A Pretty Tourist.
For more crafty ideas and great product reviews, visit A Pretty Talent on Facebook.
If you are in a literary mood, follow Miekie's musings, stories and poetry on A Pretty Author - Miekie.
Remember to keep nurturing your TALENT for making life PRETTY.
You can subscribe to any of these blogs and receive regular updates by email. Simply register your email address at the top of the applicable blog.

Tuesday, 4 February 2025

Mass Make: Creating Journal Covers

 Hello again. I have a special treat for you toady. We will be making some journal covers from paper bags, and covering them with cloth to give them a new lease on life. Afterwards, you can fold some A4 paper sheets in half, and fill your cover with the papers of your choice. Once full, you simply slide the papers out and refill it with some blanks. But I am getting ahead of myself.

The idea with these journal covers is to use them for a ladies retreat. I was therefore mass making them and ended up with 60 in total. However, I am not taking them to completion, as we would like the ladies to complete their own journals at the retreat.


Start by opening up the bottom of one of the big paper bags favoured by the grocery shops for deliveries. These bags are sturdy and strong and will make for strong journal covers. Don't get hung up on tearing and imperfections. These will all pull together in the end.


Cut one of the sides open.


Thurn the bag outside in. This is to mask the bright colours printed on the bag, so as to avoid these prints showing through the fabric that we will be covering the bags with.


Use PVA glue (craft glue/construction glue/wood glue) to cover the printed side of the bag in glue.


Only half the bag needs to be covered in glue. Fold the remaining half over the glued side and flatten. Don't mind areas that have thicker layers or has torn. These will not be an issue as we progress.


I found a series of old German books at a local charity shop (thrift store). I tear six pages from one of these books.


I glue the pages onto one of the sides of the paper bag. These book pages will become the insides of the journal covers.

To prevent the glue from drying too quickly in the intensely warm days we've been experiencing, I glue the pages onto the bag one row at a time (2 double pages at a time).


Lay your pages right next to each other to make sure you can fit all 6 double pages on the bag. If a page ends up hanging slightly over the edge of the bag, it is not a big deal. The fabric will strengthen the paper.


Leave it to dry. It doesn't have to be completely dry, but at least touch dry, before you continue.


Cut the pages apart.


Use the cut-out pages as guides to cut blocks of fabric to cover the bags with. Be as accurate as possible, but err on the side of larger, rather than smaller.


Cover the remaining side of the bag in glue and lay the fabric on top. Flatten it.


Leave it to become at least touch dry.


Sew all around the edges of the journal cover, as well as down and up the middle where the fold in the two pages is.


It  is easier to see the sewing instructions on this photo. If you don't have sewing machine, the same results can be achieved by punching holes with an awl and sewing by hand.


Trim the edges where any fabric or paper bag might be overhanging.


Fold the cover double.


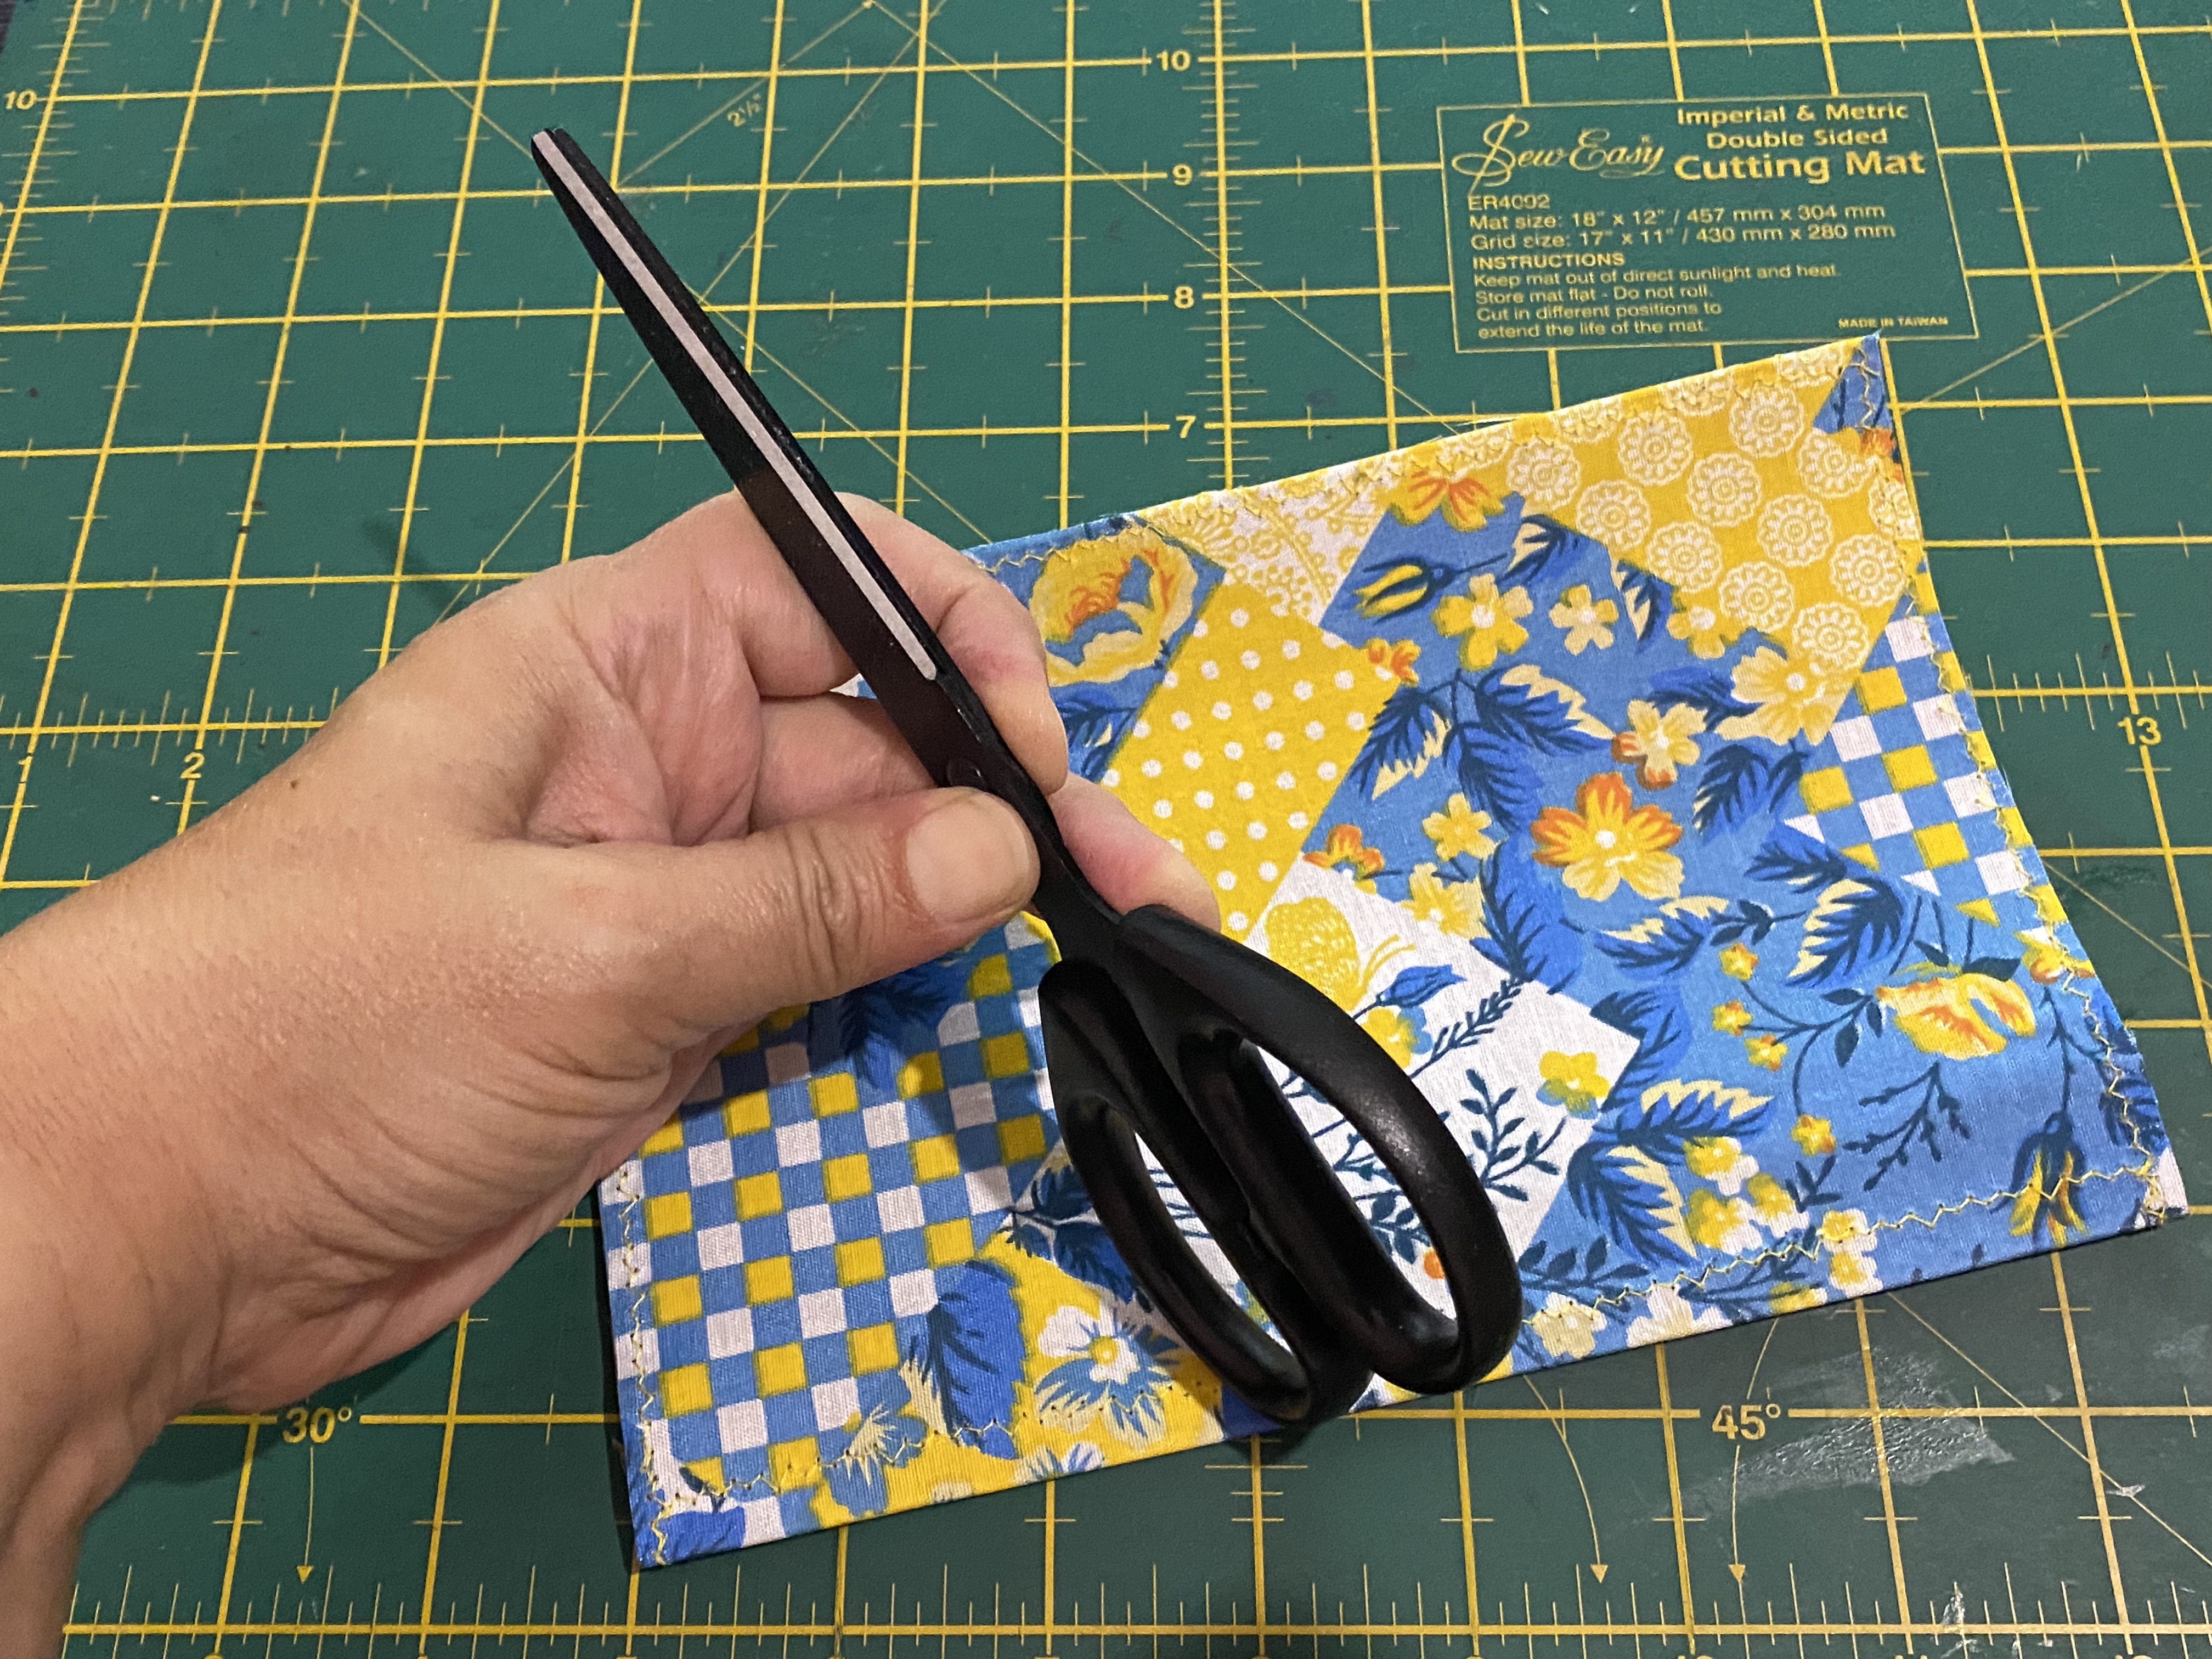
Flatten the fold line. I should have used bone folder for this, but had only the handle side of the scissors conveniently at hand.


Punch a hole at the top and bottom of the spine.


Set an eyelet in the punched hole.


This is the result you're looking for. Repeat at the other end.


Cut a string of decorative elastic to be four times the height of the journal.


String the elastic through the holes you have made in the spine of the journal. Both ends of the elastic should run from the inside out, so that the two ends end up on the outside of the journal.


Knot the two ends of the elastic with a slip knot. Don't make it too tight. It should just fit the journal, without distorting it, not hanging slack.


Find some beads with huge holes. String the first bead through both ends of the elastic.


String a second bead through only one of the ends.


String four more beads onto the elastic in this alternating pattern.


Tie another slip knot after the last bead and string a charm onto the elastic.


Yet another slip knot to secure the charm in place and cut the ends shorter.


You can now slip your folded papers into the elastic on the inside of the covers. I am still on two minds over whether I prefer the beads at the top or the bottom of the journals. What do you think?


At the retreat, each lady will be able to string the beads onto the cover for herself. I only strung the beads on the two sample journals.

Marietjie Uys (Miekie) is a published author. You can buy my books here:

You can purchase Designs By Miekie 1 here.
Jy kan Kom Ons Teken en Verf Tuinstories hier koop.
Jy kan Kom Ons Kleur Tuinstories In hier koop.
Jy kan Tuinstories hier koop.
You can follow Miekie's daily Bible Study blog, Bybel Legkaart, here in English & Afrikaans.
You may prefer to follow the traveling blog, A Pretty Tourist.
For more crafty ideas and great product reviews, visit A Pretty Talent on Facebook.
If you are in a literary mood, follow Miekie's musings, stories and poetry on A Pretty Author - Miekie.
Remember to keep nurturing your TALENT for making life PRETTY.
You can subscribe to any of these blogs and receive regular updates by email. Simply register your email address at the top of the applicable blog.