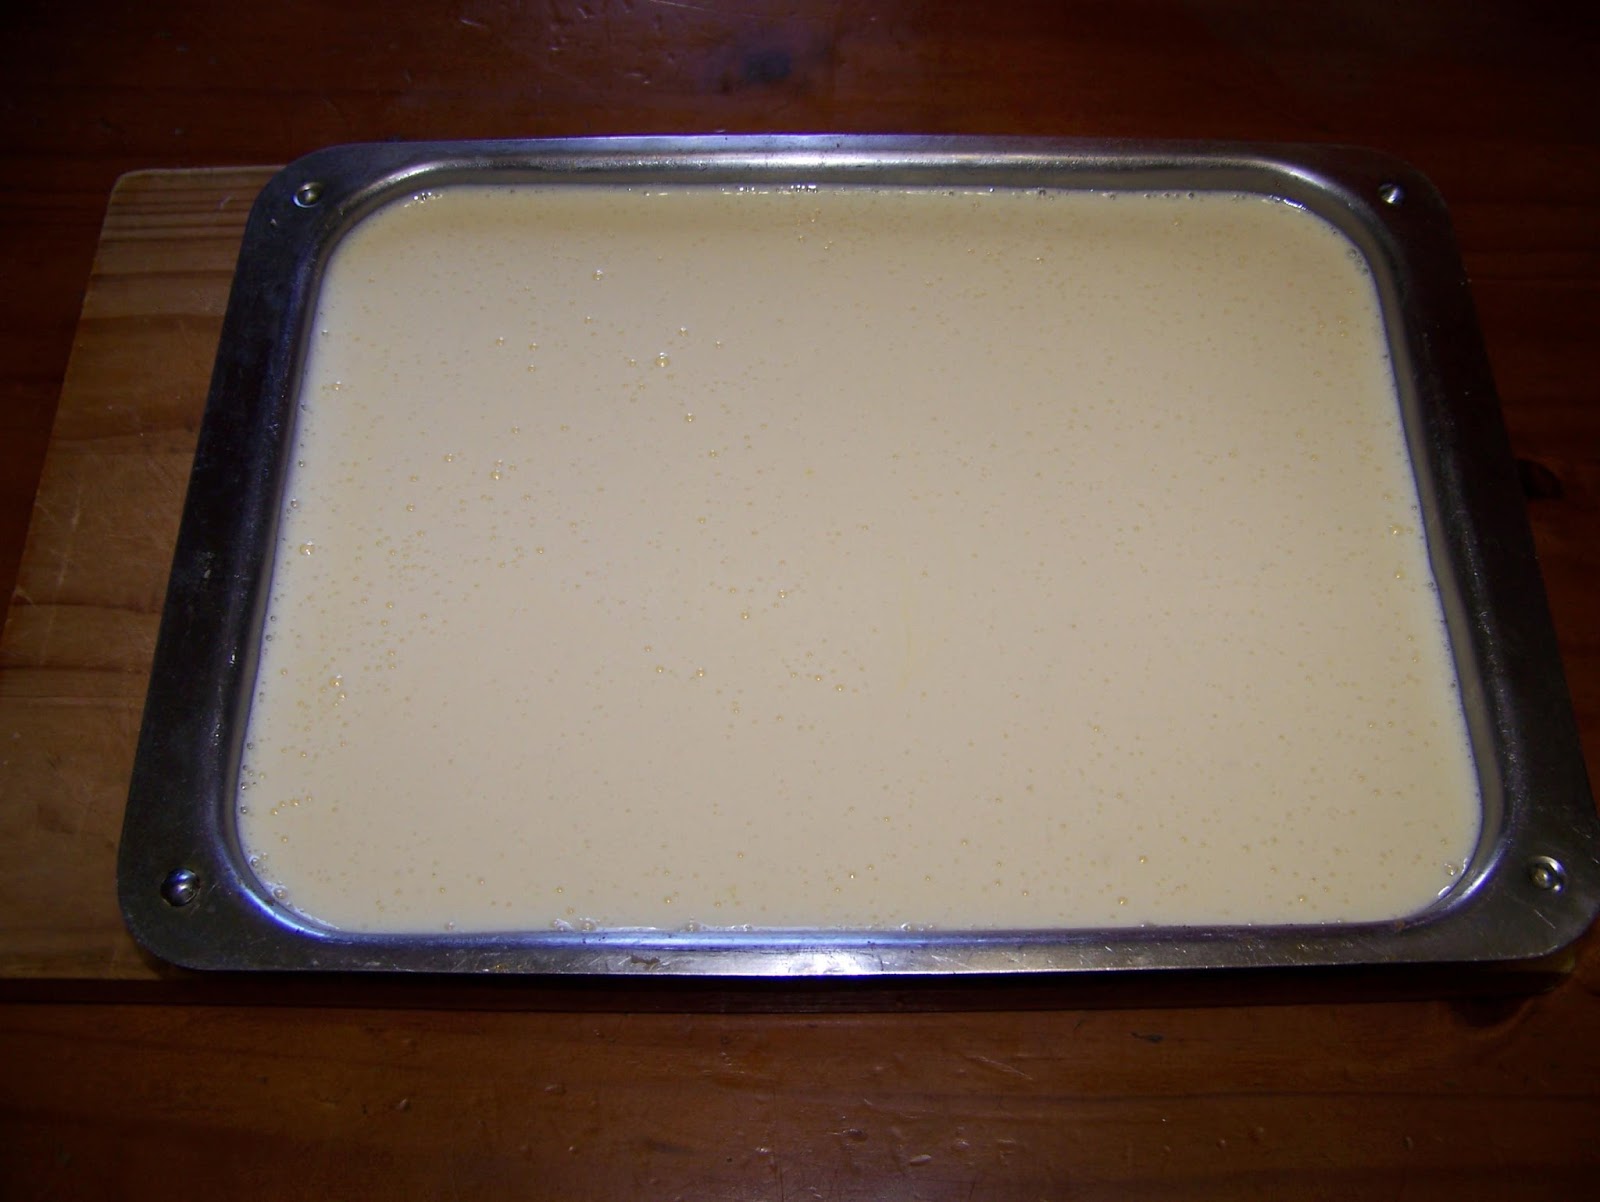
Search This Blog

Thursday, 11 May 2017

Baking A Lemon Mousse Cake

This year my 10 year old niece volunteered herself to bake the cake for my birthday. I readily agreed, but not wanting her to make it her mom's problem, I told her to come bake it at my house. She pitched up and the two of us sat down to decide what to bake. I decided to challenge her a bit and told her we should bake a lemon mousse cake. She agreed and then insisted I get the camera to share the steps in a blog. So here goes!


The book I took the recipe from.


The recipe we settled on to bake.


You will need 1 lemon, 2 eggs and 6 tablespoons (75 ml) sugar.


Separate the eggs and beat the egg whites to form soft points.


Grate the rind of the lemon.
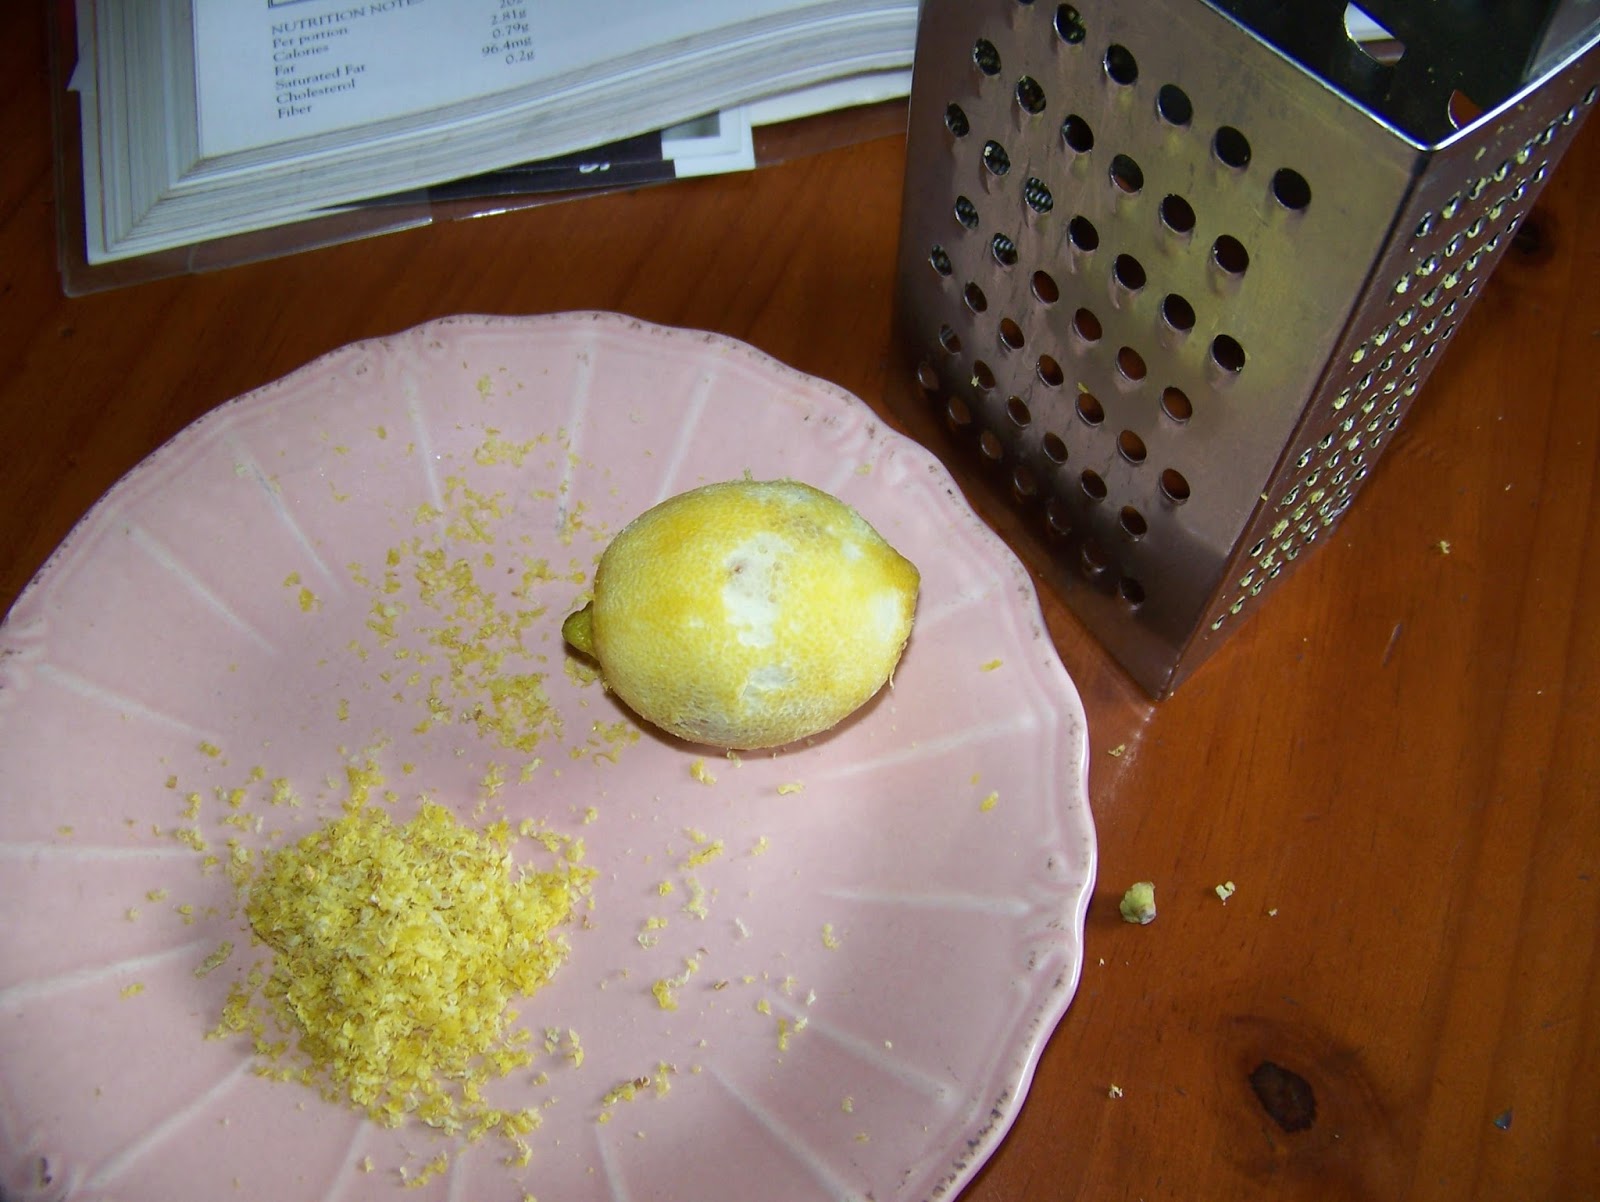

Add the sugar and the lemon rind to the egg yolks.


Beat until it is white and creamy.


Add 1/2 cup (125 ml) cake flour and 1/2 teaspoon (2,5 ml) baking powder to the egg yolk mixture and mix.


Add the mixture to the egg whites.


Mix everything together.


Pour the batter into a prepared cake tin.


Bake for roughly 15 minutes at 180 °C.


Remove from tin and allow to cool on a wire rack.


For the mousse: Separate two more eggs.


Add 6 tablespoons (75 ml) sugar and the rind of a lemon to the egg yolks.


Sprinkle 1 tablespoon (12,5 ml) gelatine over 1/2 cup (125 ml) boiling water.


Bring more water to the boil in a bowl.


Dissolve the gelatine over the boiling water.


This is what it looks like when completely dissolved.


Allow the gelatine to cool down.


Whip your egg whites to soft peaks.


Beat the egg yolks, sugar and lemon rind to a creamy texture.


Add the juice of 1 lemon and continue mixing. Now add the gelatine solution and mix well.


Whip up 1/2 cup (125 ml) fresh cream.


Fold the cream into the batter. Allow to chill.


When the batter starts to set, fold in the egg whites.


The mixture should look like this when ready.


Place the cake back in the tin that it was baked in. Line the sides with wax paper.


Pour the mousse onto the cake and put in the fridge for roughly 4 hours to set.


Once the cake has set, remove it from the tin.


Carefully peel away the paper.


Slide it onto a plate.


The cake is now ready to be decorated.


And now the cake is ready to eat!


Marietjie Uys (Miekie) is a published author. You can buy the books here:
You can purchase Designs By Miekie 1 here.
Jy kan Kom Ons Teken en Verf Tuinstories hier koop.
Jy kan Kom Ons Kleur Tuinstories In hier koop.
Jy kan Tuinstories hier koop.
You can follow Miekie's daily Bible Study blog, Bybel Legkaart, here in English & Afrikaans.
For more crafty ideas and great products, visit A Pretty Talent on Facebook.
Remember to keep nurturing your TALENT for making PRETTY things.
You can subscribe to this blog and receive regular updates by email by simply registering your email address at the top of the current blog.

Wednesday, 10 May 2017

Baking Old-Fashioned Waffles

Who does not have nostalgic memories of eating waffles as a child? I remember that my favourite used to be waffles drenched in syrup and loaded with ice cream. These days I prefer a savoury waffle to a sweet one, but the basic recipe remains the same. I show you how to quickly whip up a batch of good ole waffles in today's blog.


In a large mixing bowl, measure 3 cups (750 ml) cake flour, 6 teaspoons (30 ml) baking powder, 1/2 teaspoon (2,5 ml) salt and 2 tablespoons (25 ml) sugar.


I almost forgot to tell you that I took this recipe from the trusted old Kook En Geniet recipe book.


Add 4 eggs, 2 cups (500 ml) milk and 6 tablespoons (75 ml) cooking oil.


Mix well.


Get your non-stick spray ready, as well as a soup or sauce ladle to pour with.


Preheat the waffle pan.


Start baking the waffles.


Spray non-stick spray between loads of batter to keep the waffles from sticking to the pan.


The recipe made 12 waffles.


Good old cheese and tomato toppings make brilliant waffles, but you may prefer something a bit more traditional or elaborate.


Marietjie Uys (Miekie) is a published author. You can buy the books here:
You can purchase Designs By Miekie 1 here.
Jy kan Kom Ons Teken en Verf Tuinstories hier koop.
Jy kan Kom Ons Kleur Tuinstories In hier koop.
Jy kan Tuinstories hier koop.
You can follow Miekie's daily Bible Study blog, Bybel Legkaart, here in English & Afrikaans.
For more crafty ideas and great products, visit A Pretty Talent on Facebook.
Remember to keep nurturing your TALENT for making PRETTY things.
You can subscribe to this blog and receive regular updates by email by simply registering your email address at the top of the current blog.

Tuesday, 9 May 2017

School Holiday Project: Fingerprint Painting

The little ones demanded that we do a painting project as soon as possible. Problem was that I was still finding my feet having returned from a three week painting holiday. The studio still needed to be put back in order and I had to think of something to do with them that would be a little more contained. This was a great time to bring out the stamp pads for some fingerprint painting. I show you how much fun this can be in today's blog.


I gathered the stamp pads, some fibre tip pens (or markers) and white printer paper.


The kids were very excited about using the stamp pads for a change.


The kids had their own ideas about what they wanted to make, and I gave them free reign, but I'll show you an easy design to do with your own kids. I start by drawing 3 lines to represent flower stems. Each stem gets a circle a little ways removed from its top.


Press your finger onto the stamp pad and put finger prints all around the circles. You may wish to turn the page to maneuver around the circle more easily.


The center of the flower is filled with finger prints using another colour.


You may opt to use only traditional flower colours ...


... or you may go a little crazy with your choice of colours. You can also overlay colours on the same petals, or alternate colours. Many options are open here. I kept mine simple as I was entertaining two youngsters who needed my attention.


I used the whole stamp pad to create the 'soil' that the flowers grew in, by pressing it down on the paper.


I then added some leaves to the flower stems.


The leaves were also filled with finger prints.


As an afterthought, I added a quick butterfly.


I finally got to overlay some prints when I did the butterfly. There are plenty more ideas I can share for fingerprint painting, but you get the gist of it. If the child is too young to draw, you can even have them 'colour' a picture in their coloring books in this way. It is always fun, whatever you choose to do in this way.
Tip: Keep a damp cloth handy to wipe the fingers with before going from one stamp colour to the next, or the colours will become muddled up.


Marietjie Uys (Miekie) is a published author. You can buy the books here:
You can purchase Designs By Miekie 1 here.
Jy kan Kom Ons Teken en Verf Tuinstories hier koop.
Jy kan Kom Ons Kleur Tuinstories In hier koop.
Jy kan Tuinstories hier koop.
You can follow Miekie's daily Bible Study blog, Bybel Legkaart, here in English & Afrikaans.
For more crafty ideas and great products, visit A Pretty Talent on Facebook.
Remember to keep nurturing your TALENT for making PRETTY things.
You can subscribe to this blog and receive regular updates by email by simply registering your email address at the top of the current blog.

Monday, 8 May 2017

School Holiday Project: Baking Lemon Squares

Having returned from Botswana, I had a lot of lost time to make up with the kiddies in my life. They were quick to remind me that it had been ages since we'd done anything together. I had my work cut out for me! My ten-year old niece is actually already fully capable of baking on her own, but she still enjoys my company in the kitchen while she bakes. I show you how she made these delicious Lemon Squares in today's blog.


My niece pulled out this book I had given her a couple of years ago.


She wanted to make this recipe for Lemon squares.


Starting with the crust, she measured 350 g flour, 225 g (225 ml) butter at room temperature, and 90 g icing sugar. Do NOT replace the butter with margarine or oil, for it will not taste the same.


Put all of the ingredients in a medium sized mixing bowl and mix by hand.


Prepare a baking dish (23 x 33 cm) with non-stick spray.


Transfer the crust to the dish and pat down to compact it. Bake in a preheated oven at 180 °C for 30 minutes.


Start preparing the filling. Beat 4 large eggs.


Mix in 380 g castor sugar.


Grate in the zest/rind of one lemon.


Add 4 tablespoons (100 ml) cake flour. Mix well and set aside.


Squeeze some lemons so that you have 125 ml lemon juice. Set this aside to be added later.


Remove the baked crust from the oven when done.


Now add the lemon juice to the filling mix. Do not add earlier, or it may cause the filling to separate.


Mix well.


Pour the filling over the still hot crust.


Progress photo.


Bake in the still warm oven at 180 °C for 20 minutes.


Remove from the heat and allow to cool completely.


Dust with icing sugar.


Cut into squares.


Carefully remove the squares from the baking dish.


Brilliant results from a brilliant young baker!


Marietjie Uys (Miekie) is a published author. You can buy the books here:
You can purchase Designs By Miekie 1 here.
Jy kan Kom Ons Teken en Verf Tuinstories hier koop.
Jy kan Kom Ons Kleur Tuinstories In hier koop.
Jy kan Tuinstories hier koop.
You can follow Miekie's daily Bible Study blog, Bybel Legkaart, here in English & Afrikaans.
For more crafty ideas and great products, visit A Pretty Talent on Facebook.
Remember to keep nurturing your TALENT for making PRETTY things.
You can subscribe to this blog and receive regular updates by email by simply registering your email address at the top of the current blog.