Search This Blog

Saturday, 5 November 2016

Baking Apple Crumble

My mom is to blame for my sharing this recipe with all of you. She has been walking around for the past week, saying how much she craved a proper Apple Crumble. Say it often enough, and we all join in the craving. The apple tree is heavy with brand new apples, but there are no ripe ones yet. I went in search of some leftover bottled apples from the previous seasons and was thrilled to find some. Add two sprigs of rhubarb from the garden, and in no time at all, we had a delicious apple crumble to feast on.


Start by combining your dry ingredients in a medium sized mixing bowl. You will need a cup (250 ml) cake flour and a teaspoon (5 ml) salt. Mix this well. Measure 50 ml (50 g) butter.


Grate the butter into the dry ingredients and use your fingers to rub it into the flour until it takes on a crumbly consistency.


Add ice cold water by the spoonful until the dough comes together.
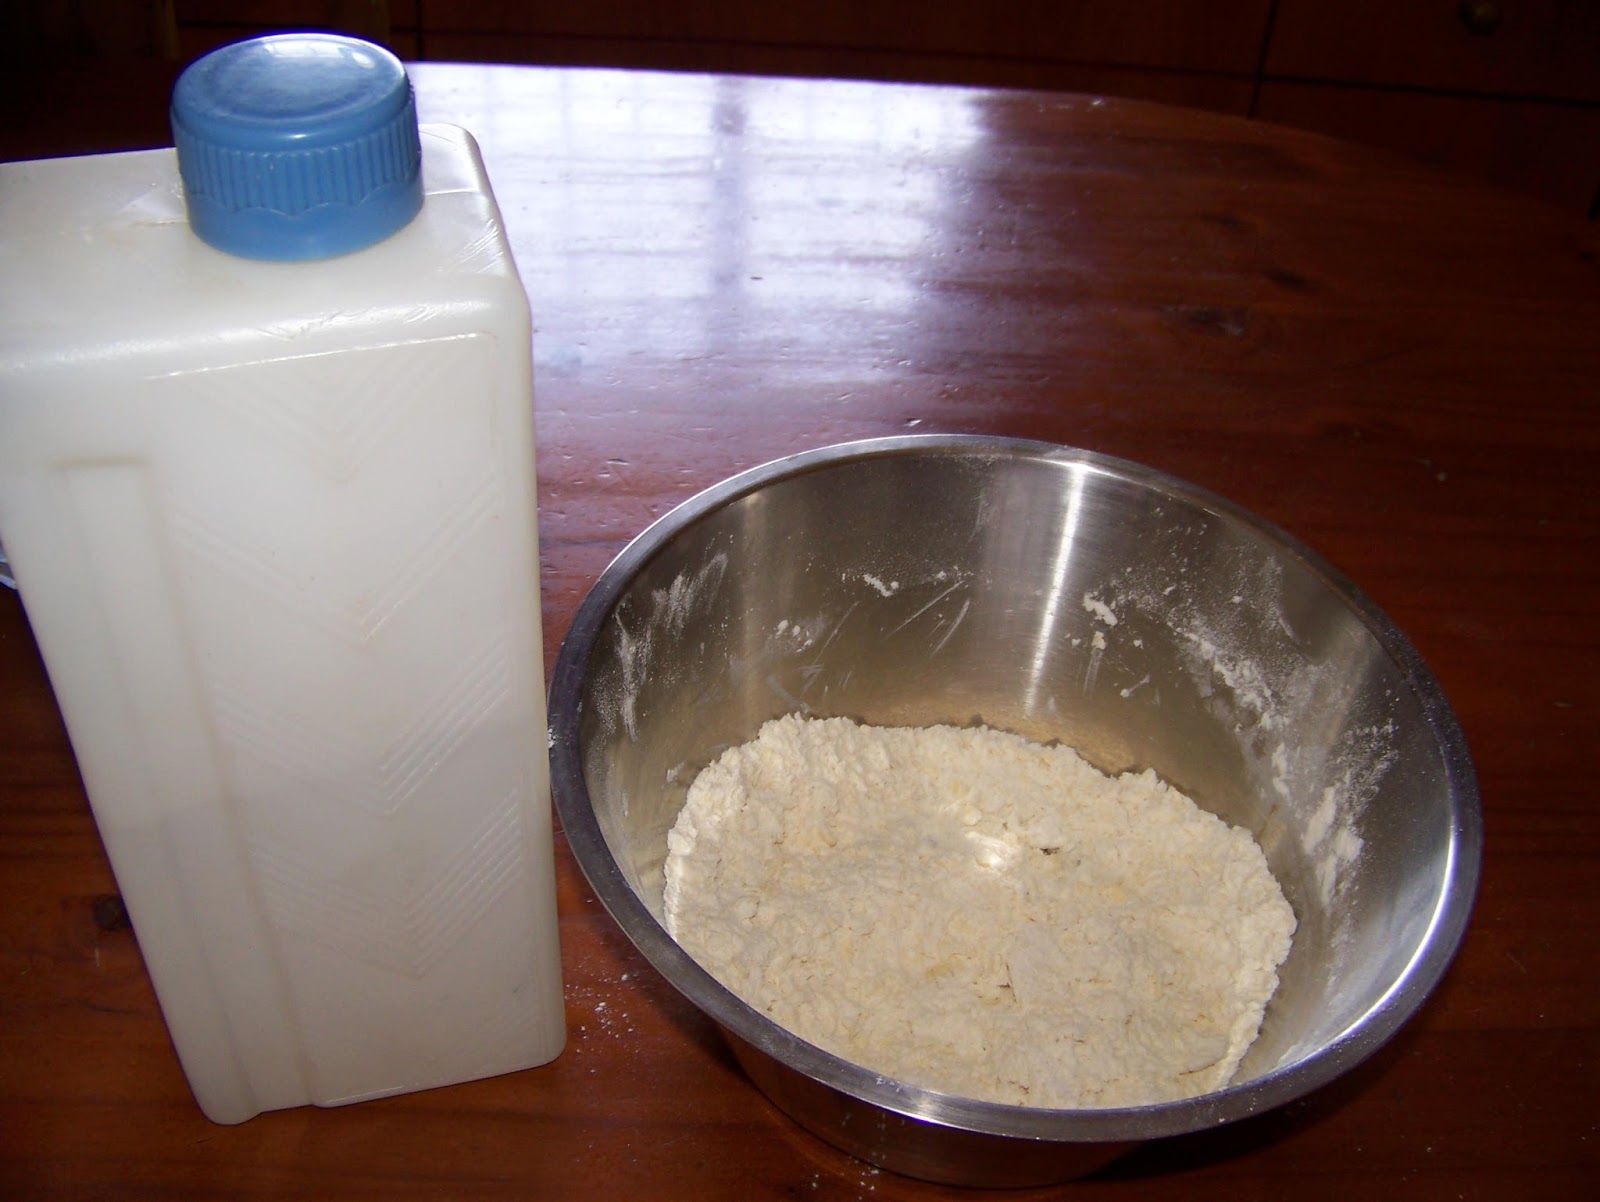

Your dough is ready when you can form it into a pliable ball.


Roll the dough out on a lightly floured surface. Keep turning the dough over, or it will stick to the surface. Flour your cake pin as well to keep the dough from sticking to it.


Roll the dough onto the rolling pin.


Unroll the dough onto a tart plate that has been treated with a non-stick coating.


Simply fold the ends of the dough in to make a double-thick crust. This is actually quite delicious in an apple crumble.


Use your fingers to create a pretty finish to the dough.


Use a fork to poke air vents in the bottom of the tart dough. When you bake it, the hot air will be able to escape. Trapped air will cause your tart to rise up and form huge bubbles. Place the dough in the fridge while you prepare the rest of the tart, approximately 30 minutes.


We will now prepare the crumble that goes on top of the pie. Add a cup (250 ml) flour in the same mixing bowl that you used before. No need for extra dishes. Add 1/2 teaspoon (2,5 ml) salt, 3 tablespoons (37,5 ml) brown sugar, a teaspoon (5 ml) cinnamon powder and 1/2 teaspoon (2,5 ml) nutmeg.


Mix the dry ingredients well.


Measure 50 g (50 ml) butter.


Grate the butter into the dry ingredients and then use your fingers to crumble the mixture.


When your mixture has a crumbly consistency, you can put it in the fridge to rest.


Now we need to prepare the filling. Measure 1/2 cup (125 ml) raisins and add them to a medium sized pot.


I used to sprigs of rhubarb that I found in the garden. Rhubarb is very tart and breaks the sweetness of the pie slightly. The apple cancels the sourness of the rhubarb and the two work very well together. However, if you can not get your hands on rhubarb, simply leave it out. You may consider adding the zest and juice of one lemon instead. Chop the rhubarb finely and add it to the pot.


I added 2 cups (500 ml) of canned apples, drained, to the pot. You will note that my apples are the smaller pieces that were never meant to be seen by the public. If yours is not, you may want to chop them smaller before adding them to the pot.


I then add 1 cup (250 ml) fresh cream (you can use milk instead), 4 tablespoons (50 ml) brown sugar, 1 teaspoon (5 ml) cinnamon, 1/2 teaspoon (2,5 ml) nutmeg, and ...


a pinch (2 ml) fine cloves.


Bring the mixture to the boil on the stove top, stirring continuously.


Add 4 tablespoons (50 ml) cake flour and stir vigorously to prevent clumps.


You can turn the heat off before adding the flour. The mixture will thicken because of the heat already present in the ingredients. I will continue to thicken while baking.
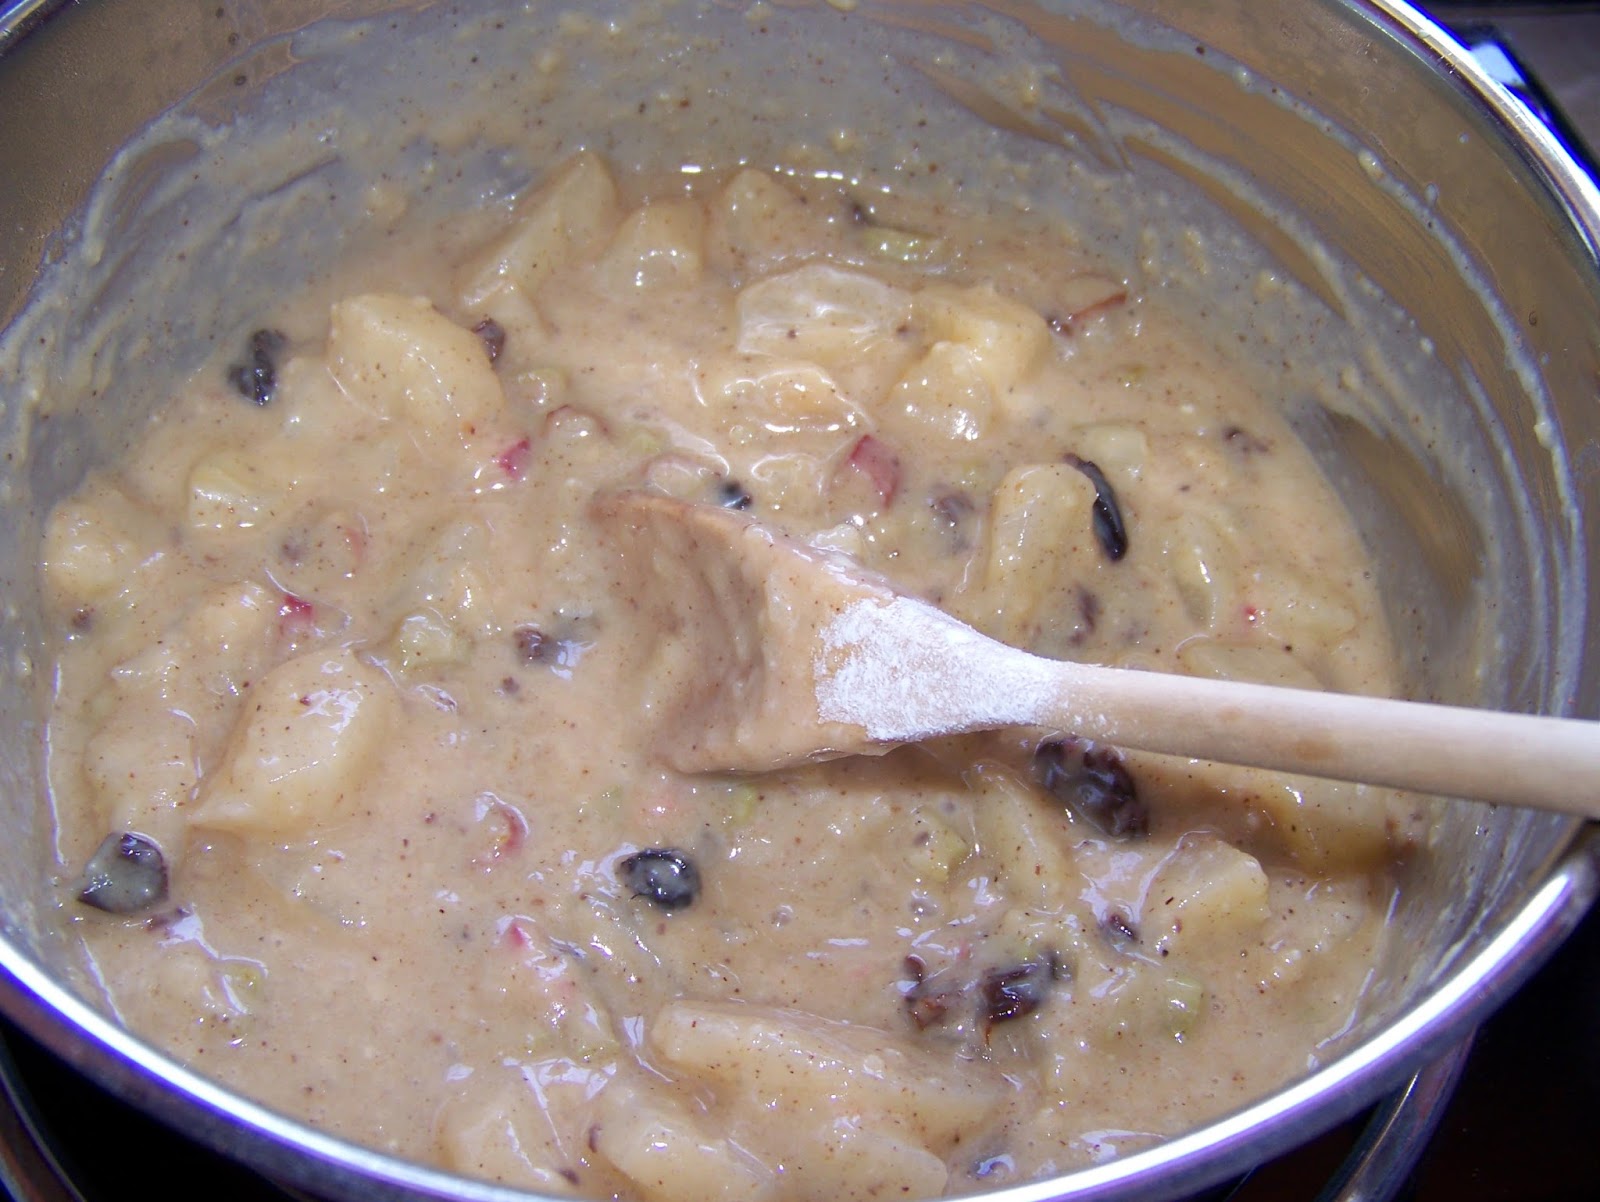

Add 1/2 cup (125 ml) nuts (preferably pecans, but whatever you have in the house will do) just before scooping the filling into the tart base.


Bake the tart base for 10-15 minutes in a preheated oven at 180 °C.


Remove from the oven and scoop the filling into the base.


Cover the pie with the dough crumbs.


Return the pie to the oven and bake for 30-35 minutes in a preheated oven at 180 °C.


Serve hot with custard or ice-cream.


Marietjie Uys (Miekie) is a published author. You can buy the books here:
You can purchase Designs By Miekie 1 here.
Jy kan Kom Ons Teken en Verf Tuinstories hier koop.
Jy kan Kom Ons Kleur Tuinstories In hier koop.
Jy kan Tuinstories hier koop.
For more crafty ideas and great products, visit A Pretty Talent on Facebook.
Remember to keep nurturing your TALENT for making PRETTY things.
You can subscribe to this blog and receive regular updates by email by simply registering your email address at the top of the current blog.

Friday, 4 November 2016

Making A Christmas Angel Ornament With Ribbon

While visiting a friend in Kimberley, we attended a Christmas in July Dinner one evening. They handed out these little gift bags with all the necessary materials to fold your own angel ornament. It certainly wasn't anything new, and there are loads of links on the internet showing you how to make these. I had quite forgotten about it when I rediscovered the gift bag earlier this week. I figured that with Christmas just around the corner I may as well share this favorite project with you, as I already had all the necessary materials conveniently collected for me.


Here is the gift bag that we received, unpacked so you can see what you will need. You need two lengths of wire ribbon. The longest should measure 30 cm and the shorter 20 cm. The ice cream stick is optional, but it does make the whole task much simpler. You will also need a bell, a piece of string and a flower or star rhinestone embellishment.


Use the ice cream stick to guide you in how wide you should make the folds in the ribbon. Start with the longest ribbon and fold it back and forth in a zigzag pattern.


 Here you can see how to fold the ribbon. You can work with ribbon, other than the wire ribbon, but start on this as it does simplify the task until you are more adapt at what you are doing.


Snip one side of the ribbon off just below the wire.


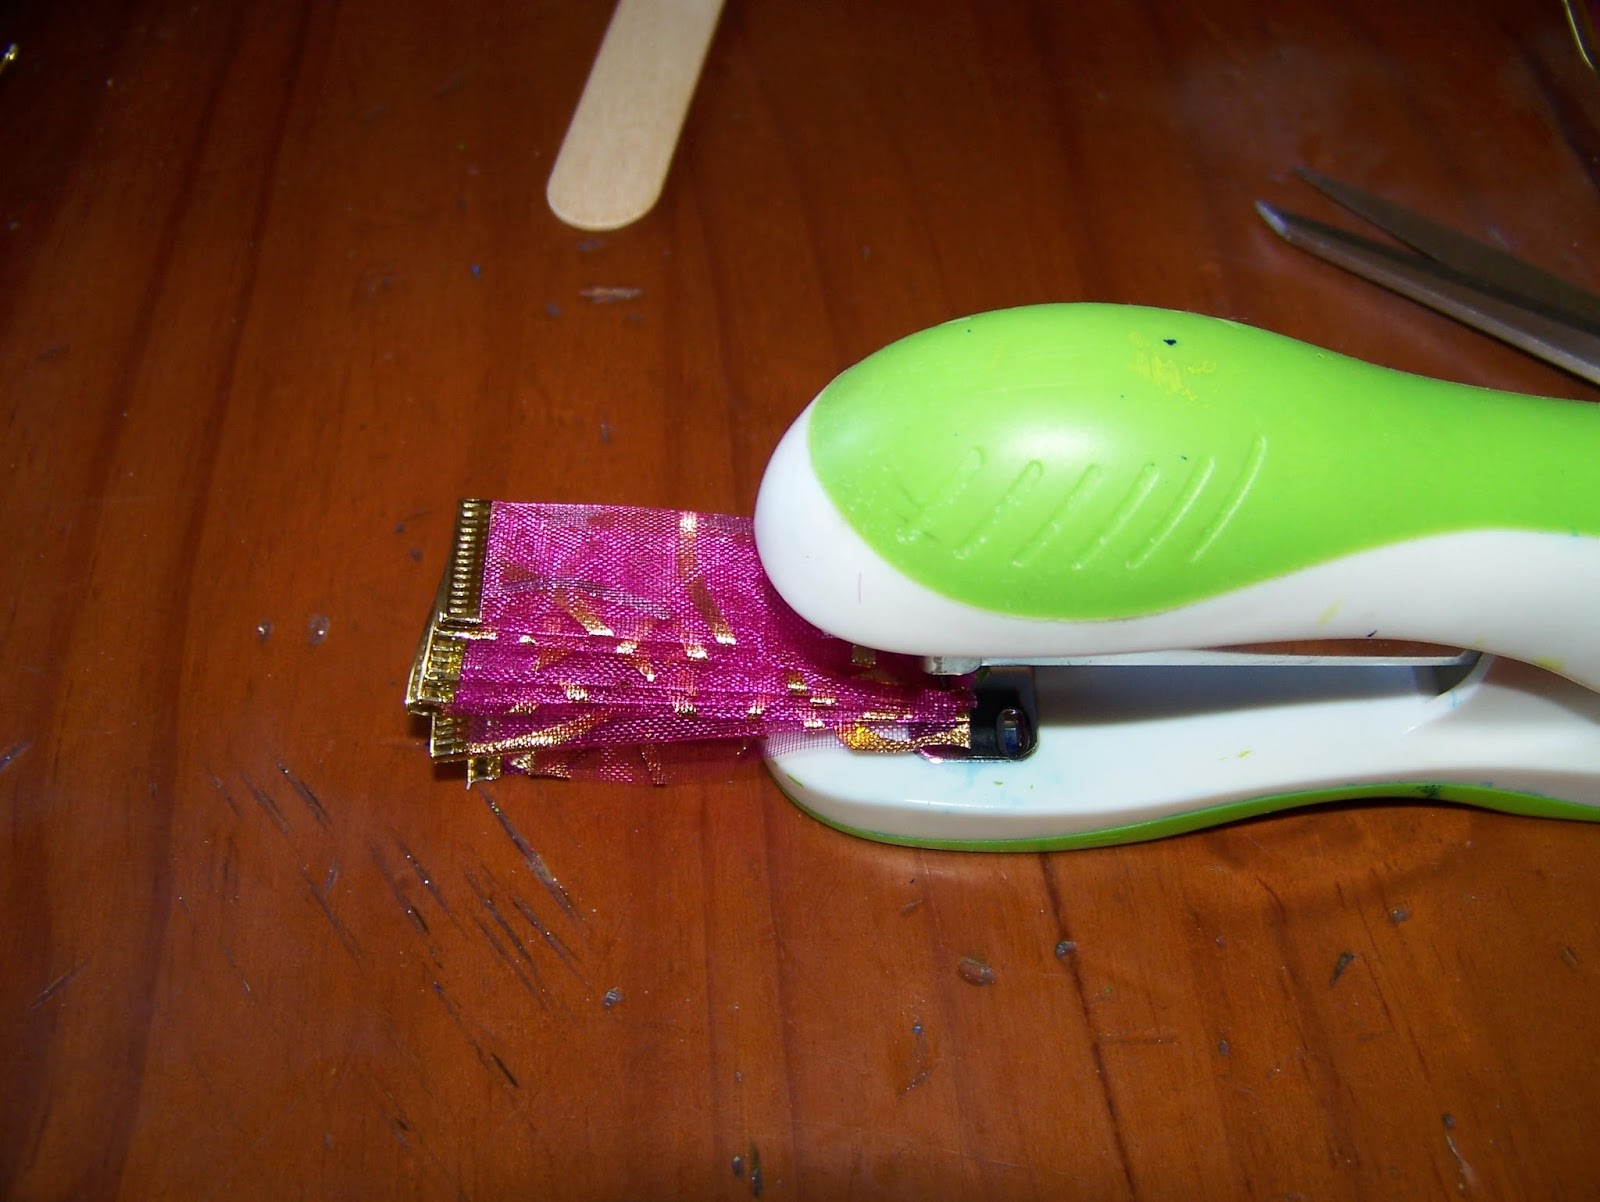
Staple the folded ribbon together, close to the top of the side that you snipped off.


You can now open the ribbon out to unfold the angel's dress.


Fold the shorter ribbon in the same zigzag pattern as before, using the ice cream stick as a guide.


Fold this ribbon in half to find the center.


Staple on the center mark.


You can now open the angel's wings.


I prefer to make a tiny fold at the top of the angel's dress and to staple it again. This simply gives me a more secure base to which to attach the wings. This is my own trick and you can use it or loose it as you prefer.


Use your hot glue gun to put a blob of glue on top of the dress.


Place the center of the wings, where the staple is, on the blob of glue.


Put another blob of glue where the body is attached to the wings, on the front of the angel.


Put your rhinestone embellishment on this blob of glue.


String the chord through the bell and tie it with a knot to make a loop on which the angel can hang.


Put a blob of glue on the wings where the head should be.


Put the bell on the glue, with the string pointing upwards. The bell doubles as the angel's head.


I do not have a Christmas tree up yet and simply hung the angel on a door knob to give you an idea of what it would look like on a tree.


A better picture of the completed angel.


Marietjie Uys (Miekie) is a published author. You can buy the books here:
You can purchase Designs By Miekie 1 here.
Jy kan Kom Ons Teken en Verf Tuinstories hier koop.
Jy kan Kom Ons Kleur Tuinstories In hier koop.
Jy kan Tuinstories hier koop.
For more crafty ideas and great products, visit A Pretty Talent on Facebook.
Remember to keep nurturing your TALENT for making PRETTY things.
You can subscribe to this blog and receive regular updates by email by simply registering your email address at the top of the current blog.

Thursday, 3 November 2016

Baking Vetkoek Using A Sourdough Starter

Vetkoek is such an ingrained part of our culture that we sometimes neglect to give it much thought. Just so with me! I was shocked to discover I have never shared a recipe for baking vetkoek before. I have shared some ideas for making vetkoek with store-bought dough, but it is not quite the same as homemade vetkoek dough. As always, I eliminated the use of yeast and replaced this with my own sourdough starter to mix today's dough. Prepare to enjoy some of the most flavourful vetkoek ever!


In a medium mixing bowl, measure 4 cups (4 x 250 ml) White Bread Flour, 2 teaspoons (10 ml) salt and a tablespoon (12,5 ml) sugar.


Mix the dry ingredients well.
Option 1: If using Instant Dry Yeast, add a packet to the dry ingredients.


Now add a cup (250 ml) sourdough starter and lukewarm water. Start by adding only half a cup of water and bring the dough together. Add a tablespoonful of water at a time if necessary to bring the dough together into a sticky dough.
Option 2: If using Active Dry Yeast, allow a packet of yeast to develop a cup of lukewarm water and the sugar for about 10 minutes before adding it to the dough.


Bring the dough together. You can see my dough needs only a little more water here as there is still flour in the bottom of the bowl that will not mix into the rest of the dough.


Knead the dough on a lightly floured surface for about 10 minutes.


I am making very small vetkoek. I therefore roll my dough out thinly. You may prefer to simply break balls of dough off.


I cut my dough diagonally.


And then I cut it diagonally in the opposite direction to make small interestingly shaped vetkoek. There is no reason for this, other than that I was in a playful mood.


Spread your dough on a baking, sheet, allowing enough space between the pieces for the dough to expand.


I had quite a few smallish vetkoek laid out on lightly floured baking trays.


Cover with plastic and allow to rise in a warm dry place for a couple of hours.


Once your dough is risen, you can heat a pan with cooking oil.


Transfer the vetkoek to the oil.


Use a spoon to scoop the scalding oil over the vetkoek. This will result in big air bubbles in the center of the vetkoek.


Turn them over to fry the other sides.


Lay them out on some kitchen towels to absorb any extra oil.


Vetkoek and mince is the norm, but I felt like a sweet snack in between meals and dripped some syrup on mine.


Marietjie Uys (Miekie) is a published author. You can buy the books here:
You can purchase Designs By Miekie 1 here.
Jy kan Kom Ons Teken en Verf Tuinstories hier koop.
Jy kan Kom Ons Kleur Tuinstories In hier koop.
Jy kan Tuinstories hier koop.
For more crafty ideas and great products, visit A Pretty Talent on Facebook.
Remember to keep nurturing your TALENT for making PRETTY things.
You can subscribe to this blog and receive regular updates by email by simply registering your email address at the top of the current blog.