Search This Blog

Saturday, 25 May 2019

Sew A Long-Sleeved Top

It is a week of sewing and I am still busy with the mix and match set that I have told you about in previous blogs. For today's project we will be sewing a long-sleeved top with some decorative ribbon down the front.


This is the selection of fabric that I am using to make the set from.


I cut my fabric from a Vogue pattern, but adapt the pattern a little as I do not wish for the top to be open at the back.


Cut out both front and back on the fold, according to the adaptation of the pattern.


Mark the darts with pins before taking the pattern away.


Here is a close-up view of marking the dots.


Pin the darts.


The back panel has darts in the shoulder seam. Mark these darts with pins.


Pin the darts.


Sew the darts.


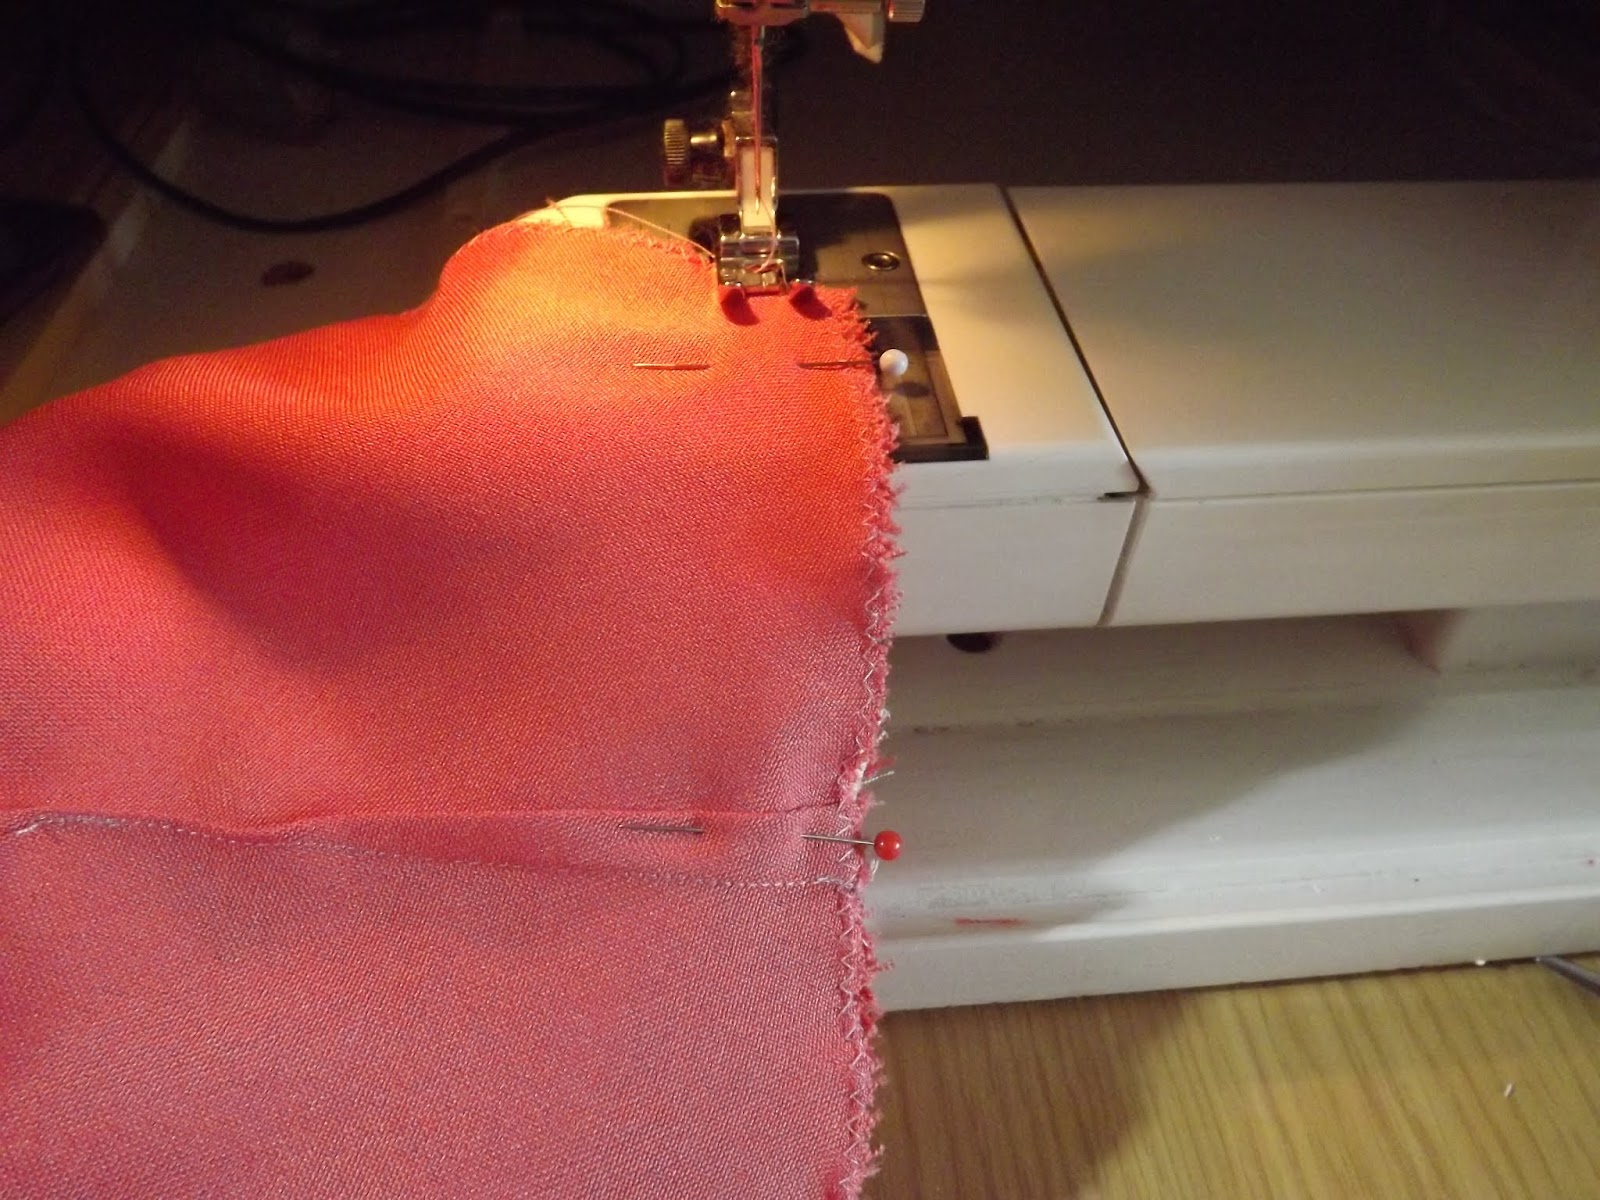
Pin the decorative ribbon to the front panel.


As this is a wide ribbon, I sew down both sides of the ribbon to secure it to the top.


Sew in the same direction to avoid strange pulling of the fabric.


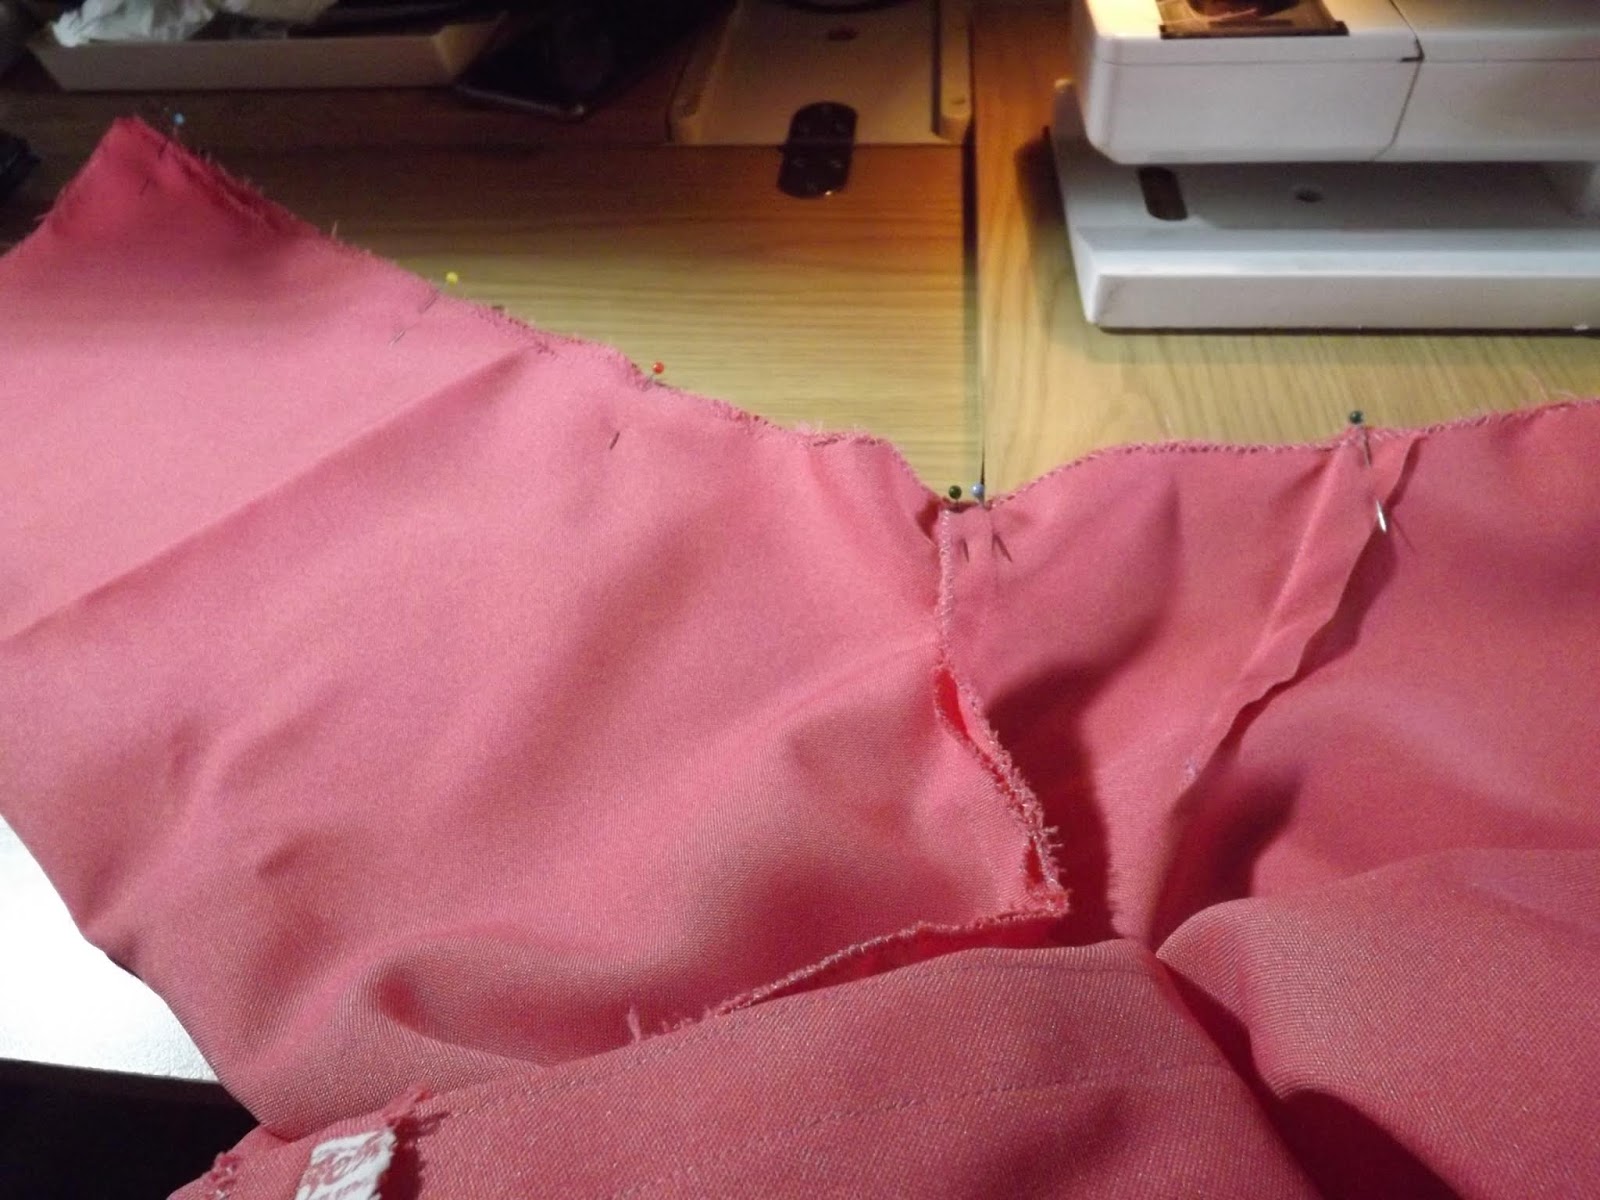
Pin the back and front at the shoulders.


Sew the shoulder seams.


Reinforce the facings with stiffening/vilene and pin at the shoulders.


Sew the shoulders.


Pin the facing to the fabric at the neckline, lining up the shoulder seams.


Sew all around the neckline.


Staystitch just inside the inner seam of the neckline to prevent the facing from crawling out when wearing it.


Notch the neckline. Turn the facing in and iron flat.


Tack the top/head of the sleeve.


Pin the sleeve to the arm opening.


Sew the sleeve into the arm.


Line the seams up under the arm and Pin.


Sew from the hem of the sleeve all the way down to the hem of the top.


Roll the hems of the sleeves and pin.


Sew the hems of the sleeves by hand or with the machine as you prefer. Hem the bottom of the shirt in the same manner.


I made two of these shirts, one for me and one for my mom.
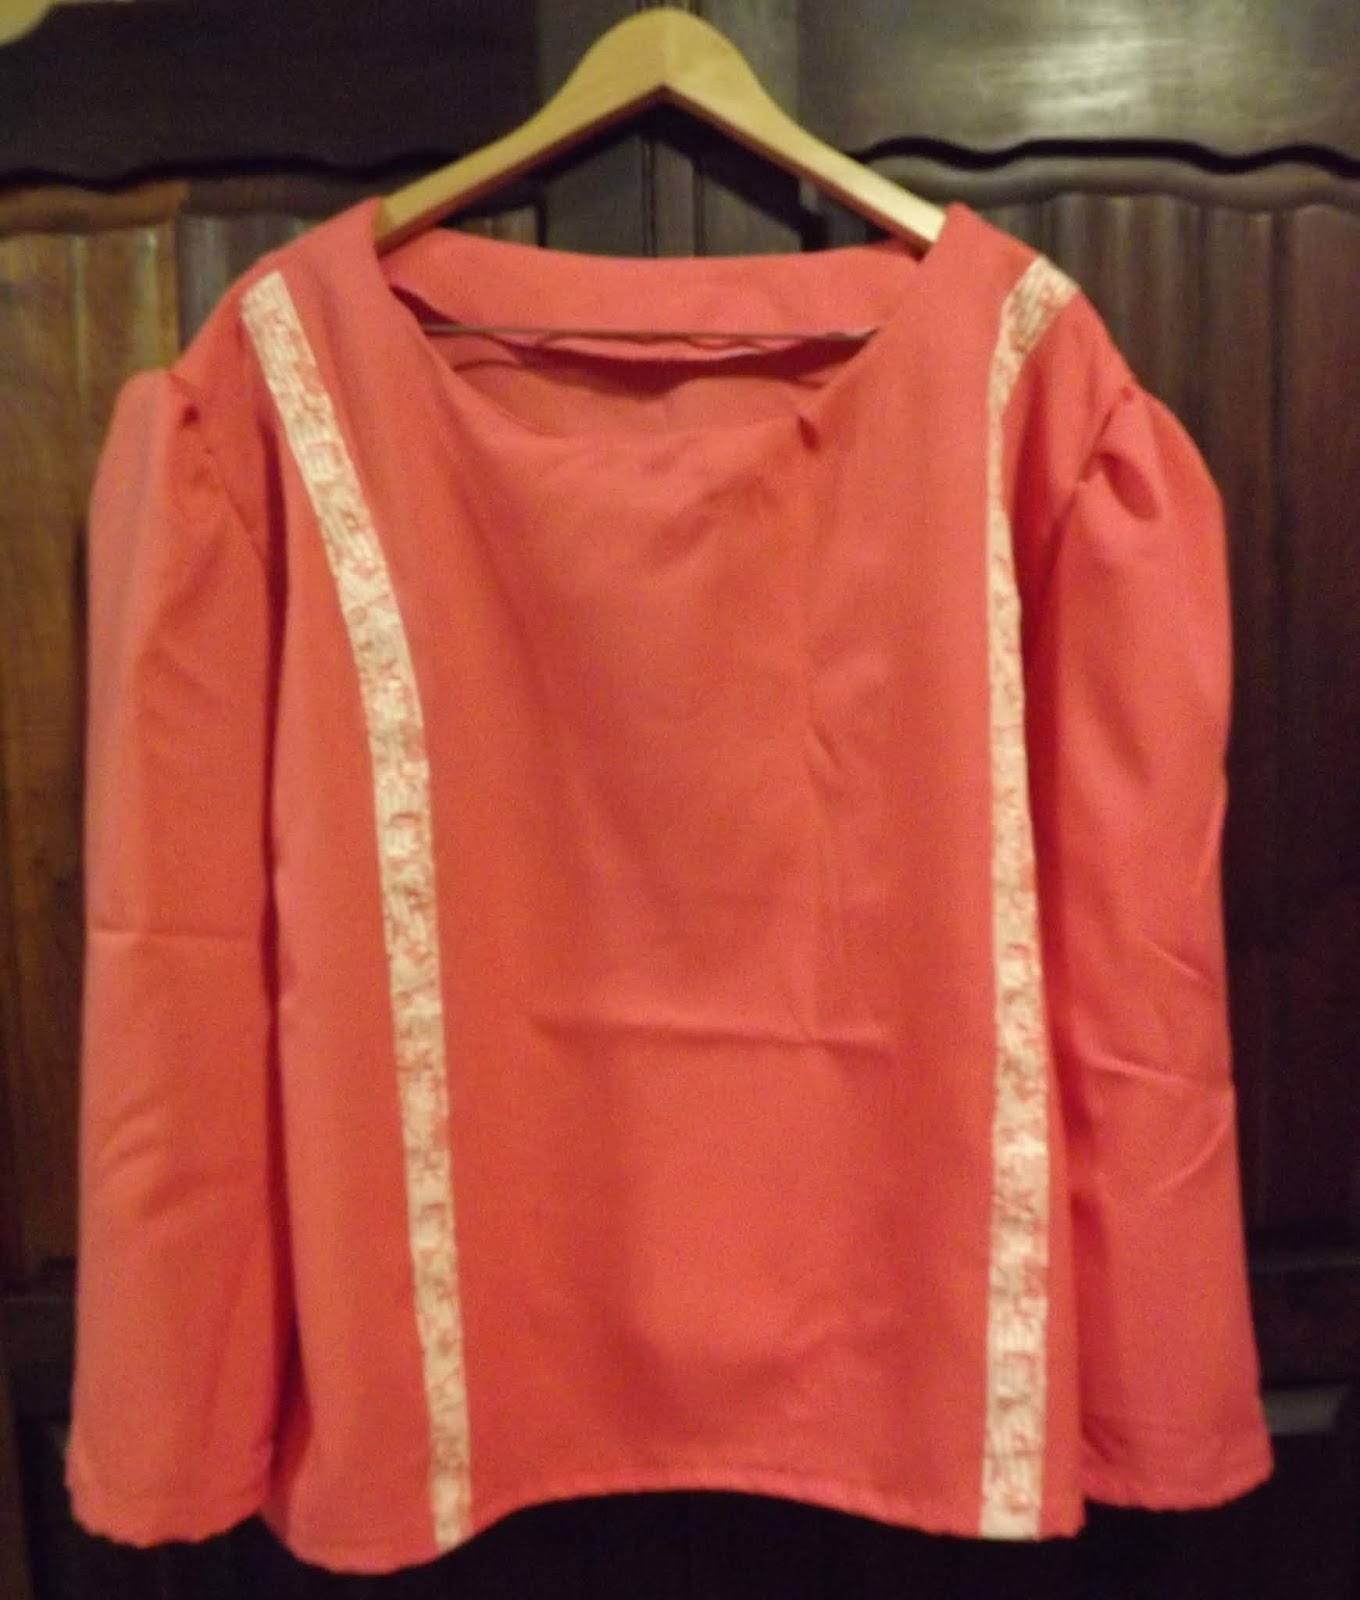

The finished shirt.


The shirt as part of the ensemble.


You can watch a compilation video of the above steps on YouTube:
https://youtu.be/NTOCTHCgIhY


Marietjie Uys (Miekie) is a published author. You can buy my books here:
You can purchase Designs By Miekie 1 here.
Jy kan Kom Ons Teken en Verf Tuinstories hier koop.
Jy kan Kom Ons Kleur Tuinstories In hier koop.
Jy kan Tuinstories hier koop.
You can follow Miekie's daily Bible Study blog, Bybel Legkaart, here in English & Afrikaans.
You may prefer to follow the traveling blog, A Pretty Tourist.
For more crafty ideas and great product reviews, visit A Pretty Talent on Facebook.
If you are in a literary mood, follow Miekie's musings, stories and poetry on A Pretty Author - Miekie.
Remember to keep nurturing your TALENT for making life PRETTY.
You can subscribe to any of these blogs and receive regular updates by email. Simply register your email address at the top of the applicable blog.

Friday, 24 May 2019

Sew an A-Line Skirt

In the previous blog, I started sewing myself a mix and match set of clothes from some salmon-coloured fabric I found in my fabric stash. In today's blog, we sew a very simple A-line skirt with side pockets to keep a tissue or a phone in.


The idea was to make a mix and match coordinating set of clothes from these three pieces of fabric.


I had a bask drawn up which I would use to cut the skirt from.


Pin the centre back.


Sew the centre back. Iron open.


Pin the pockets to the tops of the side seams.


Sew the pockets to the side seams. Iron.


Fold and pin the waistband.


Sew the waistband on both ends and notch the corner on the one end.


Measure the buttonhole.


Sew the buttonhole.


Open the buttonhole with a quick-unpick tool.


Sew the button on.


Pin the zipper to the centre back.


Sew the zipper into the centre back seam.


Unpick the seam over the zipper.


Lay the front and back pieces on top of each other with right sides facing. Pin the pockets and all the way down the side seams.


Sew the pockets and all the way down the side seams.


Here you can see how I simply turn the fabric when I reach the end of the pockets, so I can sew down the side seam. Iron open.


Pin the waistband to the top of the skirt.


Sew the waistband to the skirt.


Fold the hem in a double roll and pin.


Sew the hem by machine or hand as you prefer.


The completed skirt.


I made two similar skirts for the set.


The final set.


You can watch a compilation video of the above steps on YouTube:
https://youtu.be/b1avIa0YDK8


Marietjie Uys (Miekie) is a published author. You can buy my books here:
You can purchase Designs By Miekie 1 here.
Jy kan Kom Ons Teken en Verf Tuinstories hier koop.
Jy kan Kom Ons Kleur Tuinstories In hier koop.
Jy kan Tuinstories hier koop.
You can follow Miekie's daily Bible Study blog, Bybel Legkaart, here in English & Afrikaans.
You may prefer to follow the traveling blog, A Pretty Tourist.
For more crafty ideas and great product reviews, visit A Pretty Talent on Facebook.
If you are in a literary mood, follow Miekie's musings, stories and poetry on A Pretty Author - Miekie.
Remember to keep nurturing your TALENT for making life PRETTY.
You can subscribe to any of these blogs and receive regular updates by email. Simply register your email address at the top of the applicable blog.