Search This Blog

Sunday, 23 July 2017

Cardmaking On A Shoestring: Bon Voyage Card

It has become extremely expensive to buy cards these days. A lot of people have taken to making their own cards, but sometimes these are so elaborate and expensive that it takes your breath away. In the next two blogs I want to share some ideas for making cards that will not cost an arm and a leg, yet does not lack for effect or prettiness. I kick off with a Bon Voyage card. You can of course choose any theme you like, though. The design I use is taken from my book Designs By Miekie 1.


When my niece and nephew demanded we do a card project, they selected these two designs from my book. I printed the designs, but drew dot-to-dot pictures for them to redraw. The result was that I was left with the printout of the designs. Not wanting these to go to waste (how frugal am I?!), I chose to use these printouts for the two blogs in this shoestring series. You can read all about the project I did with this kids by following this link.


I cut the designs apart. I will be working with this design in today's project.


I will start by coloring the picture using my Derwent Coloursoft pencils. These are very expensive pencils, but you can use any cheaper version with equal success for this kind of project. You really don't need artist grade pencils for what we intend to do.


I start with a bright blue on the clothes.


The blue is contrasted with an equally brilliant yellow.


The flesh is done in light pink.


The facial features, hair and make-up is then coloured.


The luggage is done in a slightly darker blue.


The sign for the bus stop is done in red and white.


The background is coloured in a muted neutral grey.


I then use rubbing alcohol to smooth the colouring lines. This can be obtained from a good pharmacy and is inexpensive.


Much better.


I carefully cut along the frame to get rid of the white edges.


The picture is now coloured and ready to be used on the card.


I find a 12" x 12" craft sheet matching the colours in the picture. I will use this to fold the card from.


Fold the craft paper in half to form a card.


I cut the top off my card, making the card 19 cm tall.


I now go in search of a sheet of plain A4 paper in a colour contrasting with that of the card, but coordinating with the colours in the design. I will use this paper to matt the picture to.


I measure the picture.


I cut the matting to be 1 cm larger than the picture in both width and height.


The picture is mounted to the matting and then to the card. I use double-sided tape for this.


Foam rubber die-cuts are extremely inexpensive and widely available. I opt to use three transport die-cuts. These all came from one pack of cut-outs. I will use Tombow glue to glue the cut-outs to the card.


To liven things up a bit, I add some rhinestones to the foam rubber stickers.


I also add a couple of foam rubber hearts.


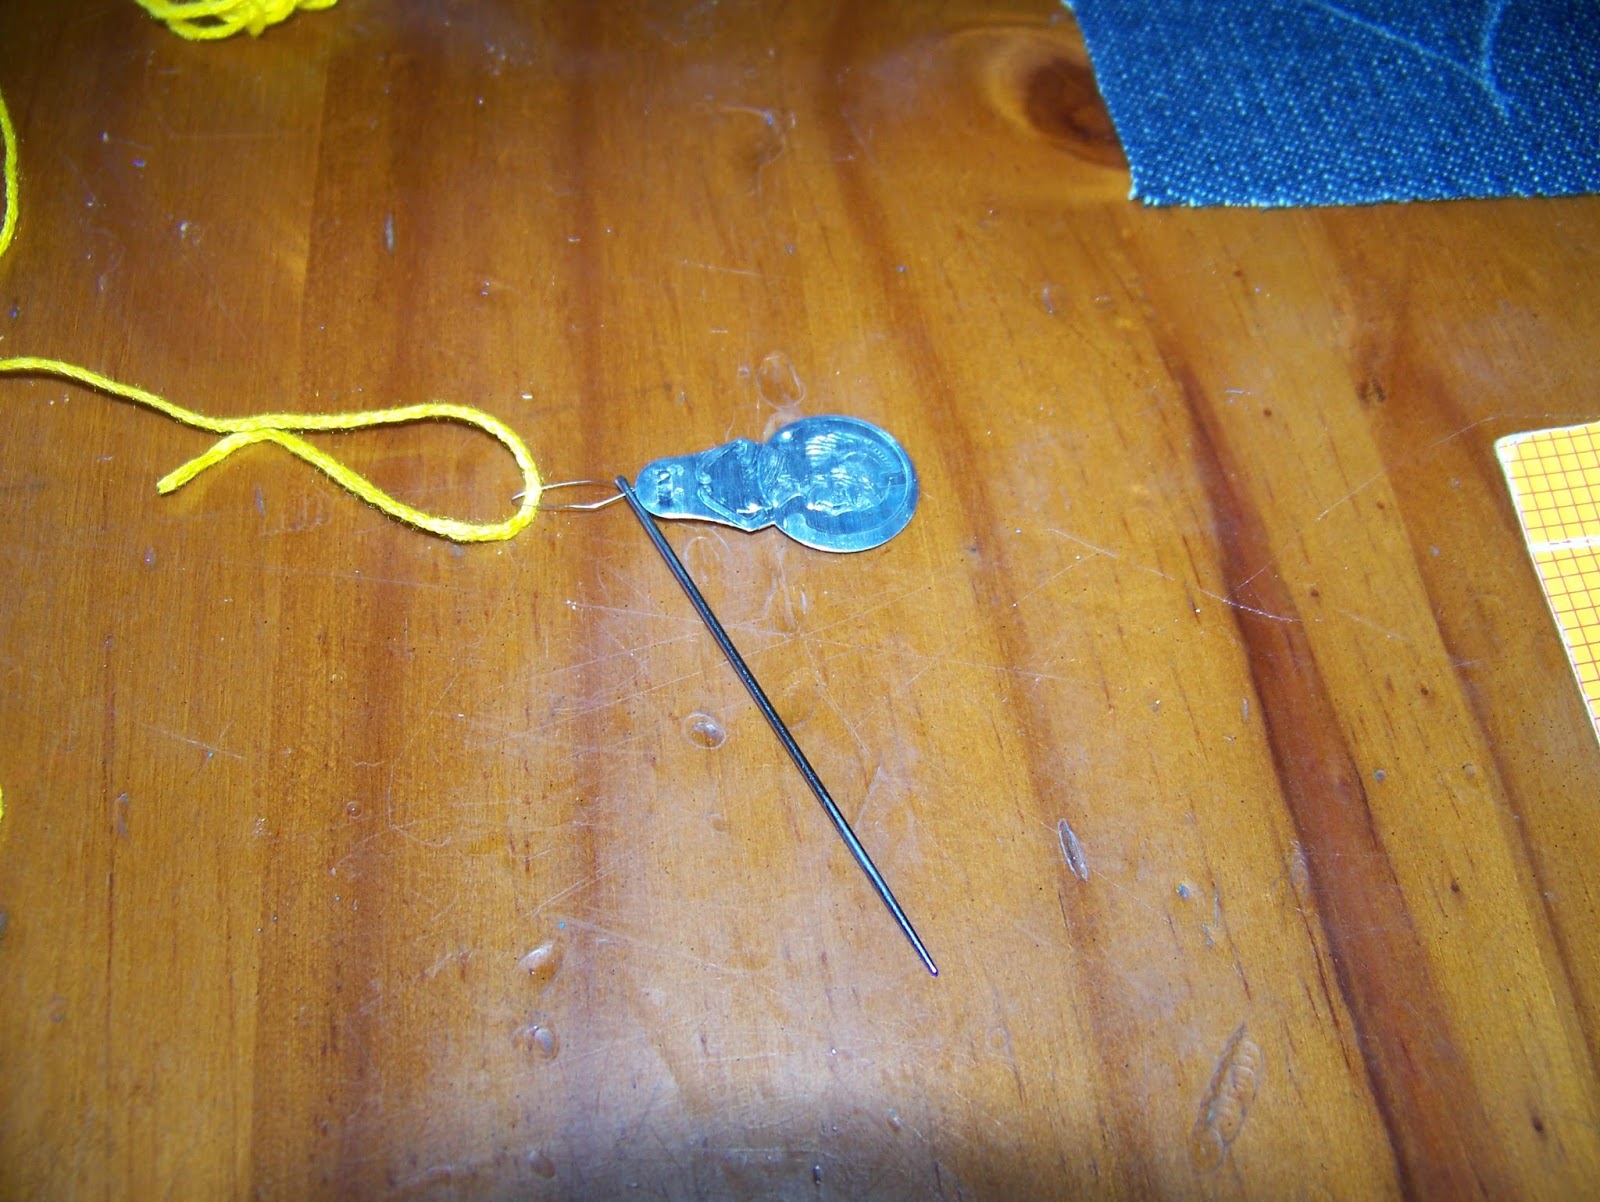
A row of tiny buttons finished things off.


A pretty and very cheaply made card to wish someone well on a long journey or short trip.


Marietjie Uys (Miekie) is a published author. You can buy my books here:
You can purchase Designs By Miekie 1 here.
Jy kan Kom Ons Teken en Verf Tuinstories hier koop.
Jy kan Kom Ons Kleur Tuinstories In hier koop.
Jy kan Tuinstories hier koop.
You can follow Miekie's daily Bible Study blog, Bybel Legkaart, here in English & Afrikaans.
You may prefer to follow the traveling blog, A Pretty Tourist.
For more crafty ideas and great product reviews, visit A Pretty Talent on Facebook.
If you are in a literary mood, follow Miekie's musings, stories and poetry on A Pretty Author - Miekie.
Remember to keep nurturing your TALENT for making life PRETTY.
You can subscribe to any of these blogs and receive regular updates by email. Simply register your email address at the top of the applicable blog.

Saturday, 22 July 2017

School Holiday Project: Making A Collage With Found Garden Objects

The kids had so much fun with today's project that all of their collages ended up overly crowded, but they simply did not want to stop. It is a very good developmental exercise on top of being great fun and there are plenty of learning opportunities hidden in the project. We 'paint' houses with sand before collecting found objects from the garden to build gardens on a much smaller scale surrounding the houses. I'll point out the learning and developmental opportunities as I discuss the steps for today's project. Bonus, is that this is a very cheap art project that can be entirely done with discards and found objects.


It is important to work on a very sturdy background. I cut up a box that holds 6 milk cartons and used the three largest panels of this box.


The first learning curve is when we teach the kids to rule lines using a ruler. The very young ones will not have been introduced to this drawing instrument yet and it is a good starting point. Introduction to technical drawing?


For the smaller ones, I marked off dots on the sides of the house and told them to draw lines connecting the dots to start the brickwork pattern. Introducing the brickwork pattern is another learning opportunity. Our 5 year old girl had not worked with a ruler before and I took time showing her what to do.


When drawing the vertical lines, the kids are taught to draw a line, skip a line, and draw another line in the next space - another great developmental skill.


The 7 year old boy loves watching his 18 year old nephew doing proper technical drawings and has long since started mimicking what he does with a ruler.


Our 11 year old girl is also familiar with a ruler and opted to work with much smaller spaces. This is fine, as she is up to the challenge.


We glued the segments for the 'bricks' making sure not to go near the lines. Spilling glue into the lines will obscure the brickwork pattern.


I collected this red sand on a trip to Hondeklipbaai in the Northern cape. However, you can use any river sand or building sand for the project.


Sprinkle the sand over the wet glue and then shake the excess sand off. Note how the brickwork pattern now really comes to the fore.


I gave each child a brush and a choice of colours to paint their roofs with. However, if you do not have an art budget, you can also make the roofs with twigs, grass, or even sand. Accurate painting is yet another developmental exercise, as is gluing twigs or grasses to the roof! This is the 5 year old's.


The 6 year old's house.


The 11 year old surprised me with her muted colour palette, but she obviously had a plan in mind and I did not pressure her.


I made a quick turn in the winter garden and returned with these leaves. I laid them in place to give the kids an idea of what we needed to do. They needed no further encouragement but went to the garden with a vengeance. Of course they brought back much more than they would ever need!


Only once they had returned, did I pull out the box of shells that also hail from Hondeklipbaai and gave them permission to use these as well.


I also had a collection of pretty stones and other odds and ends which they could use.


At this stage I stepped back and left them to it. I only intervened to assist with gluing tricky objects into place. This level of concentration is what you are looking for. The child is 100% involved in the project. What makes it absolutely wonderful, is that the child is forced to use his/her imagination and transform an everyday object into something else. They also inadvertently play with scale, even though the concept is beyond their grasp at this age.


Another intrigued artist at work.


Even the much older artist was as involved as the two younger ones


The 6 year old boy's finished collage.


The 5 year old's finished collage.


The 11 year old's finished collage.


Marietjie Uys (Miekie) is a published author. You can buy my books here:
You can purchase Designs By Miekie 1 here.
Jy kan Kom Ons Teken en Verf Tuinstories hier koop.
Jy kan Kom Ons Kleur Tuinstories In hier koop.
Jy kan Tuinstories hier koop.
You can follow Miekie's daily Bible Study blog, Bybel Legkaart, here in English & Afrikaans.
You may prefer to follow the traveling blog, A Pretty Tourist.
For more crafty ideas and great product reviews, visit A Pretty Talent on Facebook.
If you are in a literary mood, follow Miekie's musings, stories and poetry on A Pretty Author - Miekie.
Remember to keep nurturing your TALENT for making life PRETTY.
You can subscribe to any of these blogs and receive regular updates by email. Simply register your email address at the top of the applicable blog.

Wednesday, 19 July 2017

School Holiday Project: Embroider A French Knotted Heart

My niece pitched up with a carry-case of craft materials that a friend had given her for her birthday. She suggested we do something with it and promptly handed me the case to figure out the details. I unpacked everything with her and paid close attentions to the bits she was obviously dumbfounded by. These were the ones she would need most help with and these would be what I concentrated on. In today's blog I show you how I introduced her to the art of embroidery by teaching her to make French knots.


This is the carry-case I was presented with.


I needed a dressmakers pencil and an embroidery needle that was not included in the carry-case.


From the carry-case, we pulled the square of denim cloth and the embroidery thread.


I told my niece to pick a design with simple lines and to draw that on the denim using the dressmakers pencil.


She opted for a very predictable, but delightful heart. In the process she learned that drawing on fabric was a little more tricky than drawing on paper. The textured surface of the fabric pushes the pencil point in unintended directions.


I then showed her how to use a needle threader to thread the thick embroidery yarn through the needle. Push the wire loop through the eye of the needle. Then pull the yarn through the wire loop. Bring the two ends of the yarn together.


Pull the wire loop back through the needle, pulling the thread through the eye of the needle as you go.


Once the short end of the thread is through the needle's eye, remove the needle threader. Easy as pie!


I then showed her how to push the needle through the line of the heart from the wrong side of the design.


The first French knot was my own, showing her step by step how to do it.


Let me teach you as well. Push the threaded needle through the fabric from the back.


Loop the yarn over and under the needle as shown.


Twist the needle around and over the thread.


Now twist it back, going under the thread.


Pull the knot tight around the needle and push the needle back through the fabric as close as possible to the entry point.


Pull the thread all the way through, and your French knot should be perfect. This takes a little practice, so be patient with yourself and your young one.


It was slow going, but my niece was adamant that she would master the skill. She loved how it looked and was amazed that she had not seen this done before. As was I!


Progress was slow, but steady.


At this stage she was in a hurry to finish the project.


And finally it was all done. I told her to get permission from her mom to sew it onto one of her jeans. I hope she manages this, as it would be an inspiration for future projects.


Marietjie Uys (Miekie) is a published author. You can buy my books here:
You can purchase Designs By Miekie 1 here.
Jy kan Kom Ons Teken en Verf Tuinstories hier koop.
Jy kan Kom Ons Kleur Tuinstories In hier koop.
Jy kan Tuinstories hier koop.
You can follow Miekie's daily Bible Study blog, Bybel Legkaart, here in English & Afrikaans.
You may prefer to follow the traveling blog, A Pretty Tourist.
For more crafty ideas and great product reviews, visit A Pretty Talent on Facebook.
If you are in a literary mood, follow Miekie's musings, stories and poetry on A Pretty Author - Miekie.
Remember to keep nurturing your TALENT for making life PRETTY.
You can subscribe to any of these blogs and receive regular updates by email. Simply register your email address at the top of the applicable blog.