I bought these two large round canvasses a couple of months ago and I could hardly wait to get started on them. Then, quite unexpectedly, my life took a strange turn as the relief post I was teaching in became more fixed. I also had to move house and settle in the town I was now working in, rather than stay in the temporary accommodations I had been occupying. The canvasses took a back seat to all of this. However, things have finally calmed down enough for me to throw myself back into that which I love to do - art. I had a lot of fun with this project. A little bit of decoupage, a bit of drawing and a tidbit of paint; it all makes for fun and relaxation. I show you step by step how to go about creating these canvasses yourself, in today's blog.
This is what the canvasses looked like when I bought them.
The first thing I did, was to cover them in a coat of gesso to prepare the surface to accept paint.
I then measured the diameter of the canvasses to determine how much paper I would need to cover the sides with decoupage.
I decided on a range of papers that would support my theme.
Then I cut two papers into 5 cm strips.
The strips were then cut in half.
I painted Dala Acrylic Gel Medium on the backs of the strips.
The strips were then stuck to the side of the canvas and another layer of the Acrylic Gel Medium was painted over it to seal it.
I did this all the way around each of the two canvasses, alternating the two papers I had cut up.
I then found two sheets of paper that had the lightest designs in the range. I randomly trimmed their corners.
I painted the outer perimeters of the canvasses with Dala Craft Paint in a colour that matched my colour scheme. This would largely be covered later on.
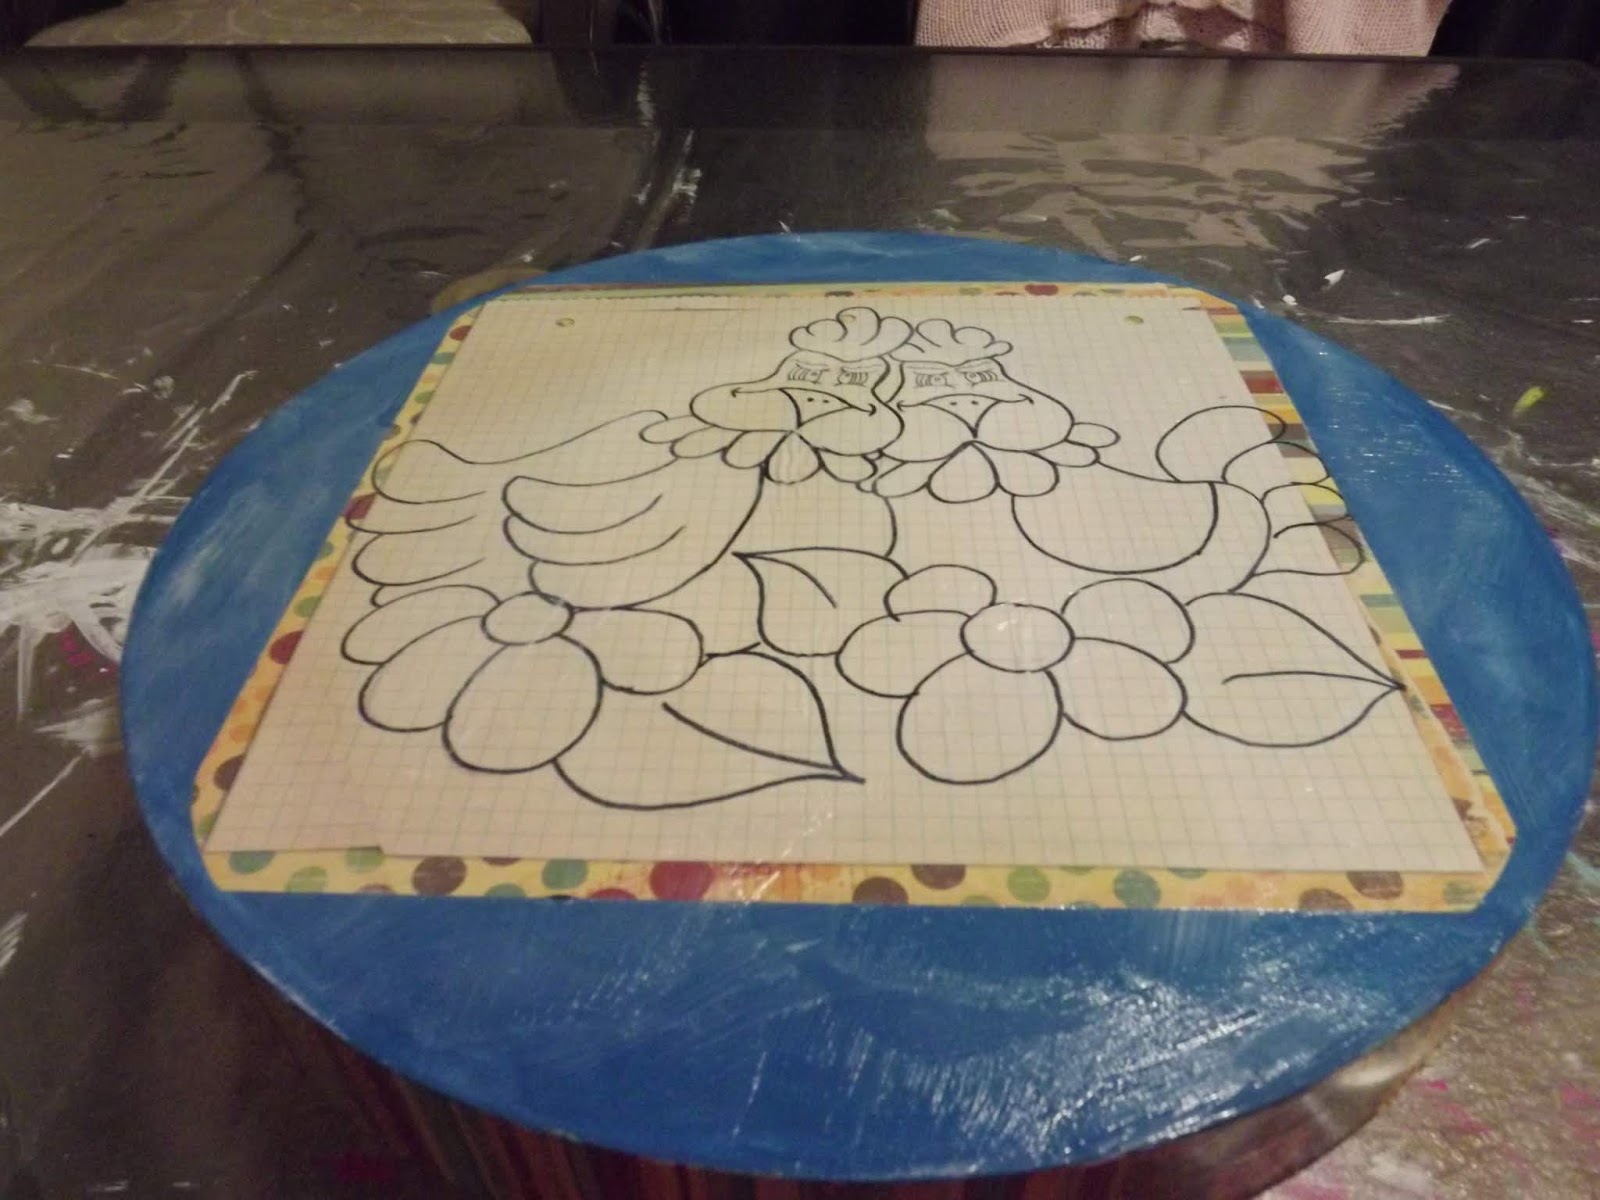
I then drew the first design on one my selected papers. This was a picture I found on Pinterest and fell madly in love with.
I used black markers to redraw the pencil picture once I was satisfied with the design.
I then erased all of the pencil markings.
The second picture was also drawn on the selected paper, in pencil.
I redrew it in black, using markers.
Again the pencil lines were erased.
I then covered the canvas in Dala Acrylic Gel Medium.
The picture was carefully laid in place on the canvas and sealed with another layer of Dala Acrylic Gel Medium.
I did the same with the other canvas. The canvasses were then left to dry.
I am going to be painting these designs with acrylic paints, of which many are transparent, or semi-transparent. For this reason, I start by painting the designs white. A white background will prevent the colours from appearing dull.
I start with Red Oxide. The whole area is painted in this colour. Then I add white highlights and black shadows. This makes the shape appear more rounded and dimensional.
A close-up of what I've done. I will do this throughout the painting, with each area that is painted.
I finish all the areas that are to be done in Red Oxide.
I then use Burnt Umber on some areas.
I use Titanium White on some areas.
Raw Sienna is my next colour of choice. I allow the colours in the paper range that I've selected, to dictate my choices of paint colours.
I now add an aqua colour.
This is followed by a pale blue, which is used on only one of the canvasses.
Sap Green comes next.
Lastly I use a bright orange.
Once the paint is dry, I draw the blacks of the eyes with a marker.
The colour of the eyes is added with a blue paint marker.
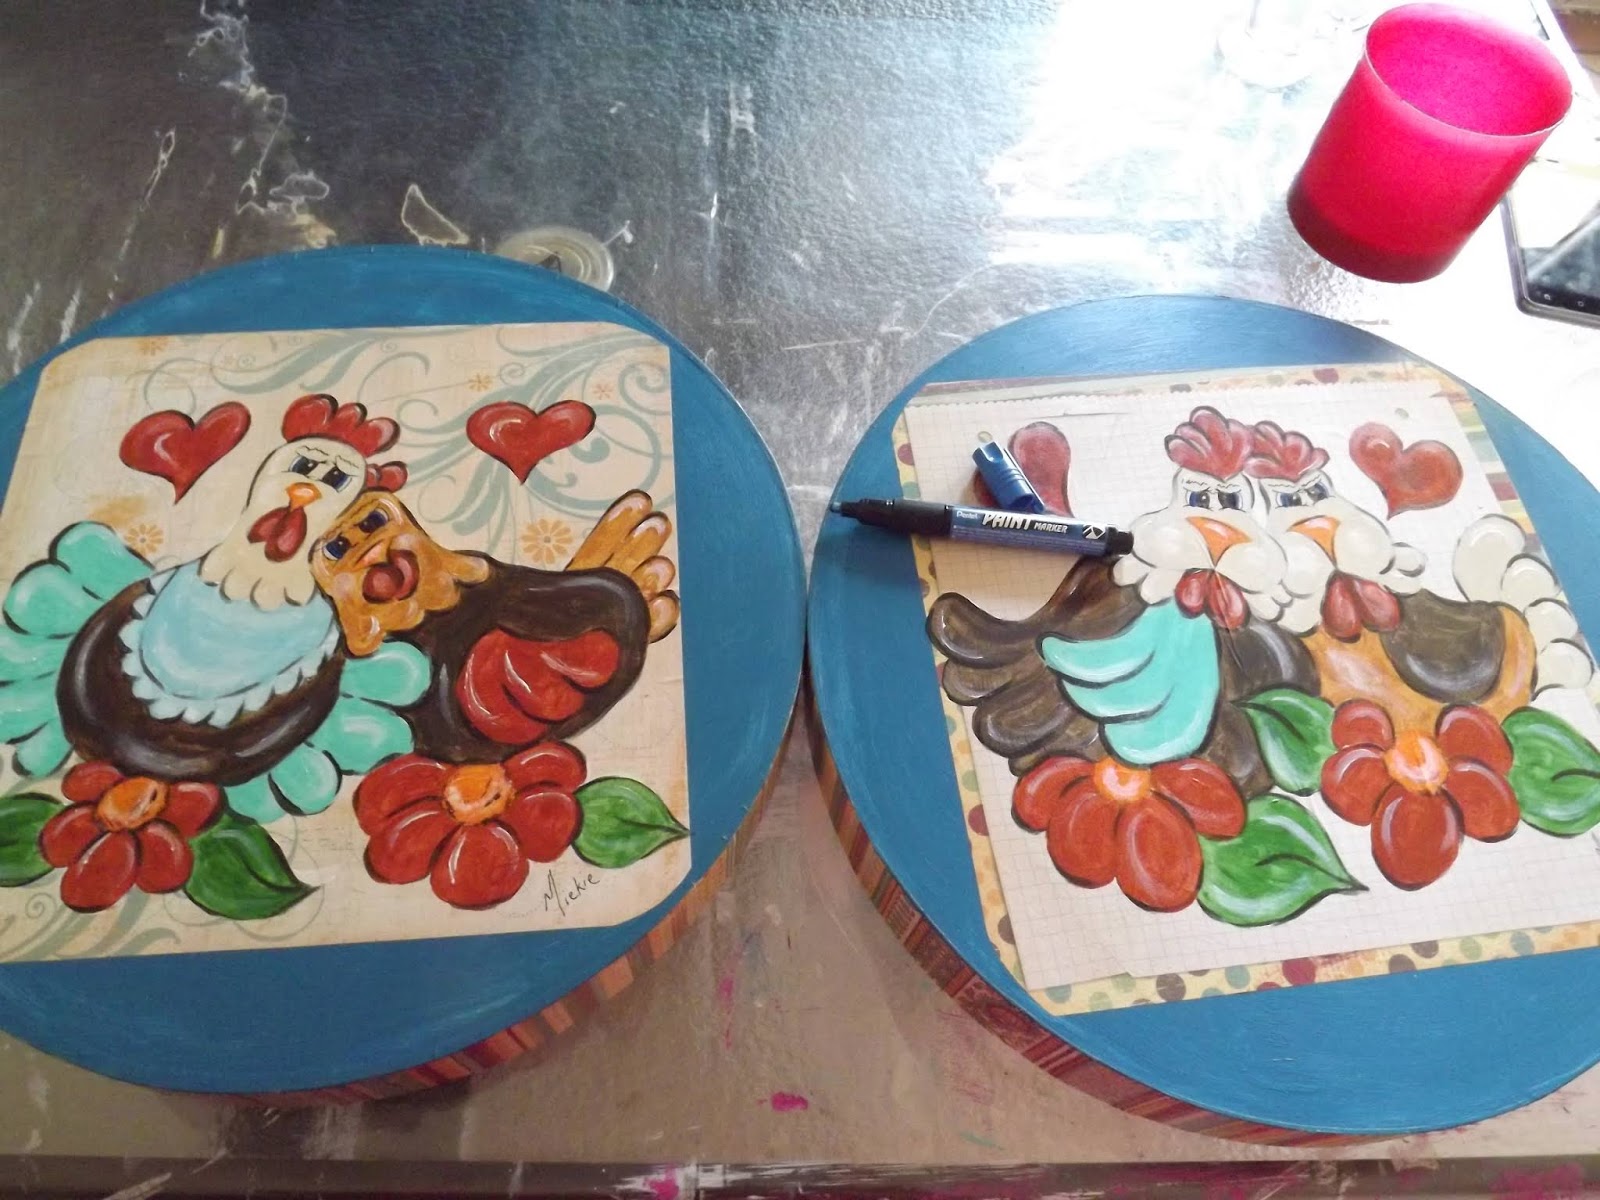
I highlight the whites of the eyes with a white marker.
I then give the chickens some blushing pink cheeks.
The cheeks are toned down a bit with a thin layer of unbleached titanium that is smudged onto it.
I now need to finish the background. I select a sheet of paper from my collection and cut the flowers from it.
I do the same with yet another sheet of paper from the collection.
I then arrange the cut flowers on the canvasses, only to find that it is way too busy, causing the paintings to disappear into the background.
As an alternative, I paint over the blue backgrounds with Buff Titanium, using a dry brush with stiff bristles. This gives the paint a streaked effect, allowing the blue to show through.
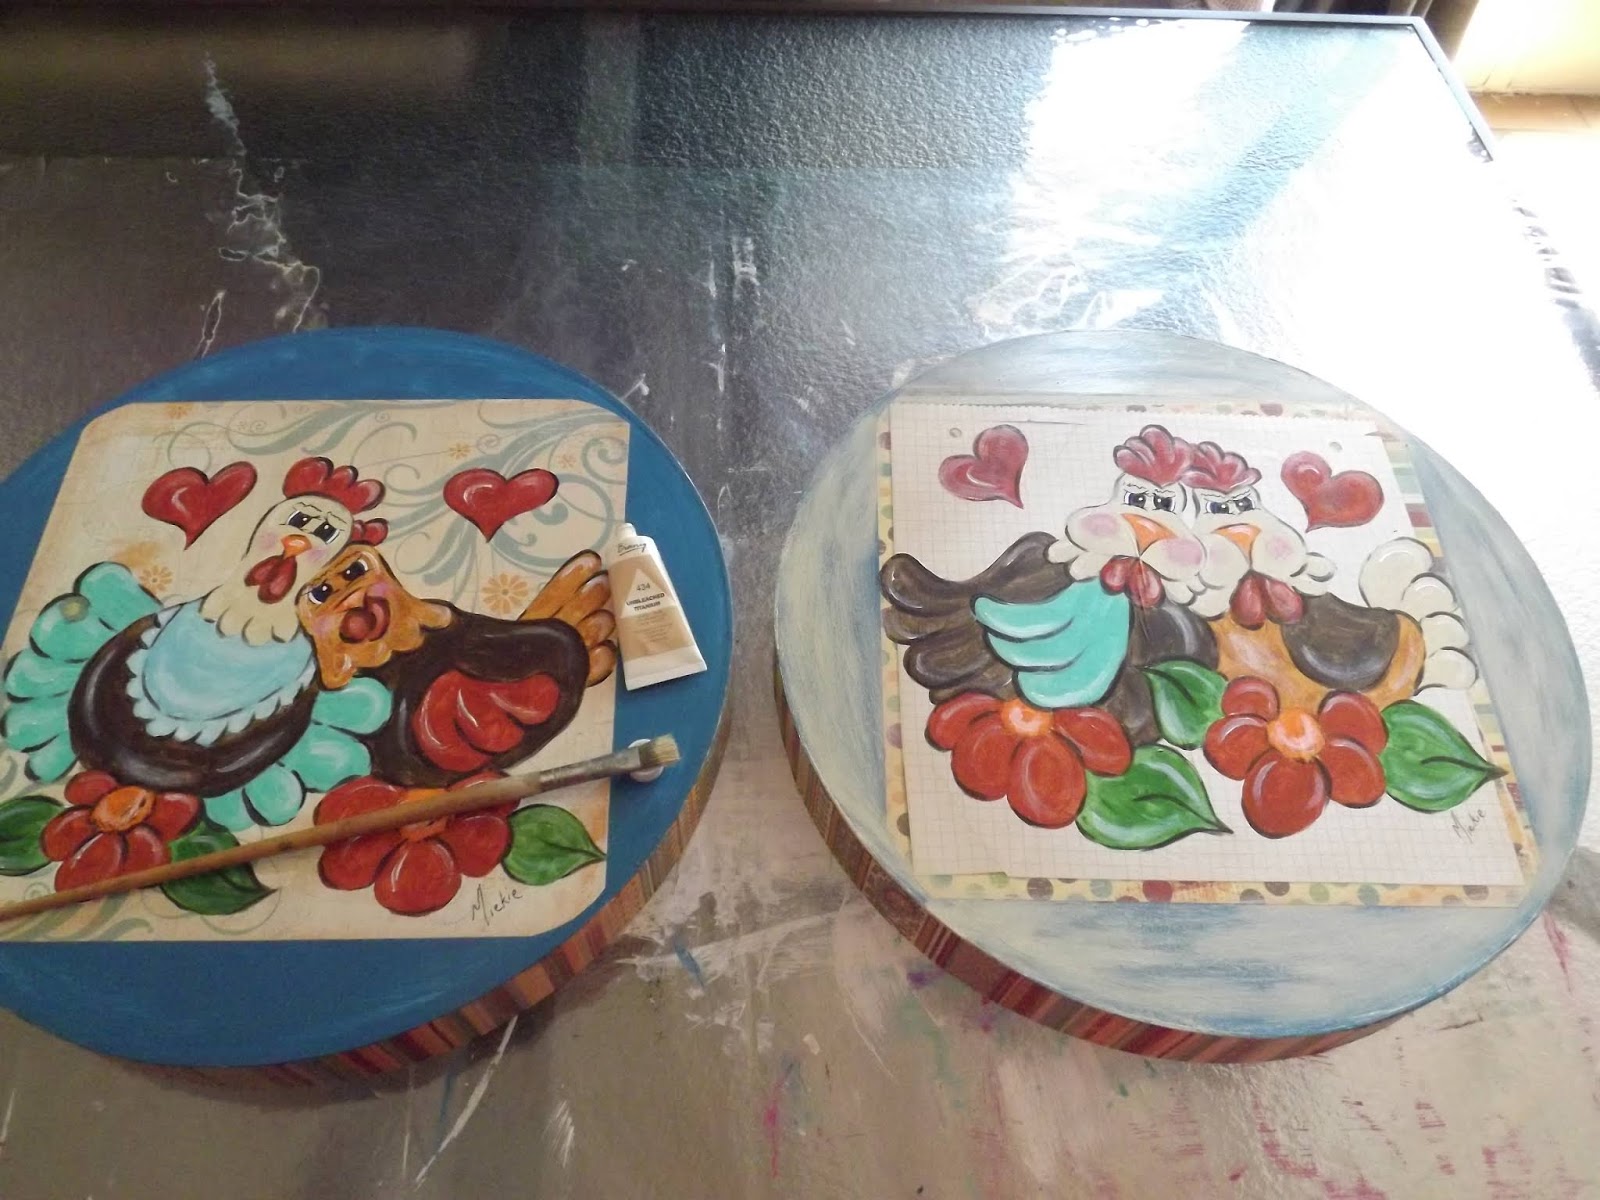
I then arrange only a selection of the cut flowers on the canvasses. I like this effect. The cut flowers are then decoupaged onto the canvasses using Dala Acrylic Gel Medium.
The final result!
Marietjie Uys (Miekie) is a published author. You can buy my books here:
You can purchase Designs By Miekie 1 here.
Jy kan Kom Ons Teken en Verf Tuinstories hier koop.
Jy kan Kom Ons Kleur Tuinstories In hier koop.
Jy kan Tuinstories hier koop.
You can follow Miekie's daily Bible Study blog, Bybel Legkaart, here in English & Afrikaans.
You may prefer to follow the traveling blog, A Pretty Tourist.
For more crafty ideas and great product reviews, visit A Pretty Talent on Facebook.
If you are in a literary mood, follow Miekie's musings, stories and poetry on A Pretty Author - Miekie.
Remember to keep nurturing your TALENT for making life PRETTY.
You can subscribe to any of these blogs and receive regular updates by email. Simply register your email address at the top of the applicable blog.
This blog is about empowering everyone who has a talent for making pretty things, be it a latent or developed one. I bring you practical tips and tricks to make and do the things you've always wanted to.
Search This Blog
Sunday, 16 September 2018
Friday, 14 September 2018
How to draw: A Chicken
We have not drawn any birds yet, and I think it foul. Therefore, I shall start us off on a fowl! In today's blog, I will show you how to draw a chicken in a couple of easy steps. We want the chicken to be perceived as being white, so we will not need to add a lot of colour. This is the ideal drawing with which to introduce you to graphite bars. Graphite is the stuff that is put in grey pencils. However, it is also manufactured in bars, without the wooden casing. This makes it brilliant to use on the side, or to draw straight lines with, etc. I'll add a couple of colour bars into the demonstration to boot.
You will need a sheet of paper and a pencil to start today's drawing on.
The chicken's body is shaped like a large oval. The head is a much smaller circle above it.
Draw the neck, the comp and the start of a leg.
Add the tail and continue developing the legs.
Draw the feet and the facial features.
Add more feathery detail.
Finalize the detail.
Redraw the chicken in ink. I used a black marker with a fine point.
These are the graphite bars I was telling you about in the first paragraph. They come in hard, medium and soft. The softer the graphite is, the more of it will be left on the page, resulting in darker lines. Some bars are even labelled 2B, 4B, etc. You also get coloured bars.
I start with the hardest bar that will give me the lightest markings.
I then add a dash of colour to key areas.
This is followed by the medium tone.
Lastly, I add the deepest shadows with the darkest bar.
I add a dash more colour with yet another bar.
As the graphite can easily smudge, I opt to fix it to the page with fixative. You can also use hairspray.
The final drawing.
Marietjie Uys (Miekie) is a published author. You can buy my books here:
You can purchase Designs By Miekie 1 here.
Jy kan Kom Ons Teken en Verf Tuinstories hier koop.
Jy kan Kom Ons Kleur Tuinstories In hier koop.
Jy kan Tuinstories hier koop.
You can follow Miekie's daily Bible Study blog, Bybel Legkaart, here in English & Afrikaans.
You may prefer to follow the traveling blog, A Pretty Tourist.
For more crafty ideas and great product reviews, visit A Pretty Talent on Facebook.
If you are in a literary mood, follow Miekie's musings, stories and poetry on A Pretty Author - Miekie.
Remember to keep nurturing your TALENT for making life PRETTY.
You can subscribe to any of these blogs and receive regular updates by email. Simply register your email address at the top of the applicable blog.
You will need a sheet of paper and a pencil to start today's drawing on.
The chicken's body is shaped like a large oval. The head is a much smaller circle above it.
Draw the neck, the comp and the start of a leg.
Add the tail and continue developing the legs.
Draw the feet and the facial features.
Add more feathery detail.
Finalize the detail.
Redraw the chicken in ink. I used a black marker with a fine point.
These are the graphite bars I was telling you about in the first paragraph. They come in hard, medium and soft. The softer the graphite is, the more of it will be left on the page, resulting in darker lines. Some bars are even labelled 2B, 4B, etc. You also get coloured bars.
I start with the hardest bar that will give me the lightest markings.
I then add a dash of colour to key areas.
This is followed by the medium tone.
Lastly, I add the deepest shadows with the darkest bar.
I add a dash more colour with yet another bar.
As the graphite can easily smudge, I opt to fix it to the page with fixative. You can also use hairspray.
The final drawing.
Marietjie Uys (Miekie) is a published author. You can buy my books here:
You can purchase Designs By Miekie 1 here.
Jy kan Kom Ons Teken en Verf Tuinstories hier koop.
Jy kan Kom Ons Kleur Tuinstories In hier koop.
Jy kan Tuinstories hier koop.
You can follow Miekie's daily Bible Study blog, Bybel Legkaart, here in English & Afrikaans.
You may prefer to follow the traveling blog, A Pretty Tourist.
For more crafty ideas and great product reviews, visit A Pretty Talent on Facebook.
If you are in a literary mood, follow Miekie's musings, stories and poetry on A Pretty Author - Miekie.
Remember to keep nurturing your TALENT for making life PRETTY.
You can subscribe to any of these blogs and receive regular updates by email. Simply register your email address at the top of the applicable blog.
Wednesday, 12 September 2018
How to draw: A Triceratops
Dinosaurs weren't as commonplace as they are today, when I grew up. I think for this reason, these giant creatures that once roamed the earth, still hold such fascination for me. Stephen Spielberg did nothing to squash this fascination either! In today's blog, I share the steps for drawing a Triceratops with you. We then use soft pastels to colour it. These can be slightly messy and tricky to work with, but I'll show you how to do so without too much hassle.
You will need a sheet of paper and a pencil for today's drawing.
Start with a big oval to represent the body. Draw a large circle for the top of the hind leg, and a smaller circle for the top of the front leg, inside the large oval.
Add a curved triangle for the head. Connect the body to the head with a neck.
Start shaping the legs.
Continue working on the legs and add the beginning of a tail.
Continue working on the tail and add the feet.
Work on the facial detail.
Add the detail and textures to the rest of the body.
Redraw the triceratops in pen. I used a green all-surface marker with a fine point.
Erase all the pencil marks.
My soft pastels consist of numerous sets that have been conveniently arranged in these handy drawers. Some are more expensive than others, but generally speaking, all soft pastels are good value for money.
I start with the bright colour on the belly.
Then I add the lightest colour where the light reflects off the triceratops.
Then I add the lightest green.
This is followed by the middle green.
This is followed by the darkest green.
I then use a cotton bud to blend the pastels a little. Pastels will not blend to form a third colour, but when you smooth it out like this, it creates interesting nuances where the particles sit next to each other on the page, creating the visual illusion of 'new' shades and colours.
This much better than the patchy coloured version!
Any smudges on the page can be erased.
I use 4 different colours to create the impression of foliage in the background. Note how some colours are used to draw lines with, while others are simply dotted or smeared.
I use three colours in the foreground. Remember to add a dark colour for the triceratops's shadow.
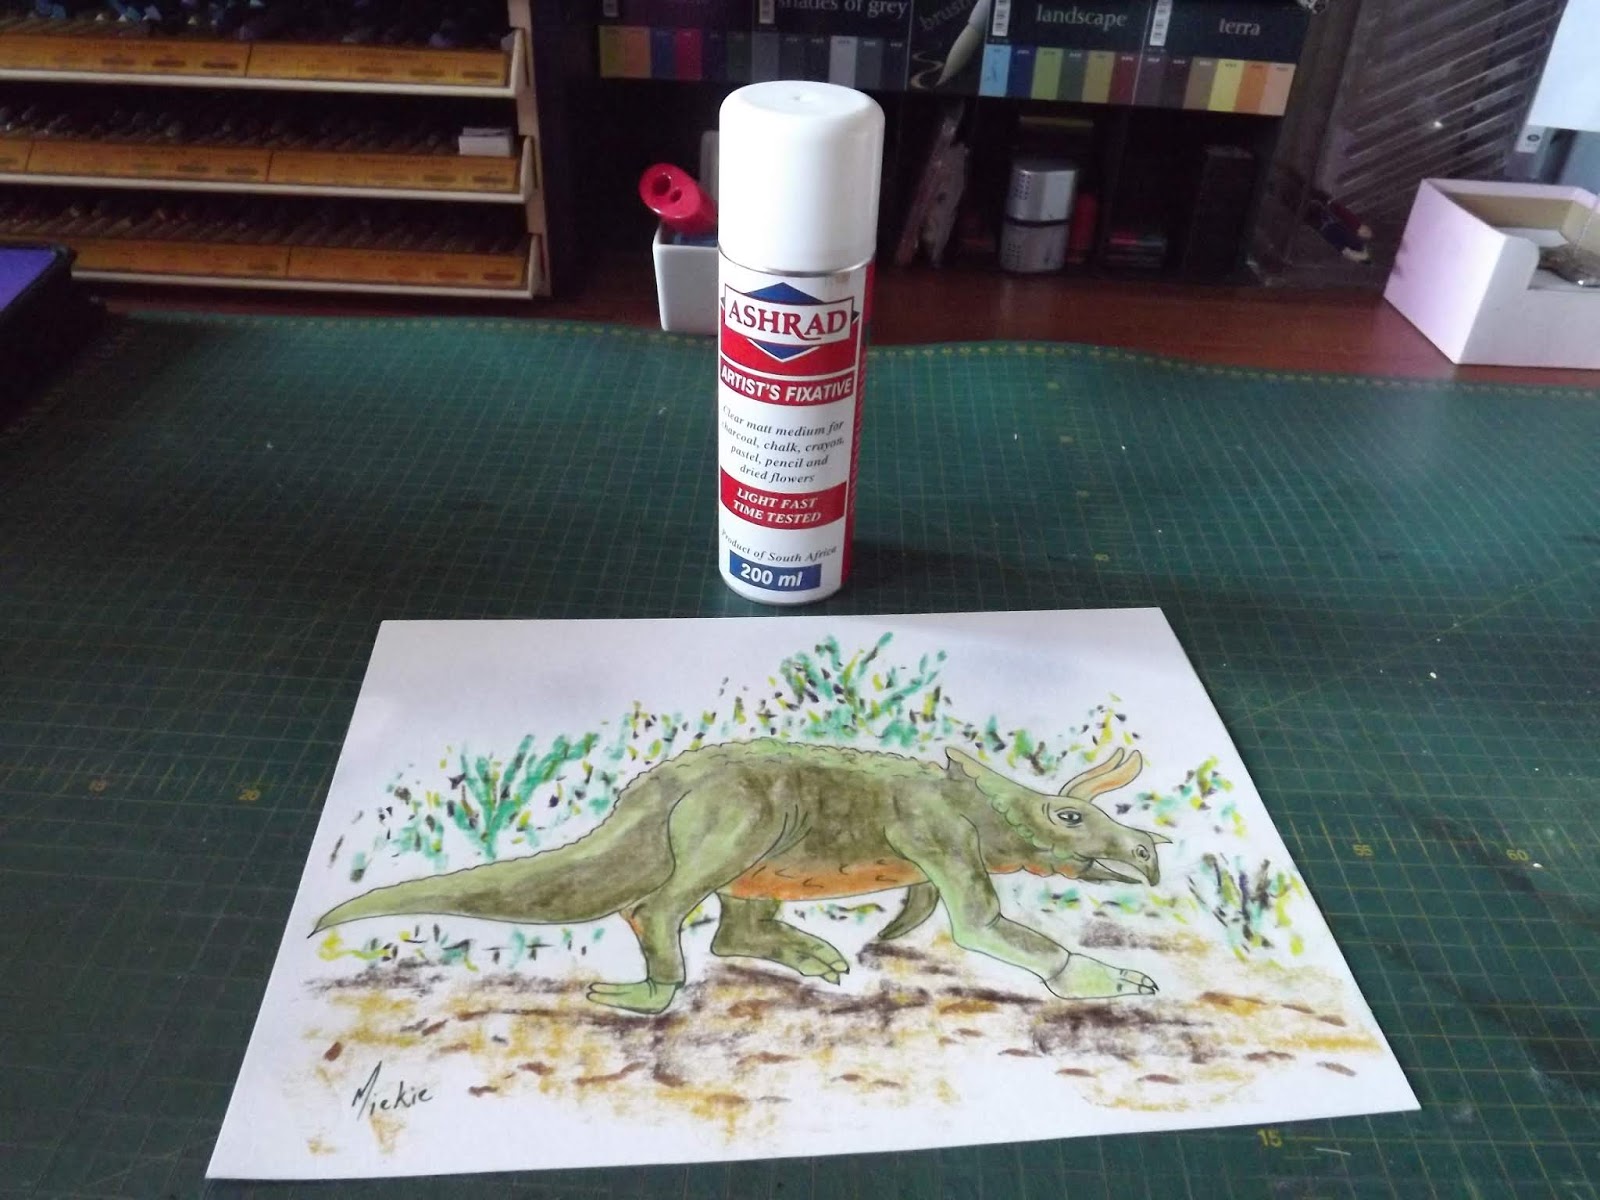
Spray your drawing with fixative or hair spray to prevent it from smudging.
The final picture.
Marietjie Uys (Miekie) is a published author. You can buy my books here:
You can purchase Designs By Miekie 1 here.
Jy kan Kom Ons Teken en Verf Tuinstories hier koop.
Jy kan Kom Ons Kleur Tuinstories In hier koop.
Jy kan Tuinstories hier koop.
You can follow Miekie's daily Bible Study blog, Bybel Legkaart, here in English & Afrikaans.
You may prefer to follow the traveling blog, A Pretty Tourist.
For more crafty ideas and great product reviews, visit A Pretty Talent on Facebook.
If you are in a literary mood, follow Miekie's musings, stories and poetry on A Pretty Author - Miekie.
Remember to keep nurturing your TALENT for making life PRETTY.
You can subscribe to any of these blogs and receive regular updates by email. Simply register your email address at the top of the applicable blog.
You will need a sheet of paper and a pencil for today's drawing.
Start with a big oval to represent the body. Draw a large circle for the top of the hind leg, and a smaller circle for the top of the front leg, inside the large oval.
Add a curved triangle for the head. Connect the body to the head with a neck.
Start shaping the legs.
Continue working on the legs and add the beginning of a tail.
Continue working on the tail and add the feet.
Work on the facial detail.
Add the detail and textures to the rest of the body.
Redraw the triceratops in pen. I used a green all-surface marker with a fine point.
Erase all the pencil marks.
My soft pastels consist of numerous sets that have been conveniently arranged in these handy drawers. Some are more expensive than others, but generally speaking, all soft pastels are good value for money.
I start with the bright colour on the belly.
Then I add the lightest colour where the light reflects off the triceratops.
Then I add the lightest green.
This is followed by the middle green.
This is followed by the darkest green.
I then use a cotton bud to blend the pastels a little. Pastels will not blend to form a third colour, but when you smooth it out like this, it creates interesting nuances where the particles sit next to each other on the page, creating the visual illusion of 'new' shades and colours.
This much better than the patchy coloured version!
Any smudges on the page can be erased.
I use 4 different colours to create the impression of foliage in the background. Note how some colours are used to draw lines with, while others are simply dotted or smeared.
I use three colours in the foreground. Remember to add a dark colour for the triceratops's shadow.
Spray your drawing with fixative or hair spray to prevent it from smudging.
The final picture.
Marietjie Uys (Miekie) is a published author. You can buy my books here:
You can purchase Designs By Miekie 1 here.
Jy kan Kom Ons Teken en Verf Tuinstories hier koop.
Jy kan Kom Ons Kleur Tuinstories In hier koop.
Jy kan Tuinstories hier koop.
You can follow Miekie's daily Bible Study blog, Bybel Legkaart, here in English & Afrikaans.
You may prefer to follow the traveling blog, A Pretty Tourist.
For more crafty ideas and great product reviews, visit A Pretty Talent on Facebook.
If you are in a literary mood, follow Miekie's musings, stories and poetry on A Pretty Author - Miekie.
Remember to keep nurturing your TALENT for making life PRETTY.
You can subscribe to any of these blogs and receive regular updates by email. Simply register your email address at the top of the applicable blog.
Subscribe to:
Posts (Atom)