Search This Blog

Wednesday, 3 May 2017

Making Labneh Balls At Home

Labneh balls are made from soft cheese or yogurt and has middle eastern origins. It is a delicatessen that can be found in most well-stocked deli's, but it is also something you can make quite easily at home. My friend in Botswana, Louise, showed me how she turned her homemade yogurt into Labneh. Now let me share with you what I learned from her.


Strain your homemade yogurt (which we learned to make in the previous blog) through cheesecloth.


The whey will run through, trapping the curdled yogurt in the cheesecloth.


This picture clearly shows the whey running through the cheesecloth.


Hang your cheesecloth out in the fridge to allow the excess whey to drip through overnight.


By the next day, a lot more whey has dripped through and the cheese have become substantially more solidified.


You can see how much more solid the cheese is in this photo.
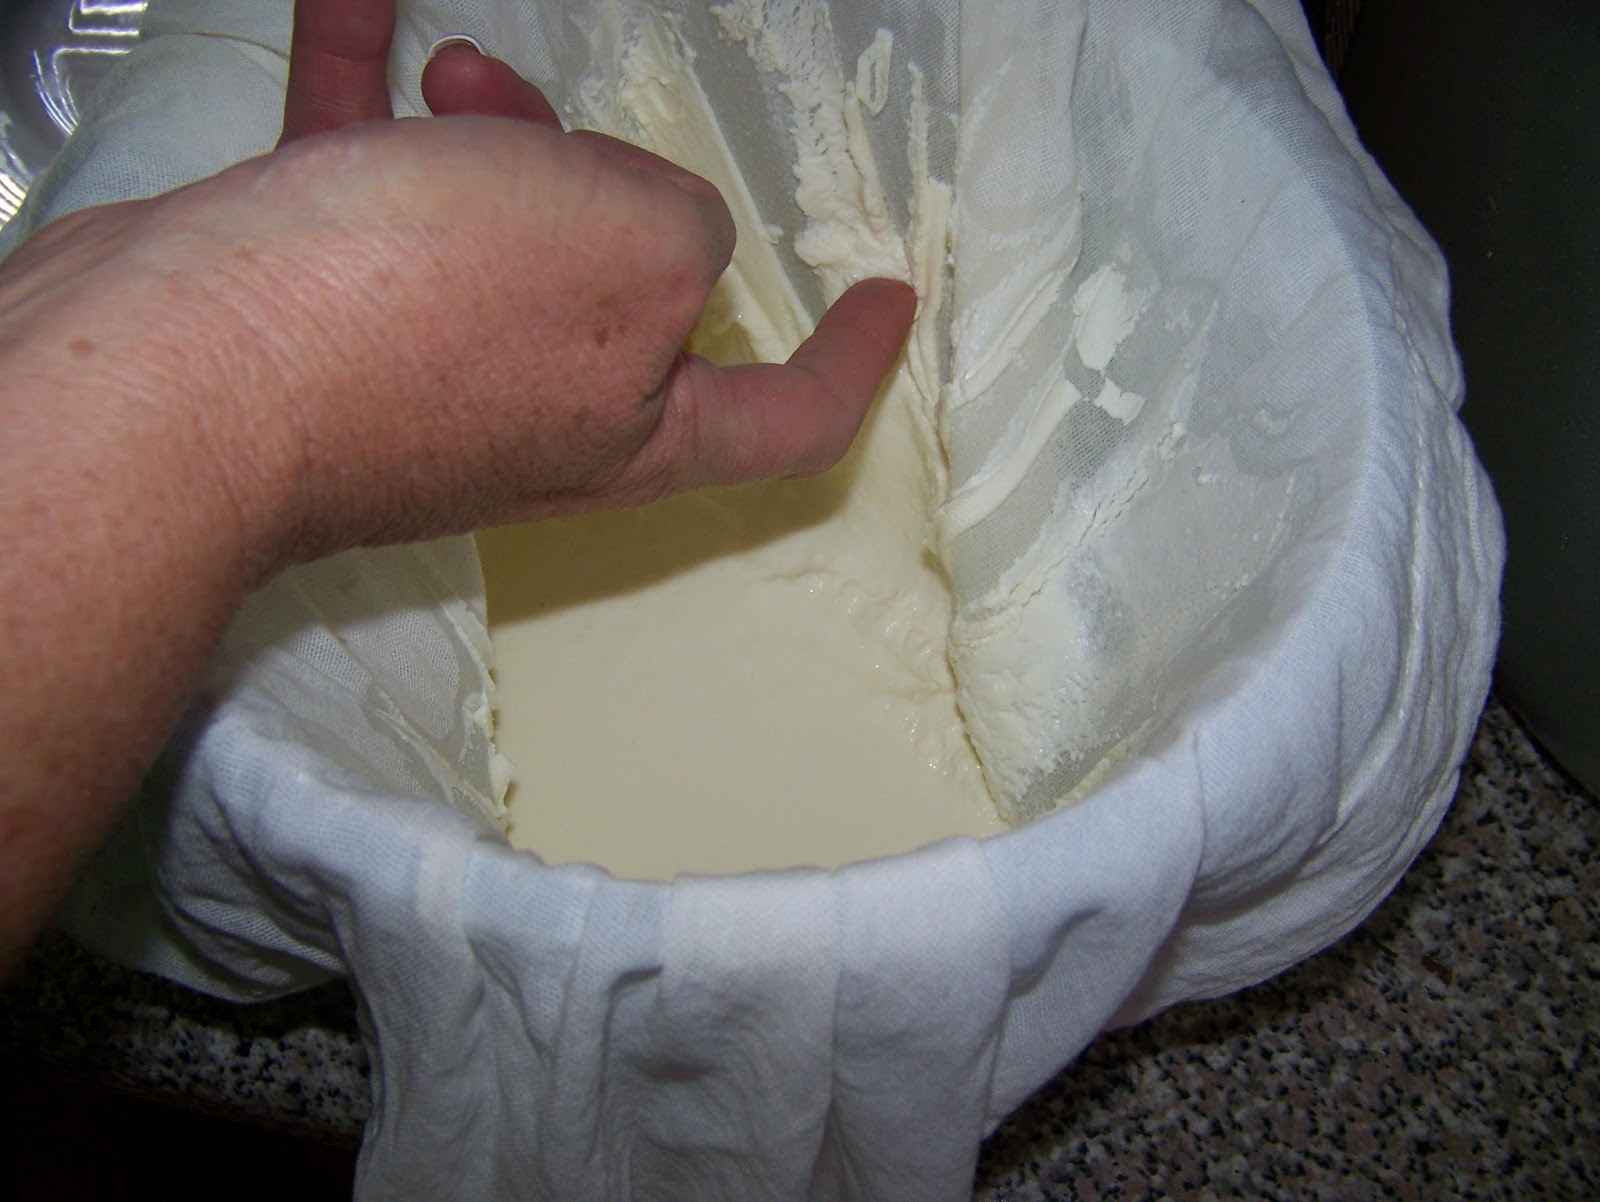

Hang it out again for 12-24 hours to get rid of even more whey. Hang it in the fridge.


When we open the cheese later, it is finally ready. By now it resembles a soft clay.


Transfer the cheese to a mixing bowl.


You can add any salt of your choice, but guard against adding too much.


Season the cheese with salt. You can add more seasonings, such as pepper ,chilies, or herbs at this stage, or you can add it later. Louise added it later. I'll show you when and how.


Mix the salt in. Wrap it in cheesecloth and hang it out again for 12-24 hours. Hang it in the fridge.


Transfer the cheese to a bowl.


Prepare a clean bottle by filling it about 1/4 with olive oil.


Roll small cheese balls in the palms of your hands.


Transfer the cheese balls, Labneh, to the jar with olive oil.


Wash some fresh sprigs of herbs. Louise used thyme. Put these in the jar with the Labneh and seal the bottle. It is immediately ready for use, but will keep a long time in the fridge.


You can also roll the Labneh into a loaf before rolling it in sesame seeds, or peppercorns, or flacourants of your choice.


Labneh is delicious as is, or with crackers, on bread, etc. My suggestion for enjoying Labneh? Anywhere, anytime with good company.


Marietjie Uys (Miekie) is a published author. You can buy the books here:
You can purchase Designs By Miekie 1 here.
Jy kan Kom Ons Teken en Verf Tuinstories hier koop.
Jy kan Kom Ons Kleur Tuinstories In hier koop.
Jy kan Tuinstories hier koop.
You can follow Miekie's daily Bible Study blog, Bybel Legkaart, here in English & Afrikaans.
For more crafty ideas and great products, visit A Pretty Talent on Facebook.
Remember to keep nurturing your TALENT for making PRETTY things.
You can subscribe to this blog and receive regular updates by email by simply registering your email address at the top of the current blog.

Tuesday, 2 May 2017

Making Yogurt At Home

Louise, my friend on the dairy farm in Botswana, was gracious enough to share her secret for making yogurt at home, with me when I was visiting. I photographed the process to share with you in my blog. I show you this relatively simple process in today's blog, before taking it one step further in tomorrow's blog when we learn to make Labneh.


If you do not have live cultures to add, you can buy a natural yogurt tub to start your yogurt with. This South African product is really good for this purpose. I took 3 photos of it so you could read the label for yourself.


Louise also used a cup (250 ml) of powdered milk in the process, along with the fresh milk.


You will need 1 cup (250 ml) boiling water.


You will need 2 cups (500 ml) cold water.


Mix the powdered milk with the boiling water and add the cold water.


You will need 4 cups (1 litre) fresh milk.


Warm the milk, but do not bring it to the boil.


Add the warm milk to the milk powder solution.


Throw this into flasks and seal. Leave at room temperature for a day or two, depending on the weather.


When it is ready, it will have a yogurt consistency. If you prefer a drinking yogurt, it will be ready before it reaches the yogurt stage. You may wish to add chopped up fresh fruits, flacourants, or even colourants. It is really good as is, though. If you wait one more day, I will show you how to make the traditional middle eastern soft cheese, called Labneh, from it.


Marietjie Uys (Miekie) is a published author. You can buy the books here:
You can purchase Designs By Miekie 1 here.
Jy kan Kom Ons Teken en Verf Tuinstories hier koop.
Jy kan Kom Ons Kleur Tuinstories In hier koop.
Jy kan Tuinstories hier koop.
You can follow Miekie's daily Bible Study blog, Bybel Legkaart, here in English & Afrikaans.
For more crafty ideas and great products, visit A Pretty Talent on Facebook.
Remember to keep nurturing your TALENT for making PRETTY things.
You can subscribe to this blog and receive regular updates by email by simply registering your email address at the top of the current blog.

Monday, 1 May 2017

Painting A Naive Pot Of Flowers In Oils

I love naive art and when I absolutely have to paint a still life, one of my least favourite subjects to paint, I rather opt to paint it in a naive style, than in the more traditional realism. Naive art is playful in nature and strips life of its complexities. It reminds of children's art and evokes feelings of nostalgia in the viewer. A vase of flowers can convey many serious messages, such as deep love, loss or congratulations. Rendering it in naive style, robs it of its seriousness and reminds the viewer not to take life quite so seriously. Still, there are certain rules that the artist must keep in mind when rendering naive art believable. I walk you through a naive art painting in today's blog.


I start the painting on a square canvas panel, measuring 12" x 12".


I use charcoal to draw the picture I wish to paint.


Then I brush the loose charcoal particles away to ensure they do not get trapped in the paint, muddying it up.


My background is a solid blue. The viewer get to make of this what they like. Is it a window? Is it the sky? Is it a wall? By not giving any more visual clues, I allow the viewers to make of this what they want.


I use Permanent Violet on the curtain. I simply included a curtain because I love the way that fabric drapes and I love that it adds a soft texture to the painting. In naive art you get to include elements that you like or find playful, whether they make sense in the painting, or not.


Adding Titanium White over the wet violet, I create the drapes that I find so dear.


As I am envisioning a glass vase, I need to show the reflection of the curtain in the glass. This is one of those essential rules one must abide by.


I bring Deep Rose into the opposite wall and repeat it in the vase. Note that the center of the vase will be reflecting the most light and remains lighter. The sides are in shadow and get the darker colours. This is an art rule that help the brain make sense of what it is seeing. I assists in creating the illusion of a rounded vase.


Pink is added to the wall and the vase. The pink is mixed by adding Titanium White to the Deep Rose.


I then add Scarlet to the wall and the vase. Notice how I keep balancing cooler and warmer colours in the painting.


Deep Cadmium Yellow is used on the tablecloth.


The polkadots are painted in light green. Both the yellow and the green will reflect in the vase.


When I fill in the inside of the vase, it suddenly becomes clear that the glass is coloured. I pay attention to the play of light and shadow on the edge of the vase.


I now paint the centers of the flowers.


I paint the flower stems.


The flower petals are painted white.


Add a light reflection on the vase in white as well.


I then used Lamp Black to add deep shadow areas and some interesting twirls to the vase. Playful and fun! A very lighthearted and friendly painting.


Marietjie Uys (Miekie) is a published author. You can buy the books here:
You can purchase Designs By Miekie 1 here.
Jy kan Kom Ons Teken en Verf Tuinstories hier koop.
Jy kan Kom Ons Kleur Tuinstories In hier koop.
Jy kan Tuinstories hier koop.
You can follow Miekie's daily Bible Study blog, Bybel Legkaart, here in English & Afrikaans.
For more crafty ideas and great products, visit A Pretty Talent on Facebook.
Remember to keep nurturing your TALENT for making PRETTY things.
You can subscribe to this blog and receive regular updates by email by simply registering your email address at the top of the current blog.