Search This Blog

Tuesday, 3 January 2017

Making Shower Melts & Bath Salts

In the last blog I shared a recipe with you for making bath bombs and bath salts. Yet, if you are anything like me, you love a shower as much as a bath. The good news is that the aroma therapy of the bath bomb has now come to the shower in the shape of shower melts. These little cakes are placed in the corner of the shower where they will slowly dissolve, releasing their therapeutic aromas in the shower. This, coupled with the steam, will have a wonderful soothing effect on the body and soul. I share a recipe for making shower melts in today's blog.


Start by measuring a cup (250 ml) bicarbonate of soda and 1/3 cup (95 ml) water.


You will also need to gather the essential oils of your choice, as well as colouring. The colouring is optional, but I choose to use this as it makes it easier to recognize the desired essential oil I am looking for, after it is made.


Mix the bicarbonate of soda and the water in a small mixing bowl.


I then chose to divide my mixture in 3 to make 3 different shower melts. You may wish to make more or less kinds.


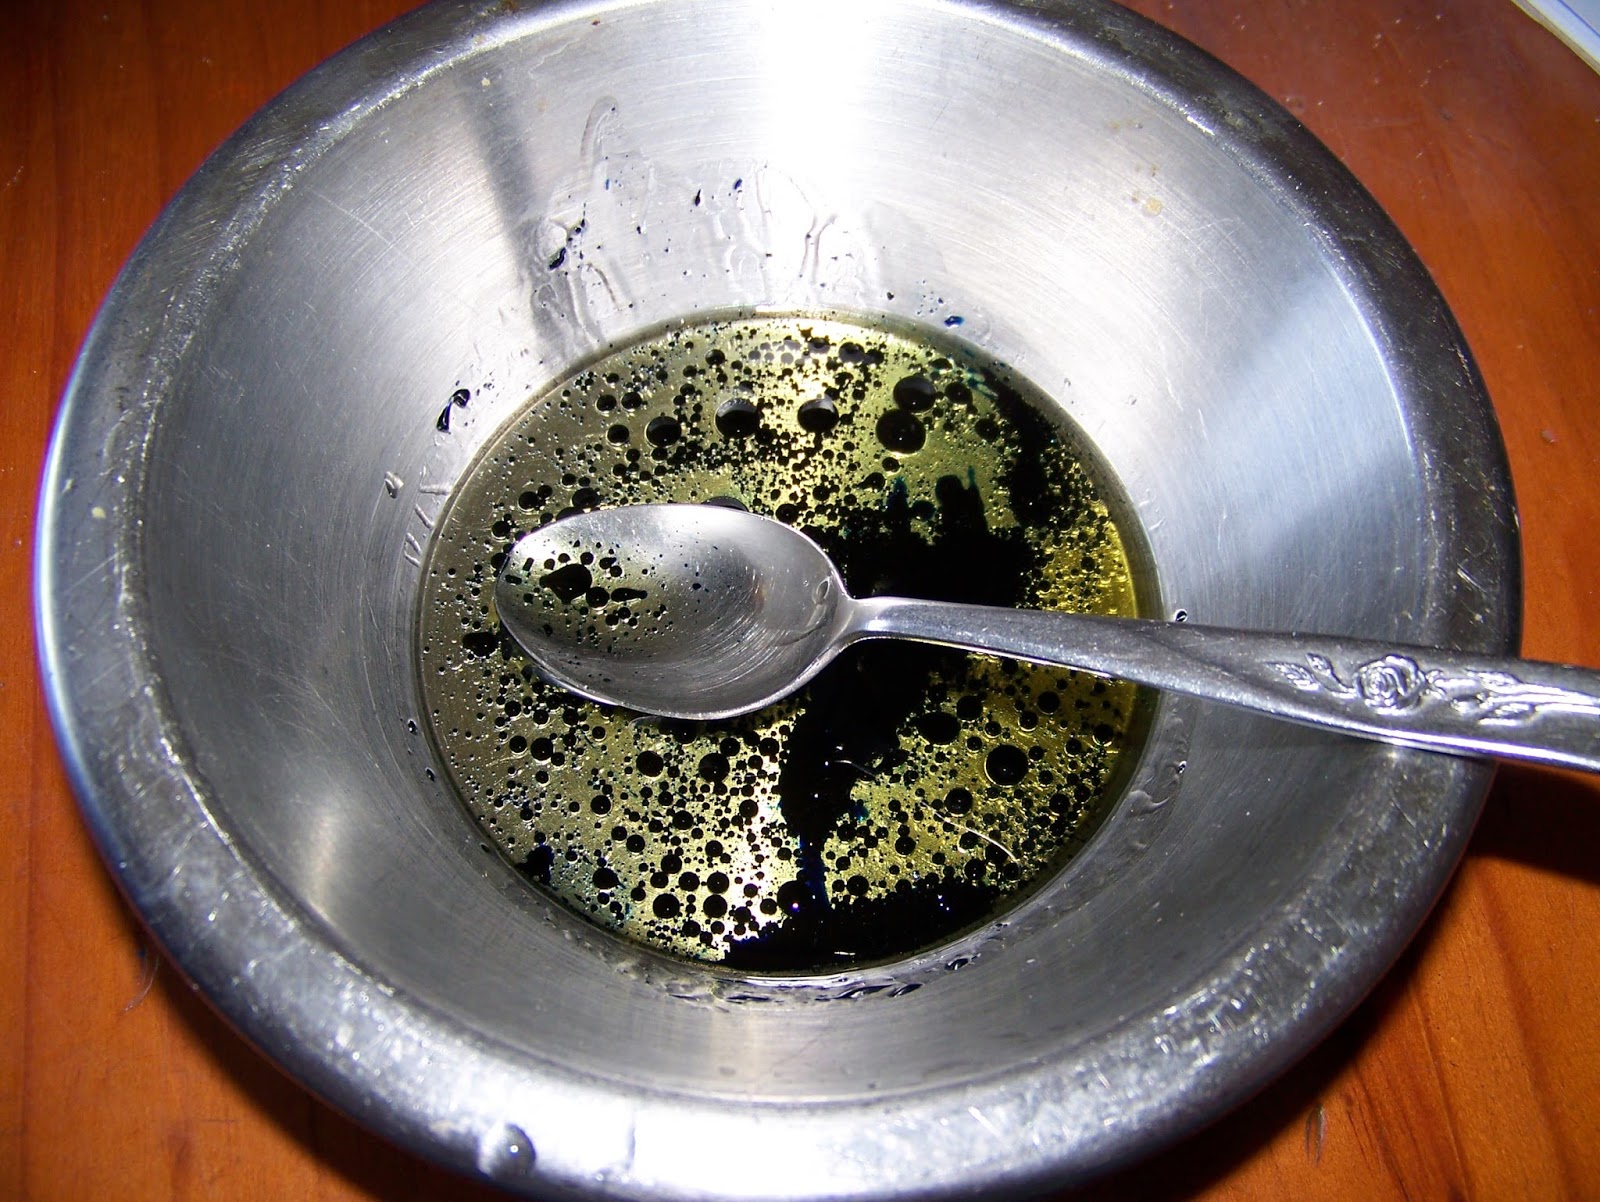
The first kind I made was peppermint and I used blue colouring for this. Add about 8-10 drops of peppermint essential oil and enough colouring to suit your own taste.


Mix well.


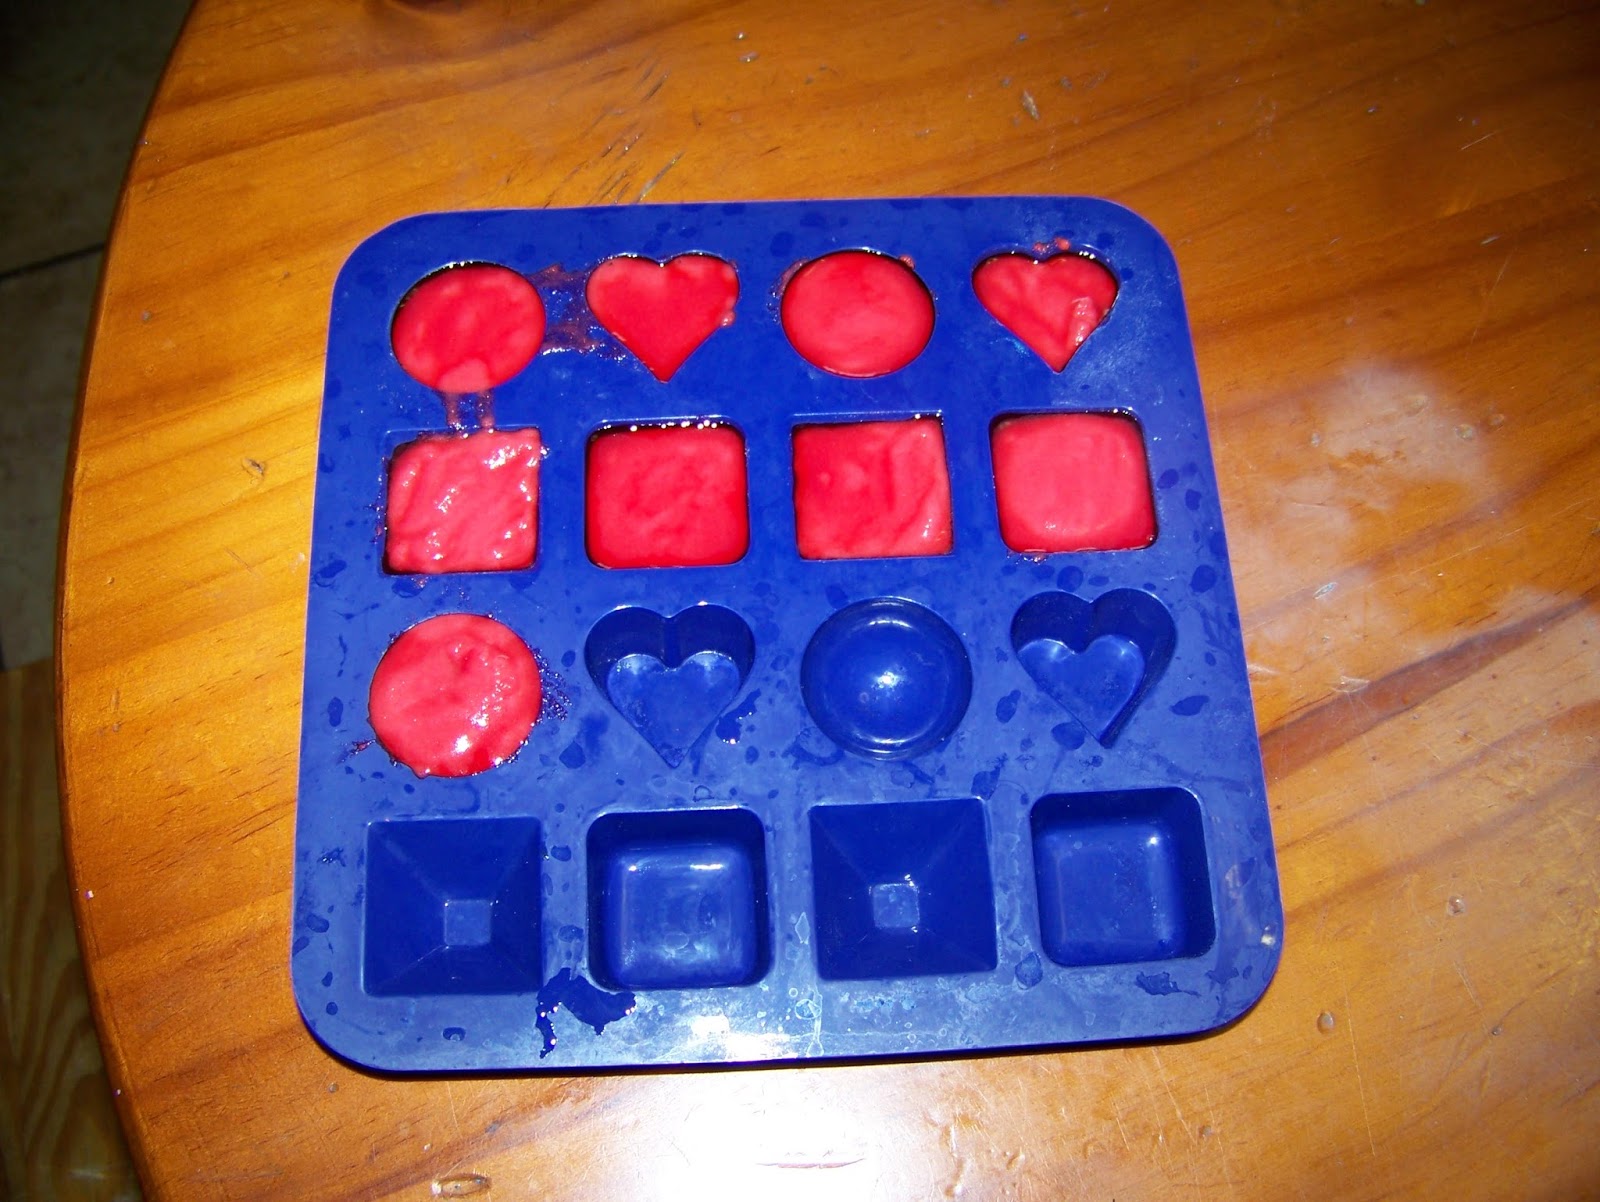
Scoop into molds with a teaspoon.


I used 8-10 drops of eucalyptus essential oil along with green colouring for my second type.


Mix well.


Scoop into molds.


Lastly, I used 8-10 drops of rosemary essential oils along with red food colouring.


Mix well.


Spoon into molds. Allow to dry for at least 24 hours.


Wait until the shower melts are completely dry before removing them from the molds.


Cut cellophane squares to wrap the shower molds in.


Lay the shower melt in the center of the square.


Fold the 2 corners in from the sides. Tape the corners down.


Fold the remaining two corners in and tape down.


Find yourself a pretty little box to present the shower melts in.


Lay them side by side in the box.


You will probably have some crumbs left over after packaging the shower melts. Gather these together.


Fill a small container with the leftover crumbs to make aromatic bath salts.


If you keep the colours of the shower melts separated, you can even layer more than one colour in the plastic tub.


Gift them, or use them, these wonderfully easy shower melts and bath salts is great for relaxing aroma therapy.


Marietjie Uys (Miekie) is a published author. You can buy the books here:
You can purchase Designs By Miekie 1 here.
Jy kan Kom Ons Teken en Verf Tuinstories hier koop.
Jy kan Kom Ons Kleur Tuinstories In hier koop.
Jy kan Tuinstories hier koop.
For more crafty ideas and great products, visit A Pretty Talent on Facebook.
Remember to keep nurturing your TALENT for making PRETTY things.
You can subscribe to this blog and receive regular updates by email by simply registering your email address at the top of the current blog.

Monday, 2 January 2017

Making Bath Bombs & Bath Salts

The hustle and bustle of the season is behind us and we are stretching towards a new year laden with its own ups and downs. We have a little bit of time left before we have to get back in the swing of things. Why not make the most of this time, by mixing yourself some bath bombs with which to relax? I show you how easy it is to make these little luxuries in today's blog. Fact is, you should have enough to be able to spoil a couple of friends as well.


Start by adding the dry ingredients to a mixing bowl; 1 cup (250 ml) Bicarbonate of Soda, 1/2 cup (125 ml) Citric Acid, 1/2 cup (125 ml) corn flour/Maizena, and 1/2 cup (125 ml) Epsom Salts.


Mix the dry ingredients well.


There are a wide variety of essential oils available on the market and you can add whichever of these appeal to you best. I opted for Peppermint this time around.


There are just as many colours to choose from and your choice will not affect the recipe in any way. I opted for a cool blue, but you get to select the colour of your choice.


Measure the wet ingredients in a small mixing bowl. You will need 2 teaspoons (10 ml) base oil. I used olive oil. You can use any oil, such as peanut oil, avocado oil, grape oil, coconut oil, or even plain sunflower or canola oil. The other wet ingredients are 1 teaspoon (5 ml) water, 2 teaspoons (10 ml) essential oils, and enough colouring to satisfy yourself. Add a little at a time, since you can alway mix in more colour if the results are not to your liking.


Mix the wet ingredients well.


Add the wet ingredients to the dry ones. The water will cause the mixture to fizz upon contact. Mix it quickly to stop the fizzing.


The fizzing stops almost immediately.


Keep mixing by hand until the mixture starts to form into clumps.


To make balls, you will need to have molds that snap shut.


Scoop the mixture into the molds.


Use a teaspoon to press it down tightly in the molds. Fill the top up as the mixture compresses.


This is a good measure; pressed down and compact.


Fill both sides of the mold in this way.


Scoop a layer of loose granules on the bottom mold.


Place the top mold on the bottom one and snap it shut.


Press down on each of the 'balls' to press the two sides of the ball together. Set it aside to dry for 24 hours.


If you do not have ball-shaped molds, you can use any other molds of your choice. I scooped my leftover mixture into these molds. Even though I have two of these, I opted to keep the molds open, making smaller, single layer bath bombs.


I had enough mixture to fill half of yet another mold. These last two molds were also set aside to dry for 24 hours.


Cut some cellophane in squares large enough to cover the bath bombs comfortably.


Place the bath bomb in the center of the cellophane. It is important to cover these balls to keep them dry. Moisture will soften them and they will be destroyed.


Bring two corners in and tape down.


Bring the remaining corners in and tape down.


When all of the bath bombs have been covered, you will be left with a crumb residue. I gather these crumbs into cute containers to gift as bath salts. Or you could keep them for yourself!


Find a pretty little box and some tissue paper to present the bath bombs in as a gift.


Cut the tissue paper to size and line your box.


Place the bath bombs in the box and fold the tissue paper in.


You may wish to finish with a ribbon. However you choose to present these, they are bound to be received with gratitude and awe!


Marietjie Uys (Miekie) is a published author. You can buy the books here:
You can purchase Designs By Miekie 1 here.
Jy kan Kom Ons Teken en Verf Tuinstories hier koop.
Jy kan Kom Ons Kleur Tuinstories In hier koop.
Jy kan Tuinstories hier koop.
For more crafty ideas and great products, visit A Pretty Talent on Facebook.
Remember to keep nurturing your TALENT for making PRETTY things.
You can subscribe to this blog and receive regular updates by email by simply registering your email address at the top of the current blog.