Click on the links to navigate easily between the three blogs in this series:
Part 1
Part 2
Part 3
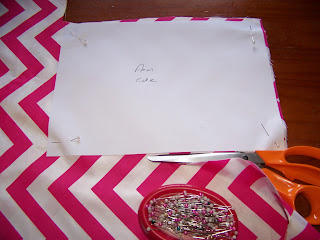
You need to cut out two arms.
I need four ears in total, but cut two pieces for the backs of the ears and the front and back of the head from the same fabric. I prefer this to be a plain fabric as a print might make it difficult to make out the face that we will applique on the fabric.
The inner ears and the hands are cut from the same coordinating fabric. I need two of each of these. The mouth is also cut from this, but I need only one pattern piece.
The whites of the eyes and the teeth are cut from white. I need two of each.
I make the color of the eyes blue to match those of the little girl it is intended for. I again need two pieces.
The nose and the pupils are cut from black. One nose and two pupils.
I have now cut out all of the pattern pieces from fabric, but I still need to cut stiffening for most of them.I cut stiffening only for the face and not for the back of the head.
I cut stiffening from quilting vilene for the ears.
The facial features are all cut from double-sided applique vilene.
I need to prepare the teeth before I start ironing. I lay the two pattern pieces on top of each other and sew around three sides.
I then turn the teeth right side out and top stitch through the center. My machine allows for a triple stitch, but you can also sew back and forth on the same line if yours does not. A single stitch will also work fine.
I am going to do the applique in pink and that is why the top stitch on the teeth is done in pink.
Iron the stiffening onto the face.
Lay the pattern pieces in place to make sure you have the eyes in the right place. Now remove the pattern pieces and iron the whites of the eyes on.
Now follows the color of the eyes.
Then follows the pupils.
Lay the mouth in place and slide the teeth in before you iron. With the teeth in place, iron the mouth onto the face.
The last piece to be ironed onto the face is the nose.
Iron the quilting vilene onto the inner ears. Iron the rest of the pattern pieces to get rid of creases. You can now switch the iron off and move on to the sewing machine.
Lay the backs of the ears on the inner ears with the right sides facing.
Sew all the way around the ears leaving the bottom open.
Cut away the excess fabric in the curves and corners before turning the ears right side out.
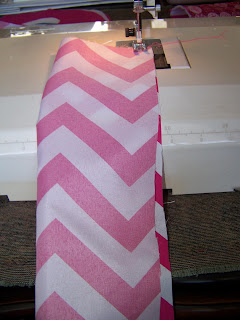
Fold the arms over and sew along the length.
Pin the hands to the bottom of the arms.
Sew the hands on.
The arms with the attached hands should look like this.
Fill the arms with stuffing. You have now prepared all of the pieces and can start on the quilting in the next blog.
For more crafty ideas and great products, visit APrettyTalent.com.
Remember to keep nurturing your TALENT for making PRETTY things.
You can subscribe to this blog and receive regular updates by email by simply registering your email address at the top of the current blog.


No comments:
Post a Comment