Search This Blog

Sunday, 17 November 2019

Card Making: Theatrical

Today we are making a card for a theatrical friend. You know. Those friends who always seem to have drama going in there lives and who handle it with the flair of a real diva. The card has highly contrasting colours, lots of texture and a vibrant bling to it that sets it apart from other cards. To top it all, we add a little bit of Shakespearean drama to the sentiment.


I start the card on one of these index cards.


I use a palette knife to pain the card gold, using Zellen's Zelcryl acrylic paint.


While the paint is still wet, I use a scraper to scrape swirls through the paint.


I then use an Artline marker to draw a balustrade on the dry paint.


I choose a die-cut from Art By Marlene's Signature Collection.


I use double-sided tape to adhere the die-cut to the index card.


I then draw the balustrade over the die-cut, to make it appear to be in front of the figure.


I use Liquid Pearl Drops to build the balustrade out 3D.


I then cut a speech bubble from off-cut cardboard.


I ink the edges of the speech bubble with Crystal Craft Ink.


I use a Faber-Castell Pigma pen to write the Shakespearean quote on the card: "Wherefore art thou Romeo?"


I then bling up the speech bubble with Mont Marte Glitter glue.


Again, I use double-sided tape to adhere the speech bubble to the index card.


The added speech bubble looks like this on the card.


The index card is now ready to be mounted on a bigger card.


I find contrasting purple cardboard to use as a card.


I use a bone folder to fold the A4 sheet of cardboard in half to form a card.


In my Reflect paper pad, I find a darker shade of purple to use as matting behind the index card.


I cut the matting to size, using a Dala Craft Knife and a metal ruler.


I use double-sided tape to layer the elements on the card.


I build a Washi Tape frame around the 'stage' on the card.


The completed card.


You can watch a compilation video of the above steps on YouTube:
https://youtu.be/iPXBeacZDJs


Marietjie Uys (Miekie) is a published author. You can buy my books here:
You can purchase Designs By Miekie 1 here.
Jy kan Kom Ons Teken en Verf Tuinstories hier koop.
Jy kan Kom Ons Kleur Tuinstories In hier koop.
Jy kan Tuinstories hier koop.
You can follow Miekie's daily Bible Study blog, Bybel Legkaart, here in English & Afrikaans.
You may prefer to follow the traveling blog, A Pretty Tourist.
For more crafty ideas and great product reviews, visit A Pretty Talent on Facebook.
If you are in a literary mood, follow Miekie's musings, stories and poetry on A Pretty Author - Miekie.
Remember to keep nurturing your TALENT for making life PRETTY.
You can subscribe to any of these blogs and receive regular updates by email. Simply register your email address at the top of the applicable blog.

Saturday, 16 November 2019

Card Making: Slow Down

I have a colleague who is retiring. This is a special person, who has become a friend over the passage of time. I wished to send her off with an equally special card that would convey the sentiments of bottling the time keepers and slowing life down, but not so much that you cannot still enjoy it. We pull together a couple of interesting elements on today's card, which makes it a tactile card to enjoy.


I start the project on one of these index cards.


I paint the sides of the card with Dala Student Acrylic Paint in Raw Sienna.


Then I cut a piece of corrugated cardboard to fit inside the index card.


I use double-sided tape to adhere the pieces together.


It now looks like this.


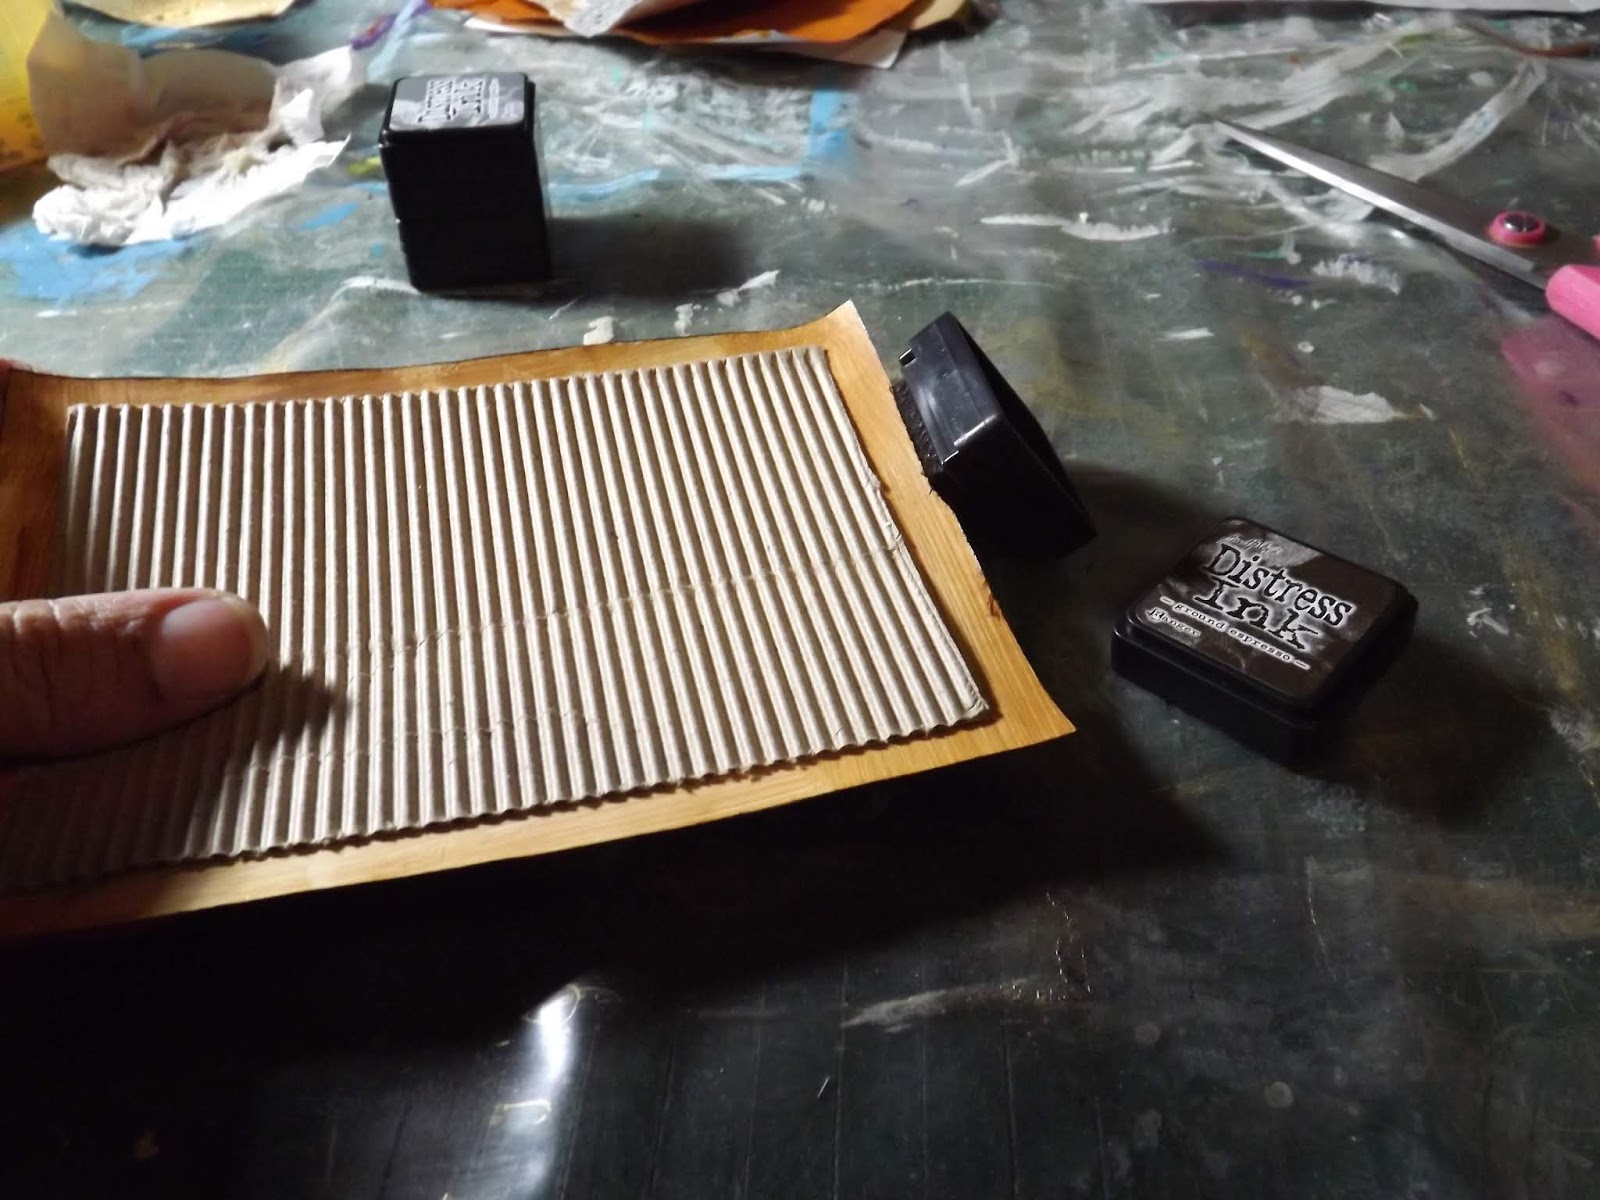
I ink the edges of the index card with Tim Holtz Distress Ink.


I also ink the raised areas of the corrugated cardboard.


I then glue two wooden embellishments to the cardboard with Tombow glue.


I cut a speech bubble from some leftover paper in my scrap paper stash.


I ink the speech bubble.


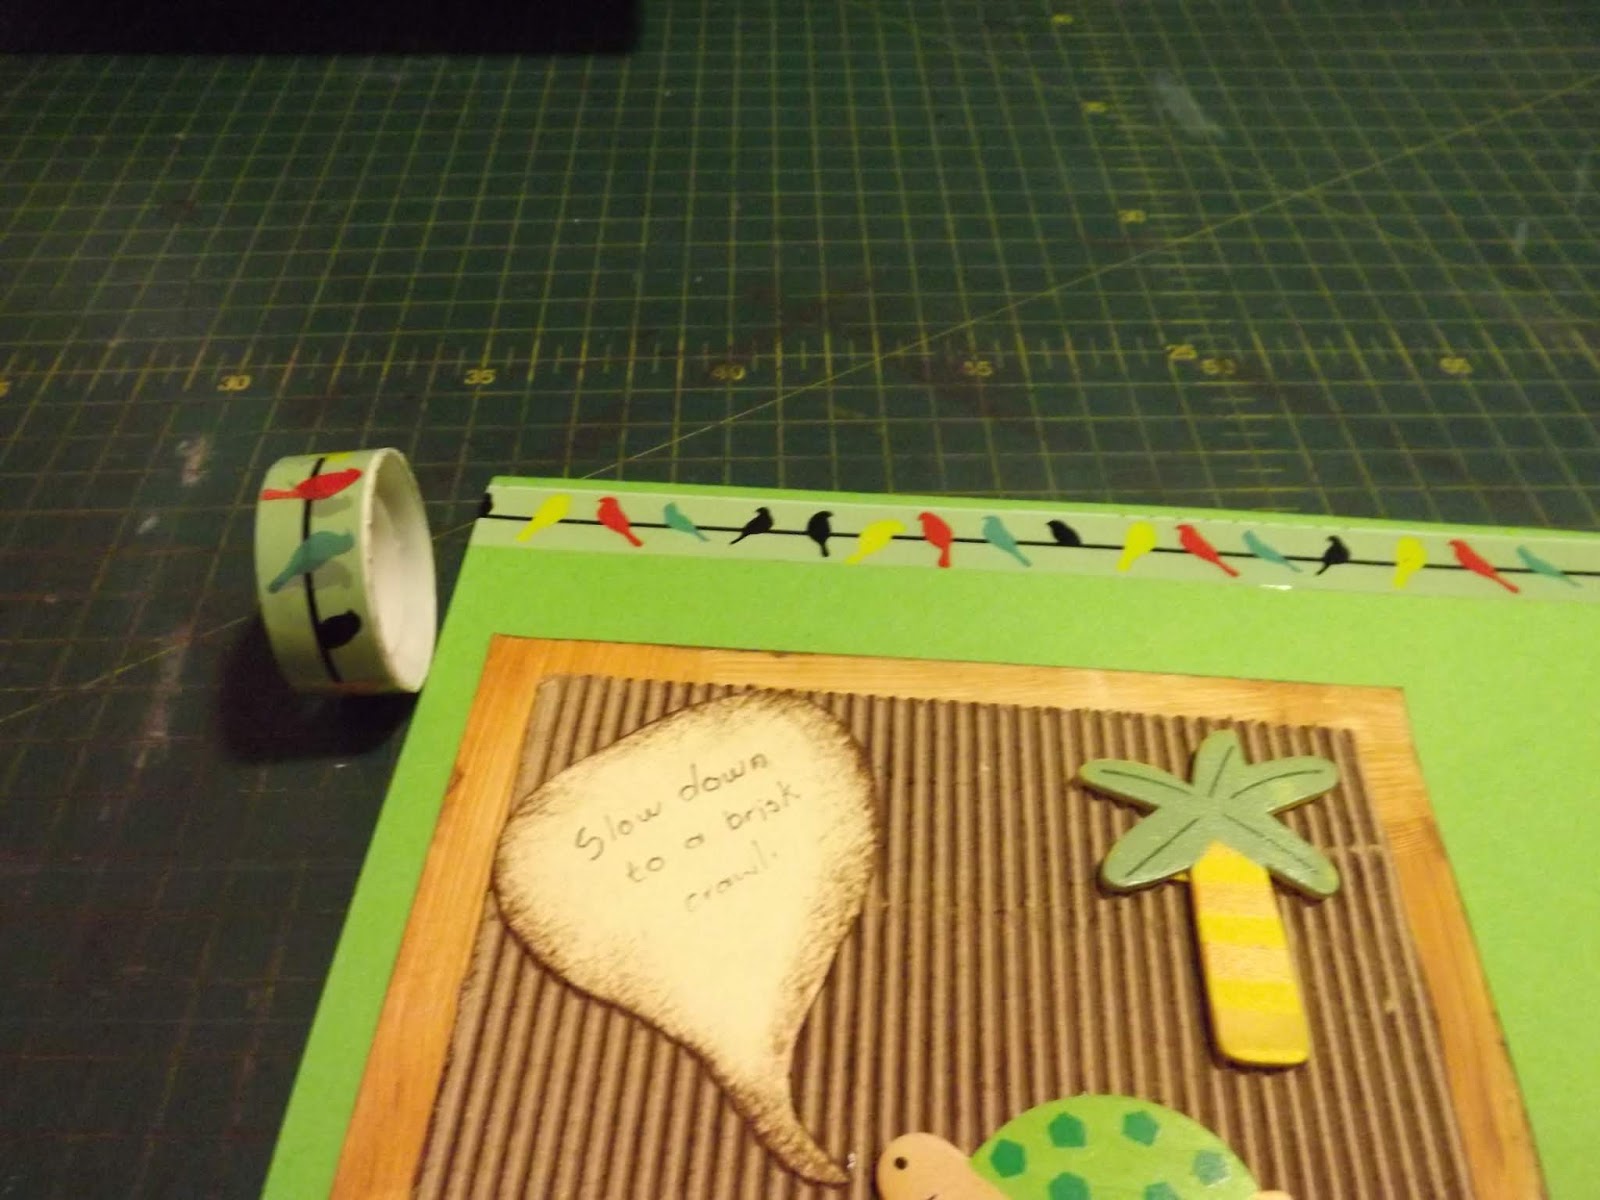
I then use a Pigma pen to write the sentiment in the speech bubble: 'Slow down to a brisk walk.'


The completed index card looks like this. I am now ready to mount it on a proper card.


I find a green A4 sheet of cardboard to use as a card.


I use a bone-folder to fold the card in half.


I use double-sided tape to glue the index card to the green card.


I then add a fun Washi tape border.


I will use this stamp set from Creative talents, along with Tim Holtz Distress Ink, to stamp a mason jar on the card.


I use a Chiswick Stamp Mount to stamp with.


I use the time piece from this Creative Talents stamp set to stamp inside the mason jar.


I added a second strip of Washi tape and then the card was finished.


You can watch a compilation video of the above steps on YouTube:
https://youtu.be/hP8lIHfFilY


Marietjie Uys (Miekie) is a published author. You can buy my books here:
You can purchase Designs By Miekie 1 here.
Jy kan Kom Ons Teken en Verf Tuinstories hier koop.
Jy kan Kom Ons Kleur Tuinstories In hier koop.
Jy kan Tuinstories hier koop.
You can follow Miekie's daily Bible Study blog, Bybel Legkaart, here in English & Afrikaans.
You may prefer to follow the traveling blog, A Pretty Tourist.
For more crafty ideas and great product reviews, visit A Pretty Talent on Facebook.
If you are in a literary mood, follow Miekie's musings, stories and poetry on A Pretty Author - Miekie.
Remember to keep nurturing your TALENT for making life PRETTY.
You can subscribe to any of these blogs and receive regular updates by email. Simply register your email address at the top of the applicable blog.

Saturday, 9 November 2019

Card Making: Melodic Birthday

Today we will be making a card for a musician friend. I love the musical theme, as I am sure that most of us do, and therefore this card is great fun. There is a lot of layering, stamping and even some die-cutting involved with making this card. I walk you step by step through the process, as usual.


We start the card on one of these index cards.


I scribble three shades of Faber-Castell Gelatos diagonally across the card.


I wipe these with a wet-wipe to blend it.


I find some Chiswick Clear Stamps and a Chiswick Stamp Mount to stamp onto the card with.


The stamp pad is an Adirondack by Ranger.


I add some sentiments with a Croxley Milky Pen.


I then use Tombow glue to add some golden embellishments to the index card, before I am done with it and ready to move on to mounting it on a bigger card.


I find a yellow A4 sheet of cardboard to use as a card.


I use a bone folder to fold the cardboard in half to form a card.


I then find some coordinating pink paper to use as matting under the index card.


I crop the matting to size with a Dala Craft pen and a metal ruler.


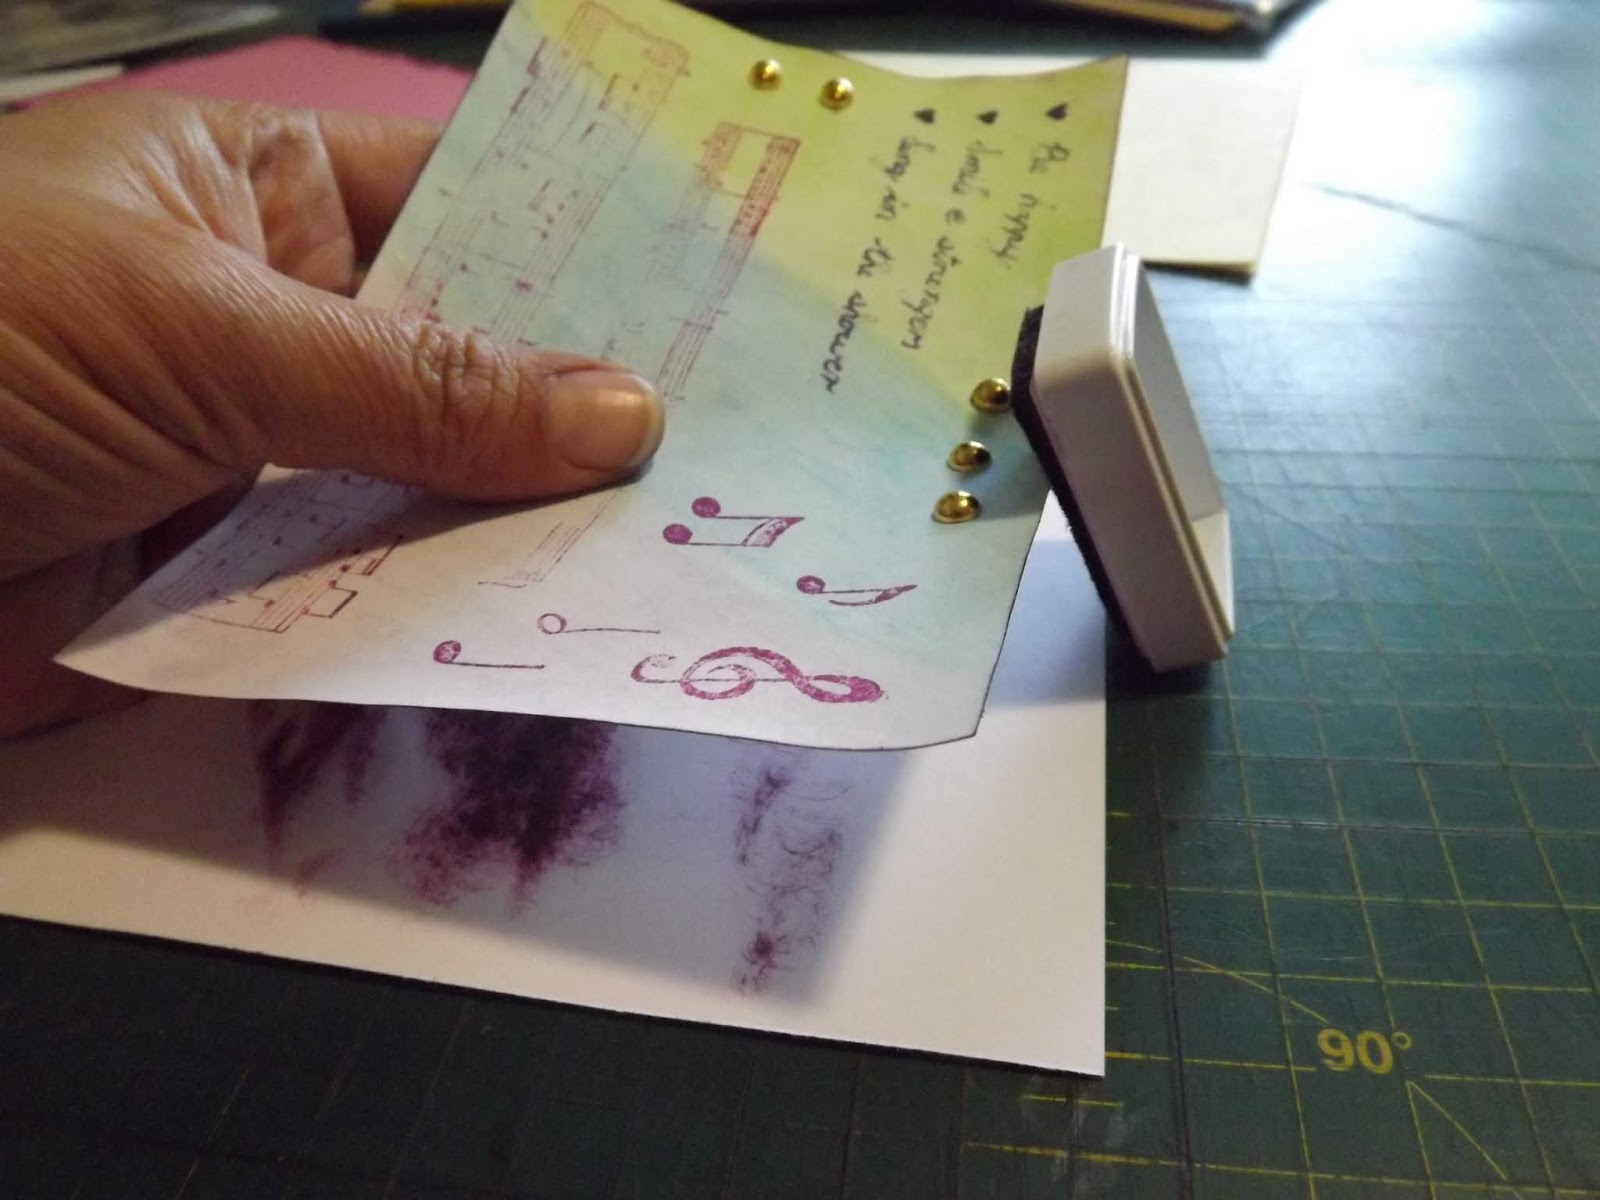
I ink the edges of the matting with Ranger Archival Ink.


I also ink the edges of the index card.


I then use double-sided tape to layer the elements.


I wish to add a 'Happy Birthday' sentiment which I will die-cut. I will use a sheet of my Scrap Booking Paper collection to cut the sentiment from. These are available from the Crazy Store and are inexpensive.


I will be using this Kaizer Craft die to cut the sentiment with.


I cut the paper as big as I need it to be.


I layer some double-sided tape to the back of the paper. This will make it easier to paste the sentiment down after it is cut.


I put my sandwich through the Go Cut & Emboss machine.


The die has little holes in it to make it easy to pop the sentiment out.


Pull away the backing from the double-sided tape.


The card is done when I have pasted down the sentiment.


You can watch a compilation video of the above steps on YouTube:
https://youtu.be/nrrWDfMc9Sc


Marietjie Uys (Miekie) is a published author. You can buy my books here:
You can purchase Designs By Miekie 1 here.
Jy kan Kom Ons Teken en Verf Tuinstories hier koop.
Jy kan Kom Ons Kleur Tuinstories In hier koop.
Jy kan Tuinstories hier koop.
You can follow Miekie's daily Bible Study blog, Bybel Legkaart, here in English & Afrikaans.
You may prefer to follow the traveling blog, A Pretty Tourist.
For more crafty ideas and great product reviews, visit A Pretty Talent on Facebook.
If you are in a literary mood, follow Miekie's musings, stories and poetry on A Pretty Author - Miekie.
Remember to keep nurturing your TALENT for making life PRETTY.
You can subscribe to any of these blogs and receive regular updates by email. Simply register your email address at the top of the applicable blog.