Search This Blog

Friday, 8 November 2019

Jewelry Making: Memory Wire Bracelet & Earrings in Pink & Purple

Today we are going to be making a lovely bracelet and earring set when I show you how to work with memory wire. Aside from the time it takes to string all of the beads on the wire, this is a very quick and easy skill to master and one that you can easily do with your younger children as a family activity in the upcoming December holidays.


Memory wire comes in these loops and retain their shape.


Cut a length of wire from the larger loop.


Use your round-nosed pliers to loop one end of the wire.


Lay out the beads as you would like them to be strung on your bracelet.


String the beads according to your design.


Loop the remaining end of the wire.


That is all that is needed to do to make the bracelet.


I now lay out some of the same beads to make matching earrings. The beads are strung onto a a head pin.


I slip a French Hook onto the pin.


I bend the pin over into a loop with the pliers.


The completed set.


You can watch a compilation video of the above steps on YouTube:
https://youtu.be/2I0RZj5gxhU


Marietjie Uys (Miekie) is a published author. You can buy my books here:
You can purchase Designs By Miekie 1 here.
Jy kan Kom Ons Teken en Verf Tuinstories hier koop.
Jy kan Kom Ons Kleur Tuinstories In hier koop.
Jy kan Tuinstories hier koop.
You can follow Miekie's daily Bible Study blog, Bybel Legkaart, here in English & Afrikaans.
You may prefer to follow the traveling blog, A Pretty Tourist.
For more crafty ideas and great product reviews, visit A Pretty Talent on Facebook.
If you are in a literary mood, follow Miekie's musings, stories and poetry on A Pretty Author - Miekie.
Remember to keep nurturing your TALENT for making life PRETTY.
You can subscribe to any of these blogs and receive regular updates by email. Simply register your email address at the top of the applicable blog.

Thursday, 7 November 2019

Card Making: Leaving

My heart is sore for myself. My crafting buddy is leaving. She has been made an offer she could not possibly refuse. Sadly, this takes her very far away and our drop-in coffee visits are rushing to an end. Of course I am happy for her. This is the best thing that has come her way in a long time. So, I mustered my courage and I made her a special bon voyage card to wish her all the best for her new ventures.


I start this card making project on an index card.


I use Dala Acrylic Ink to paint the card a bright yellow.


I then ink up a kitchen utensil with Tim Holtz Distress Ink.


I use the squared utensil to stamp the index card with.


I then find some rubber stamps with leaf motifs and I stamp these into the stamped grids.


I use a Pigma Brush Pen to highlight one of these stamped leaves.


I use a ProMarker to highlight the remainder of the stamped leaves.


I then use a Faber-Castell Pitt Pen to write the sentiment on the card.


I do some more stamping with Simply Gorjuss Stamps.


I then add some detail to the edges of the card with another Pitt Pen.


The index card is now ready to be mounted to the actual card.


I find a coordinating yellow A4 cardboard sheet to use as a card.


I use a bone folder to fold it in half.


I then find a sheet of green paper from my Reflect Paper Pad to use as matting for the index card.


I crop the matting to size, using a Dala Craft Knife and a metal ruler.


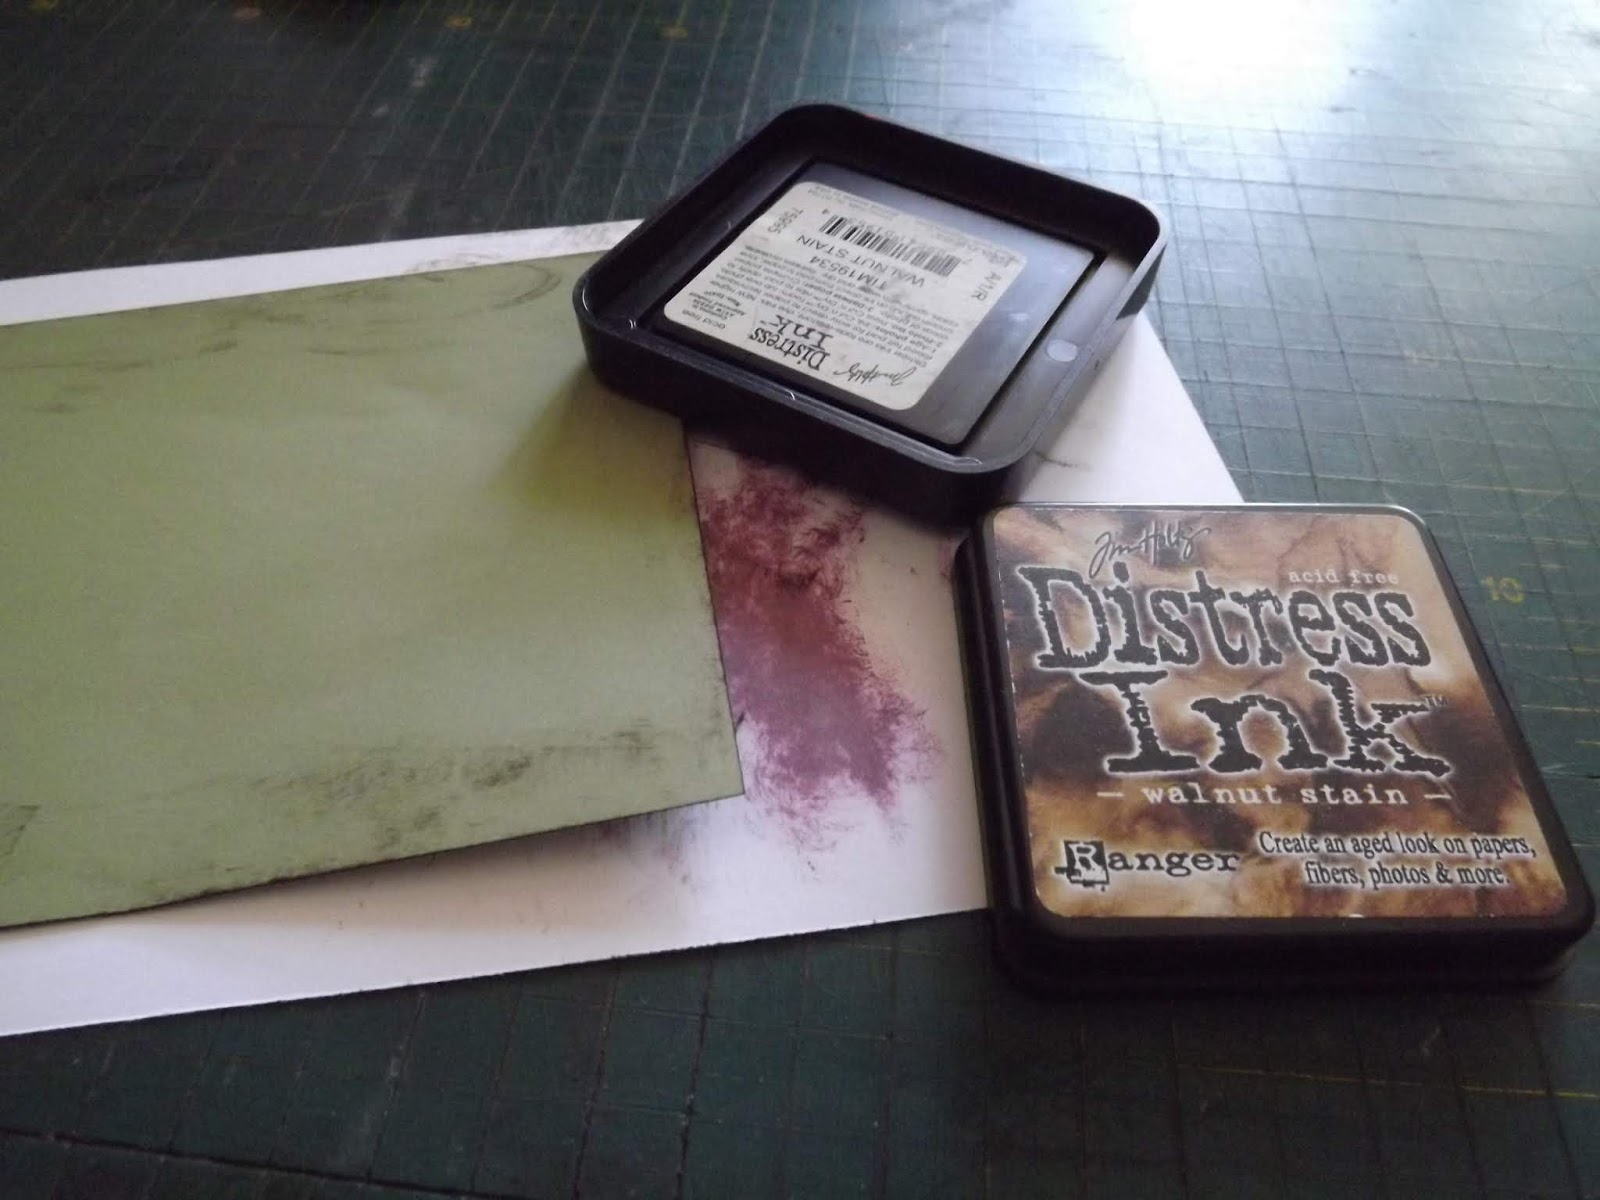
I ink the edges of the index card with Distress Ink.


I then smudge some Distress Ink on the matting as well.


I use double-sided tape to layer the elements onto the card.


I then find this stamp set by Creative Talents to use on the card.


I use a Chiswick Stamp Mount to stamp the images onto the card.


I use Fabric Tape to add interest to one of the corners.


I glue fabric buttons to the card, using Tombow glue.


The completed card.


You can watch a compilation video of the above steps on YouTube:
https://youtu.be/nR6TpF2m4AQ


Marietjie Uys (Miekie) is a published author. You can buy my books here:
You can purchase Designs By Miekie 1 here.
Jy kan Kom Ons Teken en Verf Tuinstories hier koop.
Jy kan Kom Ons Kleur Tuinstories In hier koop.
Jy kan Tuinstories hier koop.
You can follow Miekie's daily Bible Study blog, Bybel Legkaart, here in English & Afrikaans.
You may prefer to follow the traveling blog, A Pretty Tourist.
For more crafty ideas and great product reviews, visit A Pretty Talent on Facebook.
If you are in a literary mood, follow Miekie's musings, stories and poetry on A Pretty Author - Miekie.
Remember to keep nurturing your TALENT for making life PRETTY.
You can subscribe to any of these blogs and receive regular updates by email. Simply register your email address at the top of the applicable blog.

Friday, 1 November 2019

Card Making: Gypsy

Today we are making a fun card for a girl who is a Gypsy at heart. She is always on the move, not afraid to venture into the unknown, and she is willing to be herself, even though the word scowls and frowns in return. This is a very easy card to make, involving only a few simple steps. I walk you through it in this blog.


I start the card on one of these index cards.


I then go in search of some pretty paper to use in my off-cut paper stash.


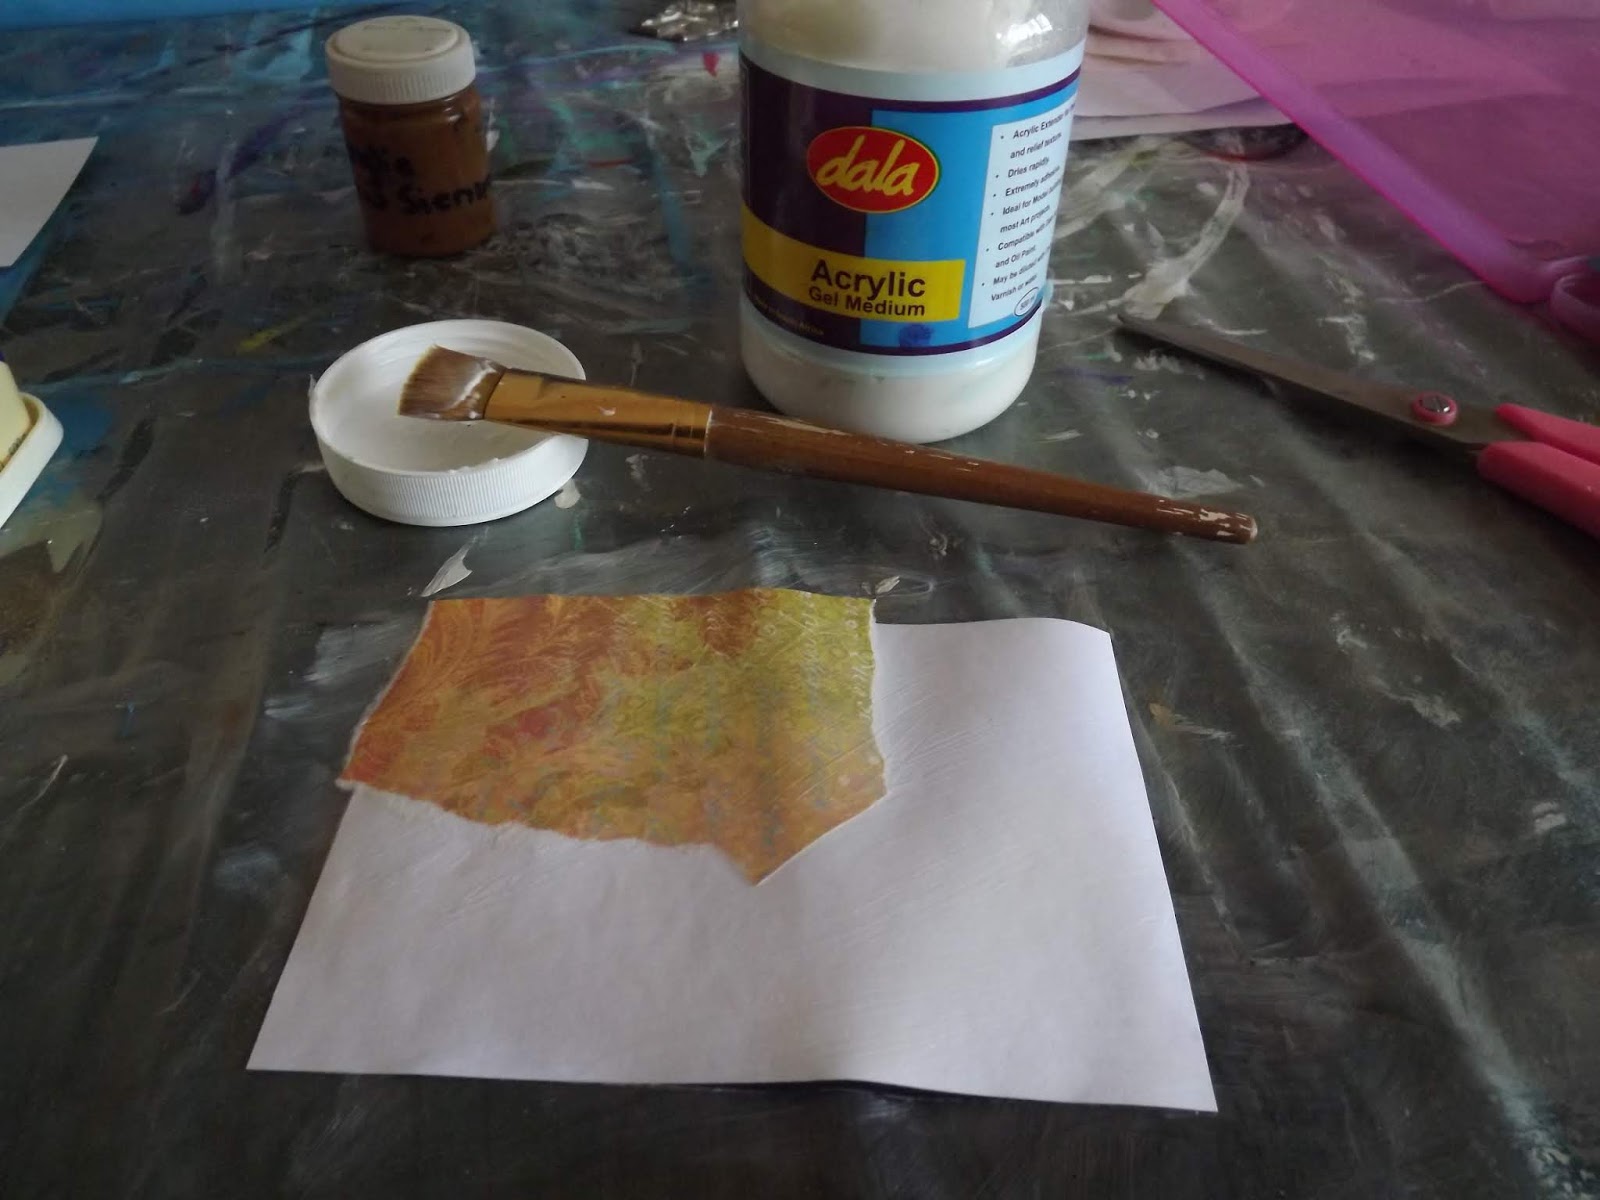
I find some pieces I like and decoupage them onto the index card, using Dala Acrylic Gel Medium.


I fill the whole card like this and then wait for it to dry.


Once dry, I crop the edges of the card with a pair of scissors.


I do some stamping on the card, using Crystal Craft Ink Pad and Chiswick stamps and stamp mount.


I  then paint Mont Marte Glitter glue over the card to give it a shimmer.


I then find an image in the Signature Collection from Art-by-Marlene to use on the card.


I glue it to the card with double-sided tape.


Then I do some more stamping, but this time I use a VersaMagic Stamp pad.


I use a Chiswick stamp and stamp mount.


I then use a Faber-Castell Ecco Pigment pen to write the word Gypsy on the card.


The completed index card.


I find a lovely sheet of A4 cardboard in a bright yellow to use as a card.


I use a bone-folder to fold the card.


Then I find some coordinating blue paper to use as matting.


I crop the paper to size using a steel ruler and Dala Craft Knife.


I use double-sided tape to layer the pieces together.


I then find a stamp set by Creative Talents, which I will stamp using Ranger Archival Ink.


I use the Chiswick stamp mount.


I use Tombow glue to add some rhinestone embellishments.


The completed card.


You can watch a compilation video of the above steps on YouTube:
https://youtu.be/9x3JqV9AgrM


Marietjie Uys (Miekie) is a published author. You can buy my books here:
You can purchase Designs By Miekie 1 here.
Jy kan Kom Ons Teken en Verf Tuinstories hier koop.
Jy kan Kom Ons Kleur Tuinstories In hier koop.
Jy kan Tuinstories hier koop.
You can follow Miekie's daily Bible Study blog, Bybel Legkaart, here in English & Afrikaans.
You may prefer to follow the traveling blog, A Pretty Tourist.
For more crafty ideas and great product reviews, visit A Pretty Talent on Facebook.
If you are in a literary mood, follow Miekie's musings, stories and poetry on A Pretty Author - Miekie.
Remember to keep nurturing your TALENT for making life PRETTY.
You can subscribe to any of these blogs and receive regular updates by email. Simply register your email address at the top of the applicable blog.