Search This Blog

Wednesday, 9 October 2019

Card Making: Exemplary Living

We are making yet another card specifically aimed at teenagers today. This time it is one that is meant to inspire an already inspirational young soul. Many teens today are activists on bigger or smaller scale, sacrificing time and effort on behalf of others, or our planet. Today's card is in recognition of such actions, and to motivate them to continue their efforts - reinforcing the idea that it is not going unnoticed.


We start the card on one of these index cards.


I then use my Sharpie Markers to colour diagonally across the card.
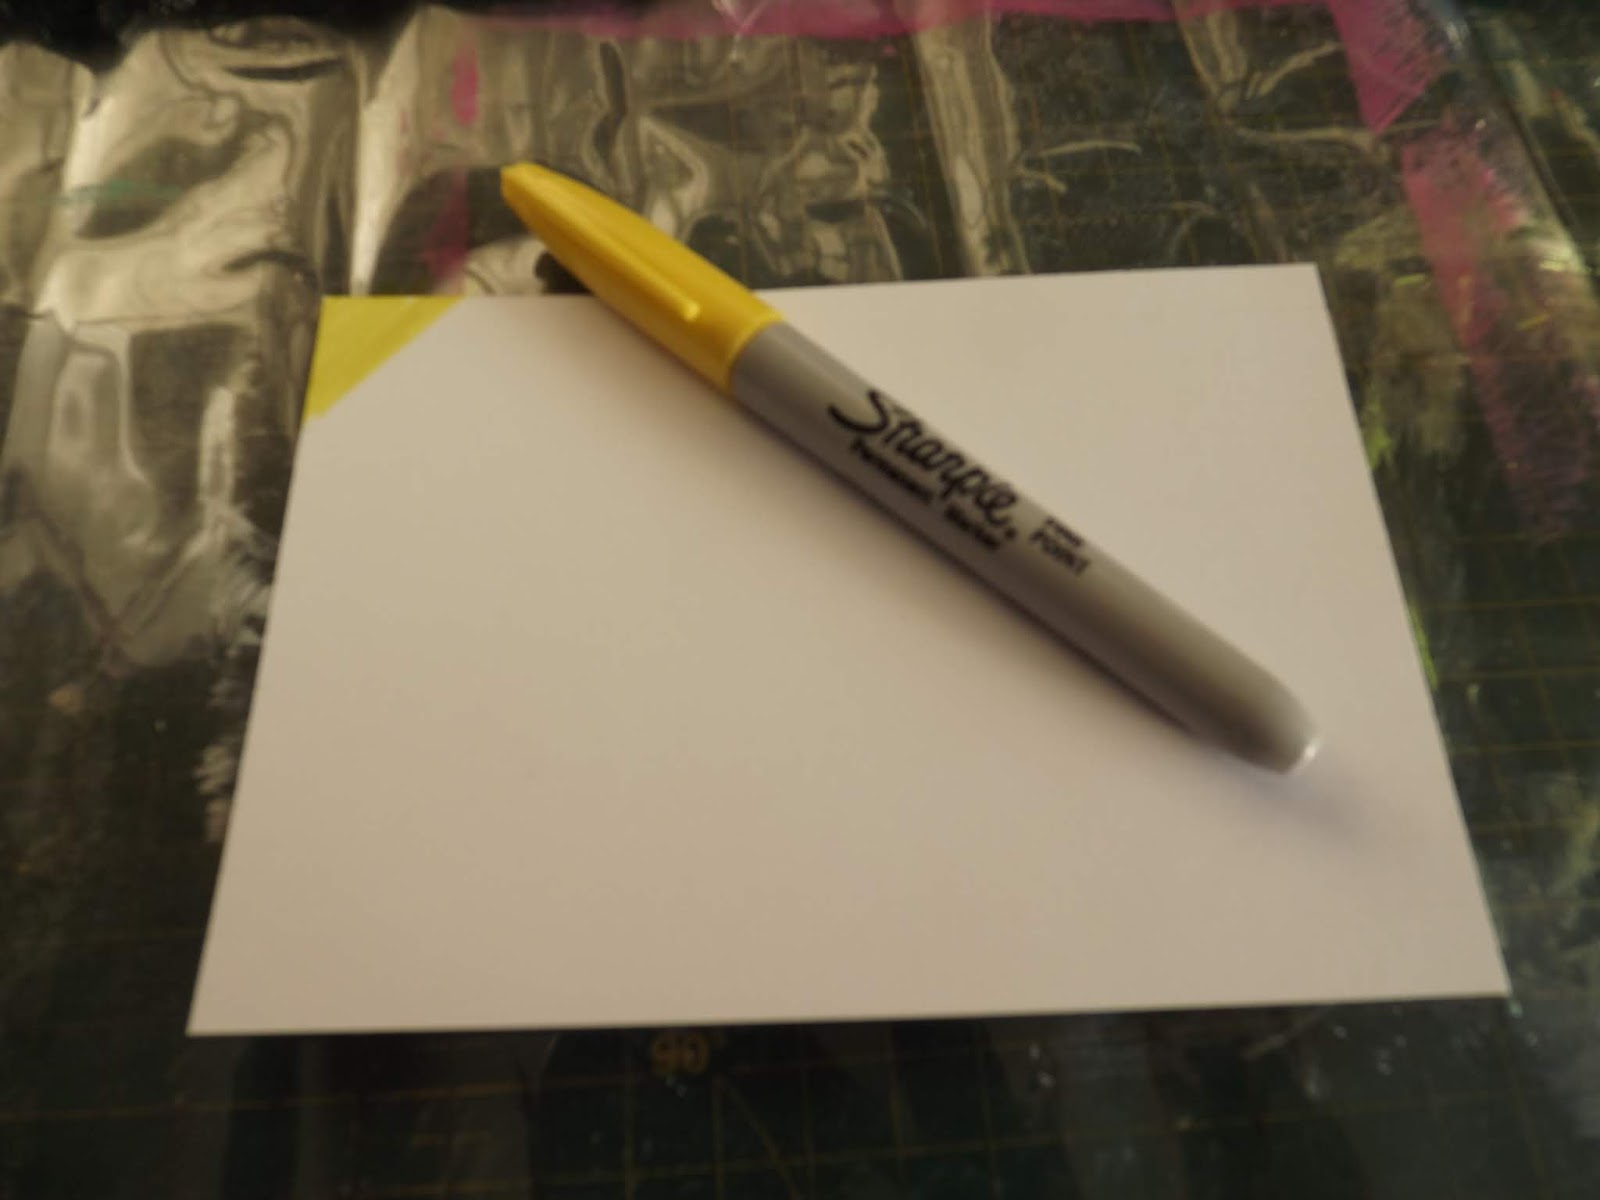

When I get about halfway, I change direction.


All of the warm colours run in one direction, while the cold colours run in the opposite direction.


I then cut coordinating paper in rectangles.


I put a tag die in the Sizzix cutting plates.


I run the papers through the Sizzix.


Next, I sandwich the tags between the accompanying Sizzix embossing folder.


This is what the tags look like when I am done.


I stencil a pattern onto the tags with a sponge dauber and Ranger's Adirondack ink pads.


I use different colours for the stenciling.


More colours are added.


Even more colours are added.


I then tape the tags in place with double-sided tape.


I use an eyelet setter by Memory Keepers to set en eyelet in the tags.


To to this, you need to put an eyelet in the hole. then position the eyelet setter on the wrong side over the eyelet.


Hammer the back of the eyelet setter lightly to set the eyelet in place.


I then ran some ribbon through the eyelet.


I added more double-sided tape to secure the tags to the index card.


I used a Faber Castell True Gel pen to write the sentiment on the card.


I then made a fabric flower from petals secured with a spit pin.


I glued this to the card with Tombow glue.


The index card was not done.


I decided to mount this on plain white cardboard.


I used a bone folder to fold an A4 sheet of cardboard in half.


I matted the index card on black paper.


I used Washi tape to add a border for the card.


That was all that was needed to make this fun card.


You can watch a compilation video of the above steps on YouTube:
https://youtu.be/GXE6qKSN1xg


Marietjie Uys (Miekie) is a published author. You can buy my books here:
You can purchase Designs By Miekie 1 here.
Jy kan Kom Ons Teken en Verf Tuinstories hier koop.
Jy kan Kom Ons Kleur Tuinstories In hier koop.
Jy kan Tuinstories hier koop.
You can follow Miekie's daily Bible Study blog, Bybel Legkaart, here in English & Afrikaans.
You may prefer to follow the traveling blog, A Pretty Tourist.
For more crafty ideas and great product reviews, visit A Pretty Talent on Facebook.
If you are in a literary mood, follow Miekie's musings, stories and poetry on A Pretty Author - Miekie.
Remember to keep nurturing your TALENT for making life PRETTY.
You can subscribe to any of these blogs and receive regular updates by email. Simply register your email address at the top of the applicable blog.

Tuesday, 8 October 2019

Card Making: Bloom at Life

Today we are making a beautiful card for a lovely young lady who is blooming into life. We decoupage with serviettes on cardboard and use a number of other nifty tricks to create a stunning card to please any girl's heart.


I use these index cards to kick start the card making.


I will decoupage this serviette onto the card. Remove the backing of the serviette.


I lather Dala Acrylic Gel Medium onto the card. Then I lay the serviette in place, rubbing out all air bubbles. Then I lather another layer of Dala Acrylic Gel Medium over the serviette. I leave it to dry. I use a Pro Art brush.


I crop the edges of the serviette where is hangs over the edges of the index card.


I find a Chizwick stamp set and mount these on Chizwick Stamp Blocks to stamp with.


I use Ranger Adirondack ink to stamp with.


I spritz Dala Fabric Spray over the card.


I let the wet fabric spray run in some places. Then I let the index card dry.


I find a pink A4 sized cardboard to use as a card.


I fold the cardboard in half with a bone folder.


I find deep pink paper stock to matt the index card onto.


I crop the paper to the required size using a Dala Craft Knife and metal ruler.


I use double-sided tape to adhere the different pieces together.


I then find some lovely die-cuts to use in Art by Marlene's Studio Collection.


I use Dala Craft Glue to stick the die-cuts down.


The completed card.


You can watch a compilation video of the above steps on YouTube:
https://youtu.be/XlK-mydt5kc


Marietjie Uys (Miekie) is a published author. You can buy my books here:
You can purchase Designs By Miekie 1 here.
Jy kan Kom Ons Teken en Verf Tuinstories hier koop.
Jy kan Kom Ons Kleur Tuinstories In hier koop.
Jy kan Tuinstories hier koop.
You can follow Miekie's daily Bible Study blog, Bybel Legkaart, here in English & Afrikaans.
You may prefer to follow the traveling blog, A Pretty Tourist.
For more crafty ideas and great product reviews, visit A Pretty Talent on Facebook.
If you are in a literary mood, follow Miekie's musings, stories and poetry on A Pretty Author - Miekie.
Remember to keep nurturing your TALENT for making life PRETTY.
You can subscribe to any of these blogs and receive regular updates by email. Simply register your email address at the top of the applicable blog.

Monday, 7 October 2019

Card Making: Celebrating New Ventures

We are approaching the season of celebrations. We celebrate achievements, having made it through the year, Christmas, and starting off on new ventures, after completing others. Today's card is for celebrating those who have the courage to set off on new ventures and gather new memories. I show you how to stencil with impasto and so much more. Enjoy making this fun card with me!


I start the project on these index cards.


I paint the blank side of the card roughly with Bianjo Acrylic Paint.


I mix some more Bianjo Acrylic Paint with Dala Acrylic Texture Paste.


I lay a stencil over the index card.


I use a palette knife to lather the impasto mixture onto the stencil.


I carefully remove the stencil and leave the paste to dry.


I use some rubber stamps and Ranger Archival Ink t stamp a couple of images on the card.


The index card is now completed.


I matt the index card onto plain white card stock.


I use double-sided tape to adhere the pieces together.


I then fold a blue A4 sheet of cardboard in half with a bone-folder to create a card.


I add more stamps. This time the stamps are from Creative Talents and the ink pad from Tim Holtz Distress Ink.


I use a Chizwick stamp block to stamp with.


I use yet another stamp set by Creative Talents.


I also add a special stamp at the back of the card.


This is just to say the card is made with love.


I use a Rolfes Metallic Pen to draw a frame around the index card.


The completed card.


You can watch a compilation video of the above steps on YouTube:
https://youtu.be/1JzXfmE1Aqw


Marietjie Uys (Miekie) is a published author. You can buy my books here:
You can purchase Designs By Miekie 1 here.
Jy kan Kom Ons Teken en Verf Tuinstories hier koop.
Jy kan Kom Ons Kleur Tuinstories In hier koop.
Jy kan Tuinstories hier koop.
You can follow Miekie's daily Bible Study blog, Bybel Legkaart, here in English & Afrikaans.
You may prefer to follow the traveling blog, A Pretty Tourist.
For more crafty ideas and great product reviews, visit A Pretty Talent on Facebook.
If you are in a literary mood, follow Miekie's musings, stories and poetry on A Pretty Author - Miekie.
Remember to keep nurturing your TALENT for making life PRETTY.
You can subscribe to any of these blogs and receive regular updates by email. Simply register your email address at the top of the applicable blog.