Search This Blog

Wednesday, 3 June 2015

Scrapbooking 3: Matting, Borders & Punching

I am super excited about today's blog, because in this blog I will show you just about everything you'll ever need to know to make your scrapping a real pleasure. Of course there are loads more tricks, but with today's lesson you will be able to carry on on your own and make a myriad of page layouts to take the breath away. We have looked at frames, but today I am going to teach you about matting. I will also show you how to use borders and then we'll wet our feet in punching shapes and letters with punches. Hold on to your wallets, for this can become a very expensive hobby ;-)


I am working with two very special photos in today's layout. The little girl in the photos had been born near midnight the preceding day and this was the morning of the day following her birth. This is the first meeting between the proud grandparents and their youngest grandchild. This is why the photos have once again been blown up to A4 size. I love working with huge photos, but it does not leave you a lot of space for decorations. The grandfather fills most of the space in the photos and I decide to use the colour scheme in his shirt to dictate the colour scheme of the layout.


Fitting the photos on the pages, I notice that it would be beneficial to trim the 'dead' space away. This focuses the attention on the people and has the added advantage of creating more space in the layout to add pretty elements.


I want to double-mat these photos and need to find two complimentary colours to serve as matting.


When framing a photograph, the paper frame goes over the edges of the photo. When matting the photo, the photo goes on top and the paper mat goes behind the photo. For this reason I choose to do a fancy pattern on the edges of the photos. I use the rotary wheel in the photo for this purpose, although you can also find a variety of scissors on the market that will do much the same thing.


By pressing the button on the back, I can tilt the head to various degrees, making it even easier to work the cutting wheel with precision.


Turning the orange wheel at the top moves the blade out. This is a very nifty safety feature.


Lay your metal ruler down in the right place so you can trim the dead space away. Run the wheel of the rotor cutter along the edge of the ruler.


I trimmed all four sides of the photo in this manner and ended up with this curved pattern all around the edges of the photo. At the same time both photos were cropped to measure 23 x 19 cm.


I now need to decide which mat will go on top and which at the bottom. I test both layouts to see which I like best. I opted to have the darker colour at the bottom. You might feel differently. This is a matter of personal choice and either could be right.


I use a metal ruler and craft knife to crop the lighter coloured matting to measure 24 x 20 cm.


Next up is the darker matting. This is cropped to measure 25 x 21 cm. This means that each layer is only 1 cm larger than the preceding layer. This will give me an increase of half a cm all around for each layer.


I test to see if I like the end result. I do and am free to continue.


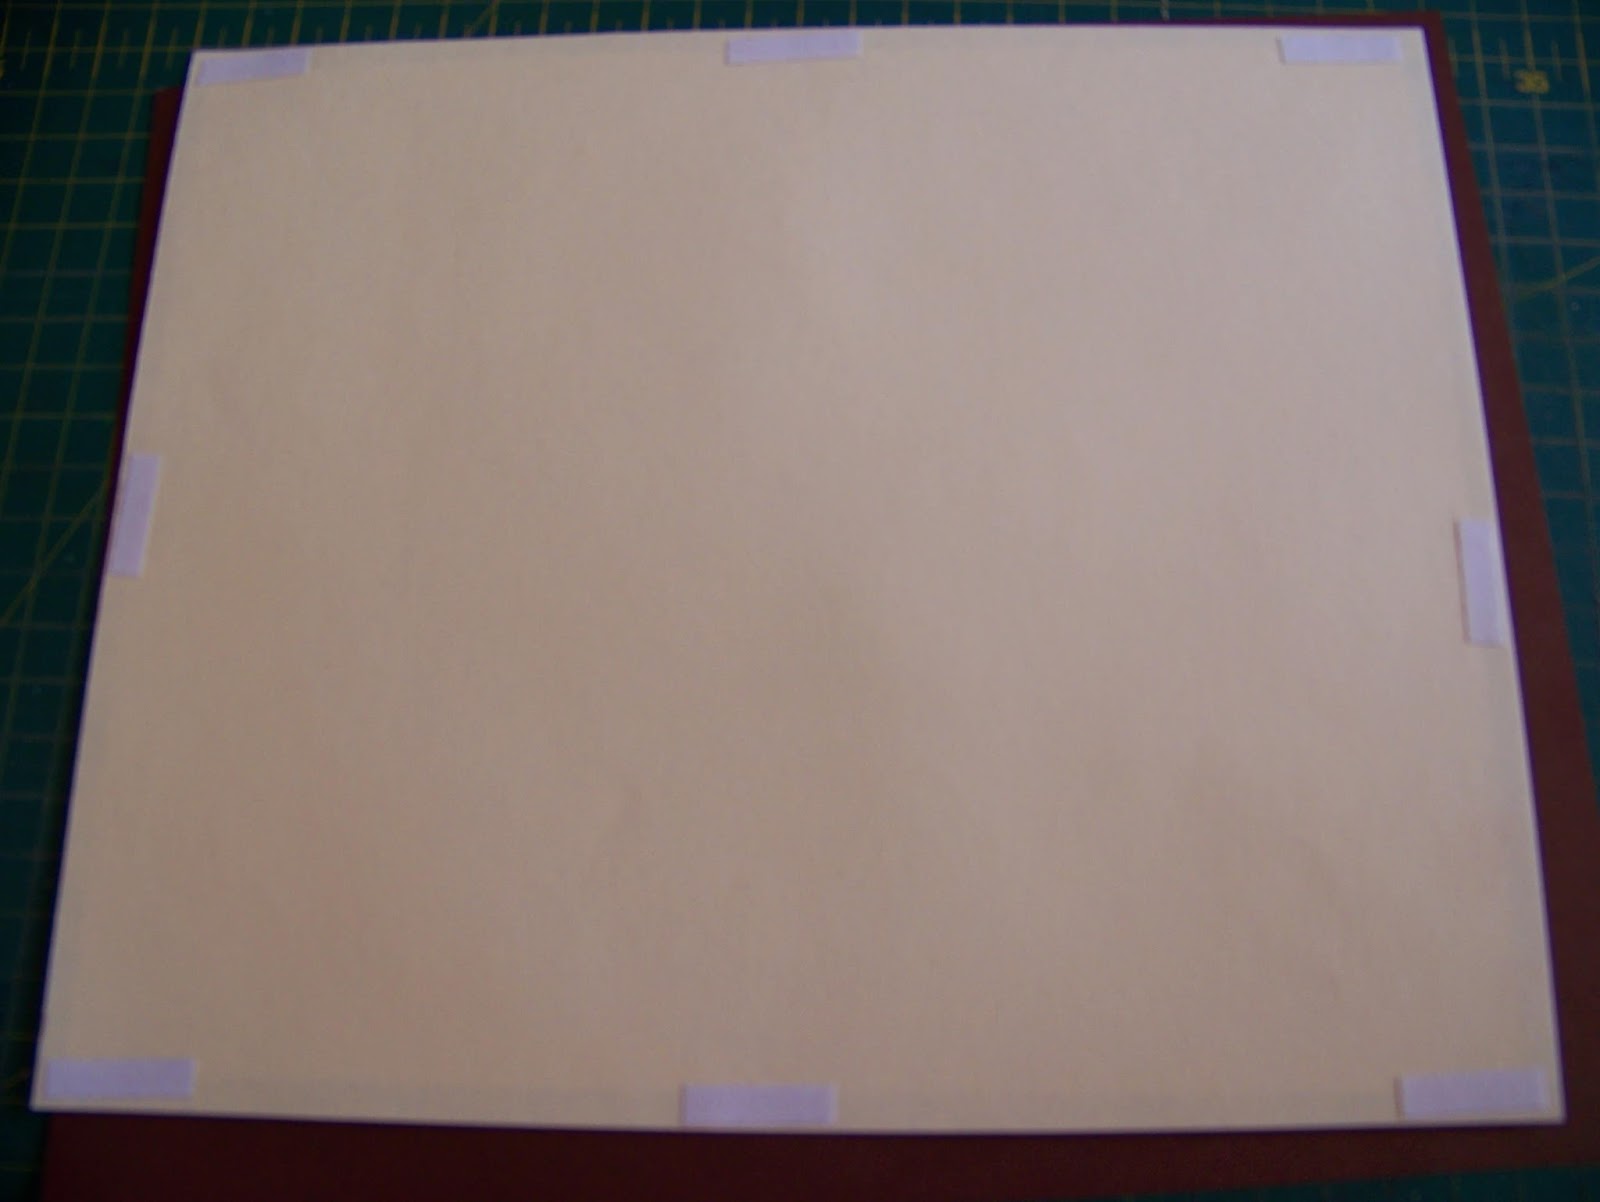
I will now cut lengths from the double-sided tape to stick the layers down on top of each other.


I tape the photo first and stick it on the lighter matting.


I then tape the matting and stick it to the darker matting.

I refrain from sticking any elements down until I have planned the whole layout and tested it. Therefore I now set the photos aside to punch the journaling out of the lighter coloured matting. I use the off-cuts for this purpose.


I decide it would be more interesting to have the letters raised and use double-sided 3D squares to achieve this. Small as the squares are, they are still too big and I need to cut them in half using the craft knife.


These sticky half-squares are very difficult to get in place and you might want to use tweezers for the purpose.


With the journal-ing done, I turn my attention to borders. I find a cardboard sheet in a colour that will compliment my page quite nicely. I cut two strips of 3 cm x 12" each. I also find these frilly borders in my stash. You already know that I don't discard anything, but save it for later use. These border were cut from the cover pages of paper pads. I find them perfect for today's project.


I stick double-sided tape to the backs of all four of the borders.


I then decide to stick the frilly borders on top of the plain ones.


It is time to bring all the elements together and I quickly add double-sided tape to all the pieces that were not taped before.


I decide to make more of the flower design on one of my background papers. It is after all a baby girl! I go in search of my selection of paper punches with flower designs in different sizes and styles. Of all of my punches, these are the ones I use most often. They were truly a great investment.


I use off-cuts from the papers used in the matting to punch a number of flowers.


I layer my punched-out flowers on top of each other, alternating sizes, colours and styles to keep it interesting.


I will use the trusted split pins to attach the different layers of the flowers to each other, as well as to attach the flowers to the pages.


I use an awl to make a hole through the centres of the flowers and to line them up to receive the split pins.


I am satisfied with the layout and decide to start attaching all the elements. The flowers are lying upside down to keep the split pins from sliding out at this stage. I pull the backing papers off the double-sided tape on the matted phots, the borders and the mounted journaling to stick them down.


I use my craft knife to make tiny holes in my paper where I want the split pins of the flowers to go.


Carefully slide the pins through the paper.


Open up the split pins at the back of the paper and press them flat.


Now, wasn't that easy? Remember to post pics of your own layouts as well.


For more crafty ideas and great products, visit APrettyTalent.com.
Remember to keep nurturing your TALENT for making PRETTY things.
You can subscribe to this blog and receive regular updates by email by simply registering your email address at the top of the current blog.

Tuesday, 2 June 2015

Covering buttons with fabric

There was a time when everybody knew how to cover buttons with fabric. Then covered buttons became unfashionable, as did wearing home-sewn clothes. Lately this has changed, partly due to the poor quality of workmanship in factory made clothing and partly due to the fact that there is a new-found appreciation for craftsmanship of any kind, including sewing and tailoring. Buttons have also moved out of needlepoint and into a variety of other crafts, making it all the more popular to once again learn the neglected 'art' of covering buttons in fabric.


You will need the button and its backing and a piece of fabric that you want to use to cover the button in.


Cut the fabric into a rough circular shape substantially larger than the button you want to cover.


Lay button on top of the fabric. I want to use the design on the fabric and need to take care to keep the design in place.


Fold the sides of the fabric in and hook it into the hooks on the back of the button to keep it in place.


Check the front to make sure the design is in place (if applicable).


Make sure the fabric is smoothed out in front and on the sides.


Place the back of the button in place, sliding it on.


Apply a fair amount of pressure to clip the back onto the front.


I repeated the same steps on a second button.


I'd love to see what you do with your covered buttons. I am thinking of using mine in paper crafts. Time will tell, but I'm sure to keep you informed.


For more crafty ideas and great products, visit APrettyTalent.com.
Remember to keep nurturing your TALENT for making PRETTY things.
You can subscribe to this blog and receive regular updates by email by simply registering your email address at the top of the current blog.

Monday, 1 June 2015

Mosaic a tissue box with uneven tiles

A while ago I showed you how to decoupage your own glass tiles for mosaic projects. Since then, I have been having great fun putting those tiles to work in my own projects. I recently showed you one of these projects where I used the glass tiles to decorate a tissue box cover. I then started wondering if I could use tiles of uneven height on another tissue box cover. I've done this successfully on flat surfaces in previous blogs, but not on a 3 dimensional surface. To increase the difficulty level of the project, I decided to use a box with a more intricate pattern on the opening. Want to see what I did?


I prefer to always start on the inside of the box and did so once again. I will need the tissue box cover of my choice, acrylic paint, a flat brush, a palette knife to mix the paint with, and a palette.


I want to create a vibrant orange for the inside of the box. I squirt about twice as much yellow as red onto the palette. This is mixed using the palette knife.


The inside of the box is painted with the newly mixed orange, using a wide flat brush.


I will paint the edges of the box with Sap Green, which is a beautiful compliment to the orange I chose for the inside.


The edges are painted with a narrow flat brush.


While the paint is drying, I gather the materials needed for the mosaic. I love these decoupaged glass tiles that I've made and have been wanting to use them since I made them. It was with these tiles in mind that I have settled on the orange and green that I painted the box in.


Any other tiles used in the project will be decided by the decoupaged tiles. I therefore divide these tiles in to the five sides of the box that I will do mosaic on.


I now choose a selection of tiles to compliment my glass tiles and divide them into the five sides as well. The back of the box gets the most tiles since it has the largest surface and all the other sides receive comparatively fewer tiles. The round tiles will serve as space fillers and are kept close at hand. I do this division before I start to ensure that the tiles are evenly distributed among the sides of the box.


When I am satisfied with the distribution of the tiles, I start by laying the tiles out on the top of the box. Once I am satisfied with the layout, I glue the tiles in place. I did not cut any tiles in this project, but opted to play more freely with the sizes and shapes. The reason is that a great number of the tiles I used were marble, stone or metal-clad. These require precision instruments to cut.


Once the glue on the top is set, I lay out the front and glue these tiles in place as well.


I now pack and glue one of the shorter sides.


I turn my attention to the back of the box and glue the tiles in place.


Lastly, I pack and glue the tiles in place for the remaining short side. The decoupaged tiles on this side are much thinner than any of the other tiles used on the box. Even though I am deliberately working on different depths, I find this difference to be too big. Therefore I do not glue the glass tiles, but will opt to set them with grout later. I simply leave their spaces open and glue the surrounding tiles in place.


Once the glue is dry, I start mixing the grout.


Add some grout to a mixing bowl, add water and stir. The clumps are easily dissolved.


Once you have a thick, but slightly runny paste, the grout is ready. Be careful not to add too much water.


I choose to work the grout into the grooves by hand. Grout is a little coarse on the hands, but washes off very easily.


With the excess grout wiped away, I leave the box to dry once again.


Notice how I have set those thinner tiles in the grout at this stage, building the bottom up and raising the tiles in the process.


Once the grout is dry, but before it is hard I wipe the tiles clean using a wet rag. The grout takes between 1 and 3 hours to set enough before you wipe it clean.


This box is perfect for a kitchen. Sadly, as I was taking these pictures, a client walked in and bought the box. Feel free to order one if you do not wish to make it yourself.


You can order your own ready-made tissue box covers from Miekie Crafts on APrettyTalent.com.
For more crafty ideas and great products, visit APrettyTalent.com.
Remember to keep nurturing your TALENT for making PRETTY things.
You can subscribe to this blog and receive regular updates by email by simply registering your email address at the top of the current blog.