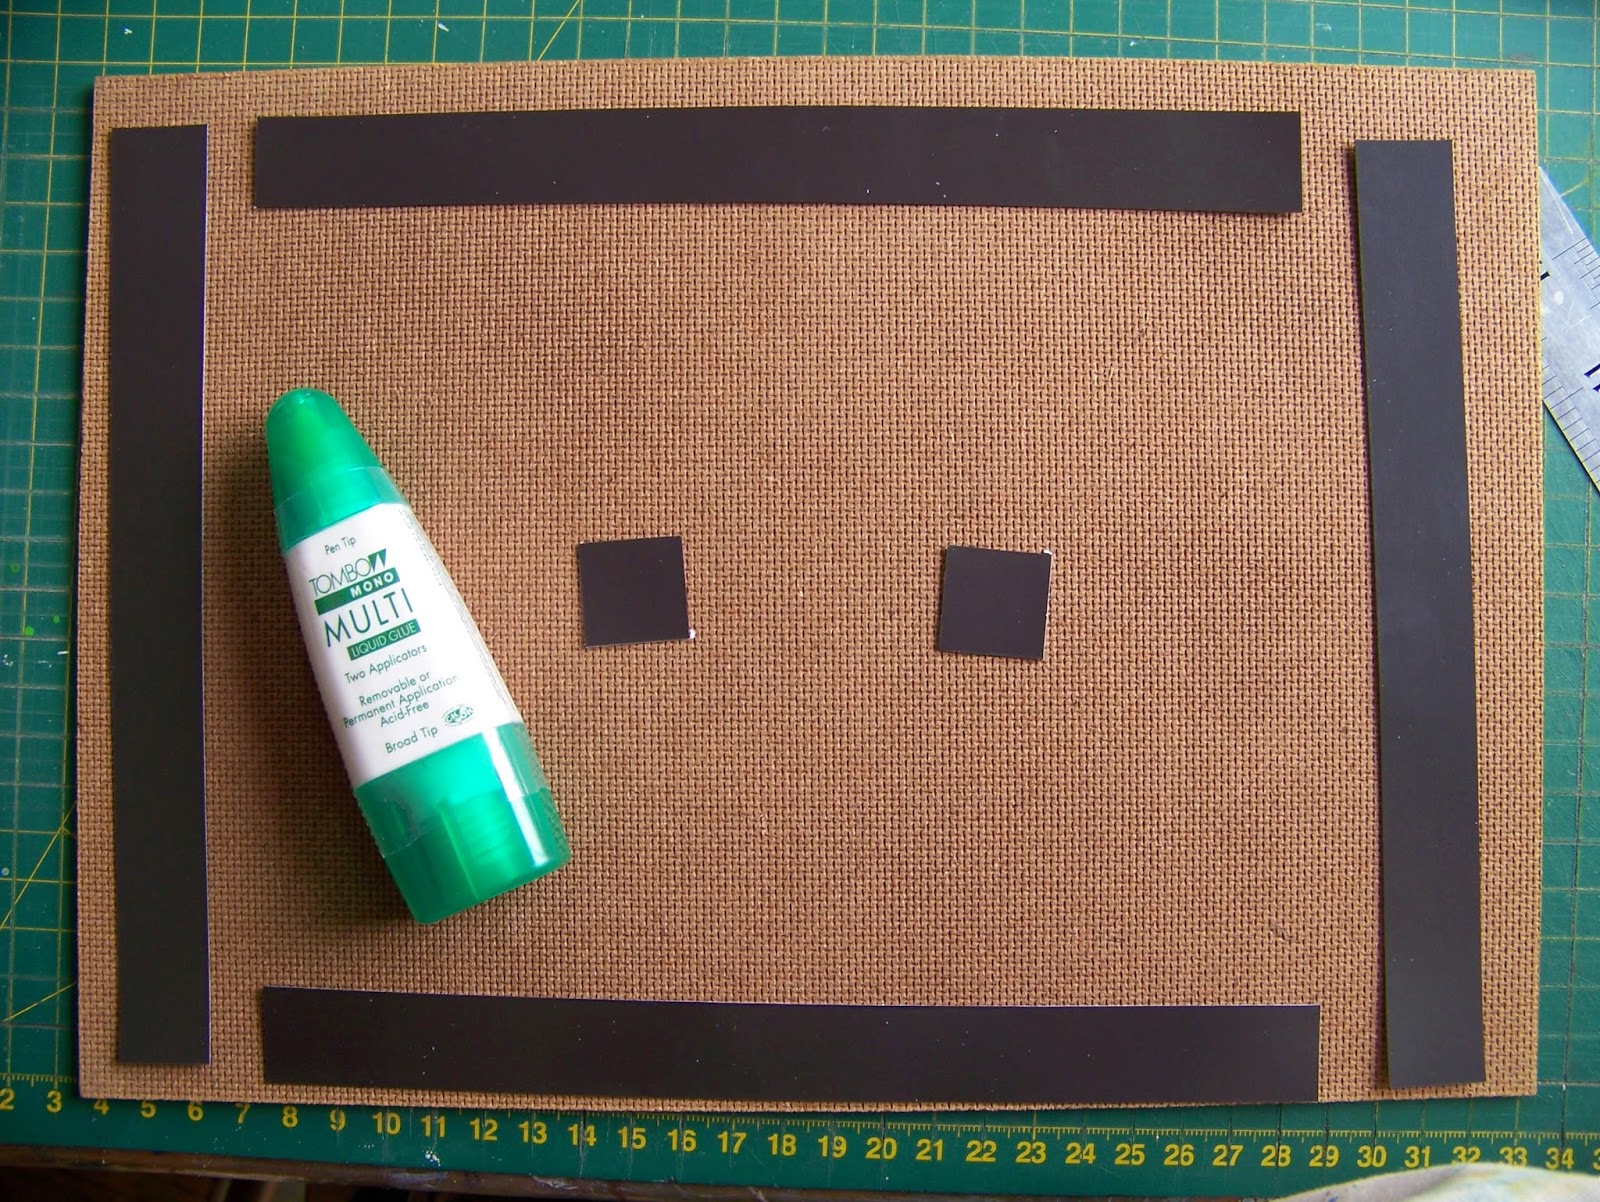
Another product I carry in store are the printable magnet sheets. They were ideal to use for this project as well as the next I had in mind. I would simply trim them to the required size and attach them to the back of the board.
I figured that cutting 2 cm wide strips would be ample. I cut the strips just shorter than the boards and added the off-cuts to the center. I always use a metal ruler with a craft knife, to avoid cutting into the ruler. Testing it, I found that it needed a little more and added two more magnet strips in the middle. The trusted Towmbow glue was once again used to attach the magnet strips to the board, this time using its broad application tip.
I decide to paint a simple design on the front that would serve a decorative purpose. The first step is to draw an outline of your chosen design(s) with pencil or charcoal, or water-soluble pencil. Everyone has their own idea where this is concerned. I used a simple HB pencil.
I am going to paint the fruit with acrylic paint. Many acrylic colours are transparent. This means that a lot of the green will show through my top layers. In order to avoid that and to get truer colours I cover the designs with white acrylic paint. White will reflect the true colours of the top layers. I prefer using a filbert brush, which is flat with rounded edges. This is a personal preference and you might prefer a flat, angled or even a round brush.
This is a quick painting and I don't want to wait for it to dry. That is why my choice fell on acrylic paints. Once acrylic is dry, it will no longer dissolve in water and becomes quite hardy. The next step is to cover the fruit in Buff Titanium, an off-white colour. I am going to work form the lightest colours to the darkest in this project.
I then paint the next shade in permanent deep yellow.
The next colour to be added is orange.
Lastly I add Raw Umber as the darkest colour. Remember to add shadows so that the fruit don't seem to be floating. I work very wuickly, so that the previous are still wet when I add the next, allowing the colours to mix on the painting.
This is what it looks like when I stick it on the fridge.
Remember to keep nurturing your TALENT for making PRETTY things.
You can subscribe to this blog and receive regular updates by email by simply registering your email address at the top of the current blog.


No comments:
Post a Comment