Search This Blog

Friday, 5 June 2015

Artbag with Sling Part 2 of 3

We have once again started construction on one of these versatile Artbags. This time we added the twist of a sling with a few new techniques. In the first blog we constructed the zippers and pockets and that is where we pick up in this blog. We will be constructing the remaining pattern pieces today and in the next blog we will pull it all together.


The Handle Tubes
To start with, I am quickly going to hem the tubes to slide through the handles. They get a rolled hem on both sides, so I simply fold the sides over twice and pin it in place.


Sew along the length of the hem.


Iron it flat


The Sling Connectors
I start by preparing the tubes where the sling will attach to the bag. Fold these panels double, right sides facing and pin.


Sew along the long side.


Turn the tube right side out.


Fold the seamline to the centre of the tube and open the hem open. Iron it flat.


The Bag Panels
Line the centre bag panel up with the side panels. Pin and sew.


Iron the seams open.


 The Sling
 Fold the seam double in its length and iron flat.


Open the sling and fold the sides in to meet at the centre. Iron.


Fold on the original fold line again and iron again.


Sew a small hem at each end of the sling.


You will need about 20 cm of 38 mm wide bias binding and two metal clips.


Cut the bias binding into two strips of 10 cm each.


Fold the bias binding in half in the length.


Sew as close as possible to the edge of the bias binding.


Slide the bias binding through the metal clip.


Slide the end of the bias binding into the sling and pin it in place.


Set your stitch length to be longer to ensure neat top stitching.


Sew all the way around the sling with a neat top stitch. This will also secure the metal clips on the bias binding in place.


The Pockets
Lay the zipper pocket pocket  in the middle of one of the lining panels. Line the bottom up with the lining. The top will extend slightly due to the extra length added by the inclusion of the zipper. Pin the pocket to the lining.


Sew down the two sides of the pocket, securing it to the lining. Trim the excess fabric at the top.


Pin the open pocket to the remaining panel of the lining.


Sew all the way around the pocket, leaving only the elasticated top open.


In the next blog we will be bringing the different pieces together to finish the construction of the bag.
You can order your own ready-made bag from Miekie Crafts on APrettyTalent.com.
For more crafty ideas and great products, visit APrettyTalent.com.
Remember to keep nurturing your TALENT for making PRETTY things.
You can subscribe to this blog and receive regular updates by email by simply registering your email address at the top of the current blog.

Thursday, 4 June 2015

Artbag with Sling Part 1 of 3

I know you've seen this bag before, but I have had requests about adding a sling. I decided that it would necessarily have to be an optional one. There are a few new tricks to learn in the process to make it worth your while. The pattern is available from APrettyTalent.com and can be downloaded in PDF format by clicking here. If you are interested in purchasing the bag made in this blog, you can purchase it form Miekie Crafts by clicking hereIn this blog we concentrate on the zippers and pockets. In the next blog we'll construct the different elements and in the last we'll pull it all together.

When I started working on the elements of this bag, I had no intention of making a bag.  I was simply going to do a quick blog showing how Derwent Inktense can be used successfully on fabric, since it is set permanently once dry. You can read more about that here. When I was done, I liked the panel that I had painted so much that I wanted to use it somewhere where it could be seen. The Artbag immediately sprang to mind. I painted a second panel and then set out to paint the handles for the bag in much the same way, again using Derwent Inktense. You can read about that here.


Pattern Pieces
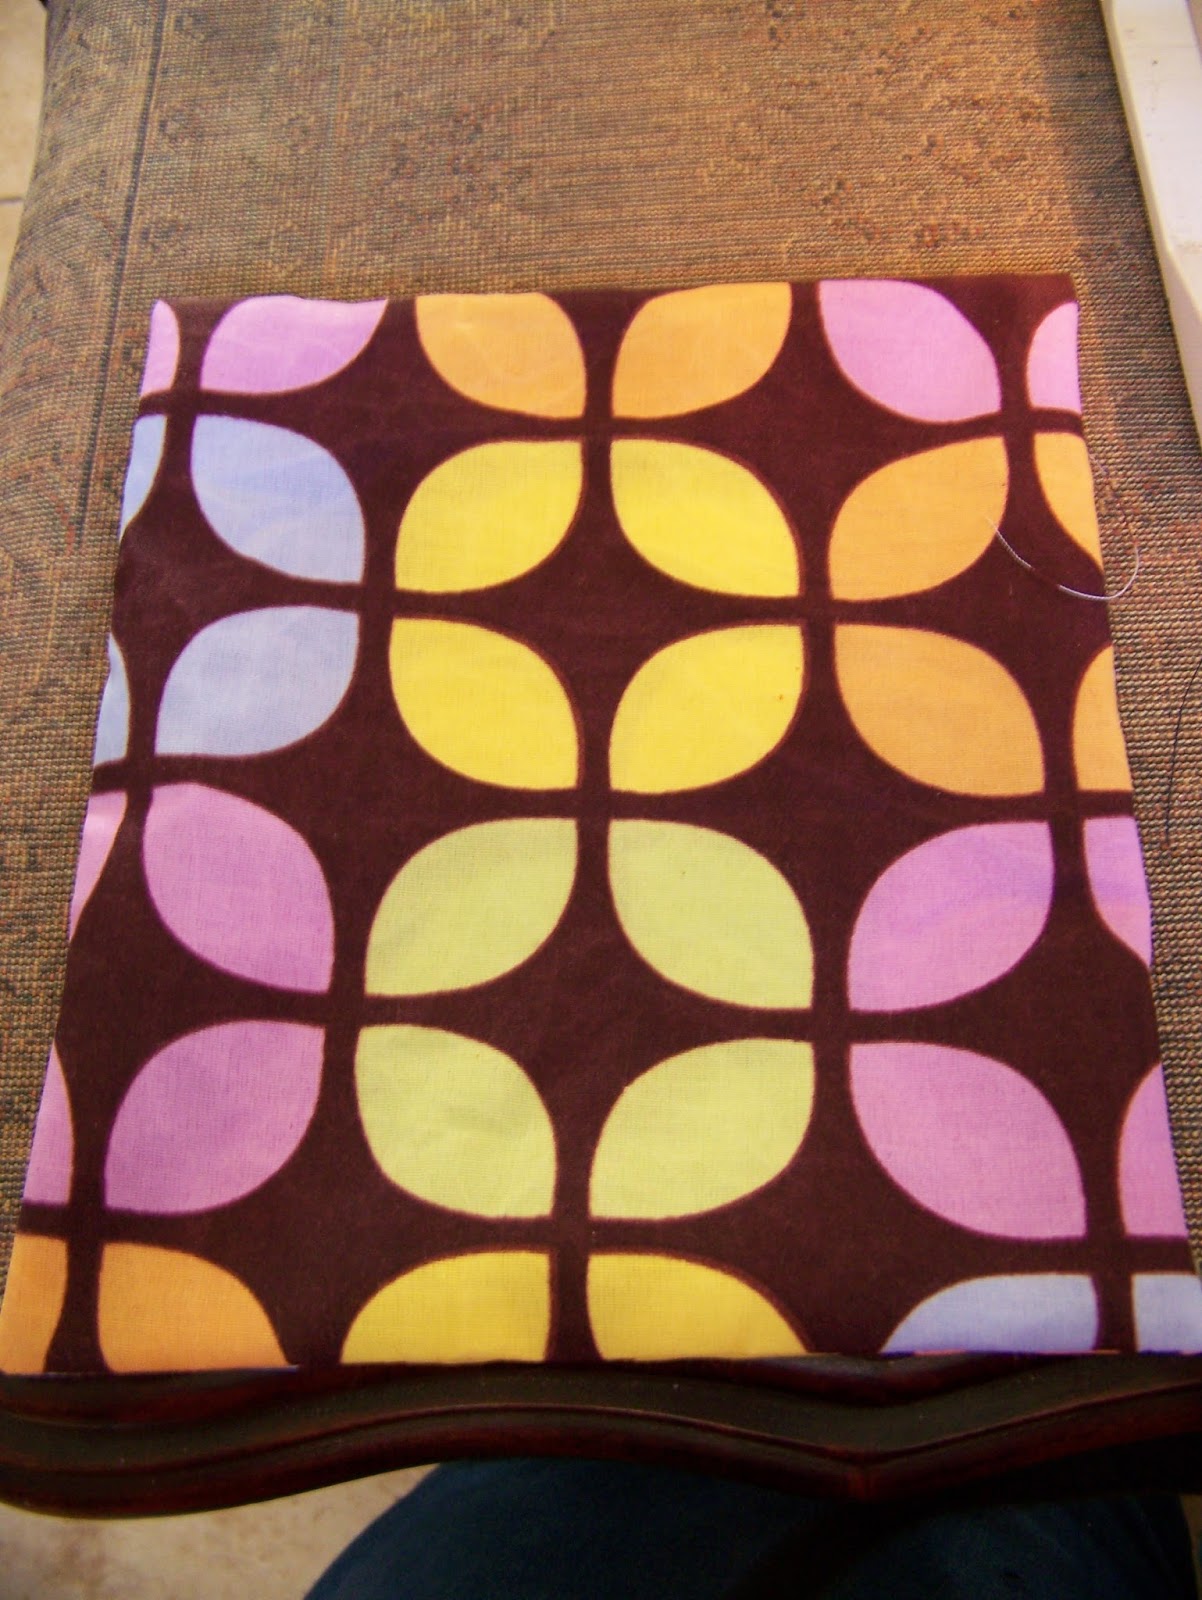
Not having cut the fabric I was working on with the specific intent of using it on the Artbag, I now had to cut the panels to the desired size. However, not wanting to cut too much of the painting away, I opted to retain the width and only trimmed the length. I'll show you how I accommodated the extra length in the bag when we get there in the construction.


I was also going to be adding a sling to this bag, so I needed to cut some extra pattern pieces that was not part of the original pattern. I cut two pieces that would be used to attach the loops to the bag. They should be 15 x 10 cm in size.


I also needed to cut the sling itself. I cut it approximately 70 cm in length by 20 cm in width.


The Zippers
I started with the zipper at the top of the bag. Sandwich the zipper between the fabric and the lining of the zipper flap. Pin in place and stitch as close as possible to the zipper.


Repeat the steps for the other side of the zipper as well.


Iron the zipper flat.


Sandwich the pocket zipper between the two panels for the bottom. Pin in place and sew as close as possible to the zipper.


With the right sides of the bottom panels facing, sew down the sides, starting at the zipper and ending at the bottom.


Cut the excess fabric away in the corners (where the zipper is) and turn the bottom of the pocket inside out.


Sandwich the other side of the zipper between the top panels of the zipper pocket. Pin and stitch as close as possible to the zipper.


Fold and pin the bottom pocket out of the way.


Lay the top panels right sides facing on top of each other and pin in place.


Sew the sides closed, starting at the zipper and ending at the top. Sew both sides.


Trim the excess zipper if applicable.


Trim the corners and turn the top panel right side out.


This is what the pocket should lool like.


Iron the pocket flat.


The Open Pocket
Fold the pocket on the fold-line with the right sides facing. Pin. Leaving 2-3 cm open at the top where the fold-line is, sew down the side and all the way around, leaving openings on both sides.


Cut the excess fabric away in the corners opposite the fold-line.


Turn the pocket right sides out.


Iron the pocket flat.


Sew a channel for the elastic at the fold-line, approximately 10-15 mm in width.


Find the centre of the pocket at the bottom.


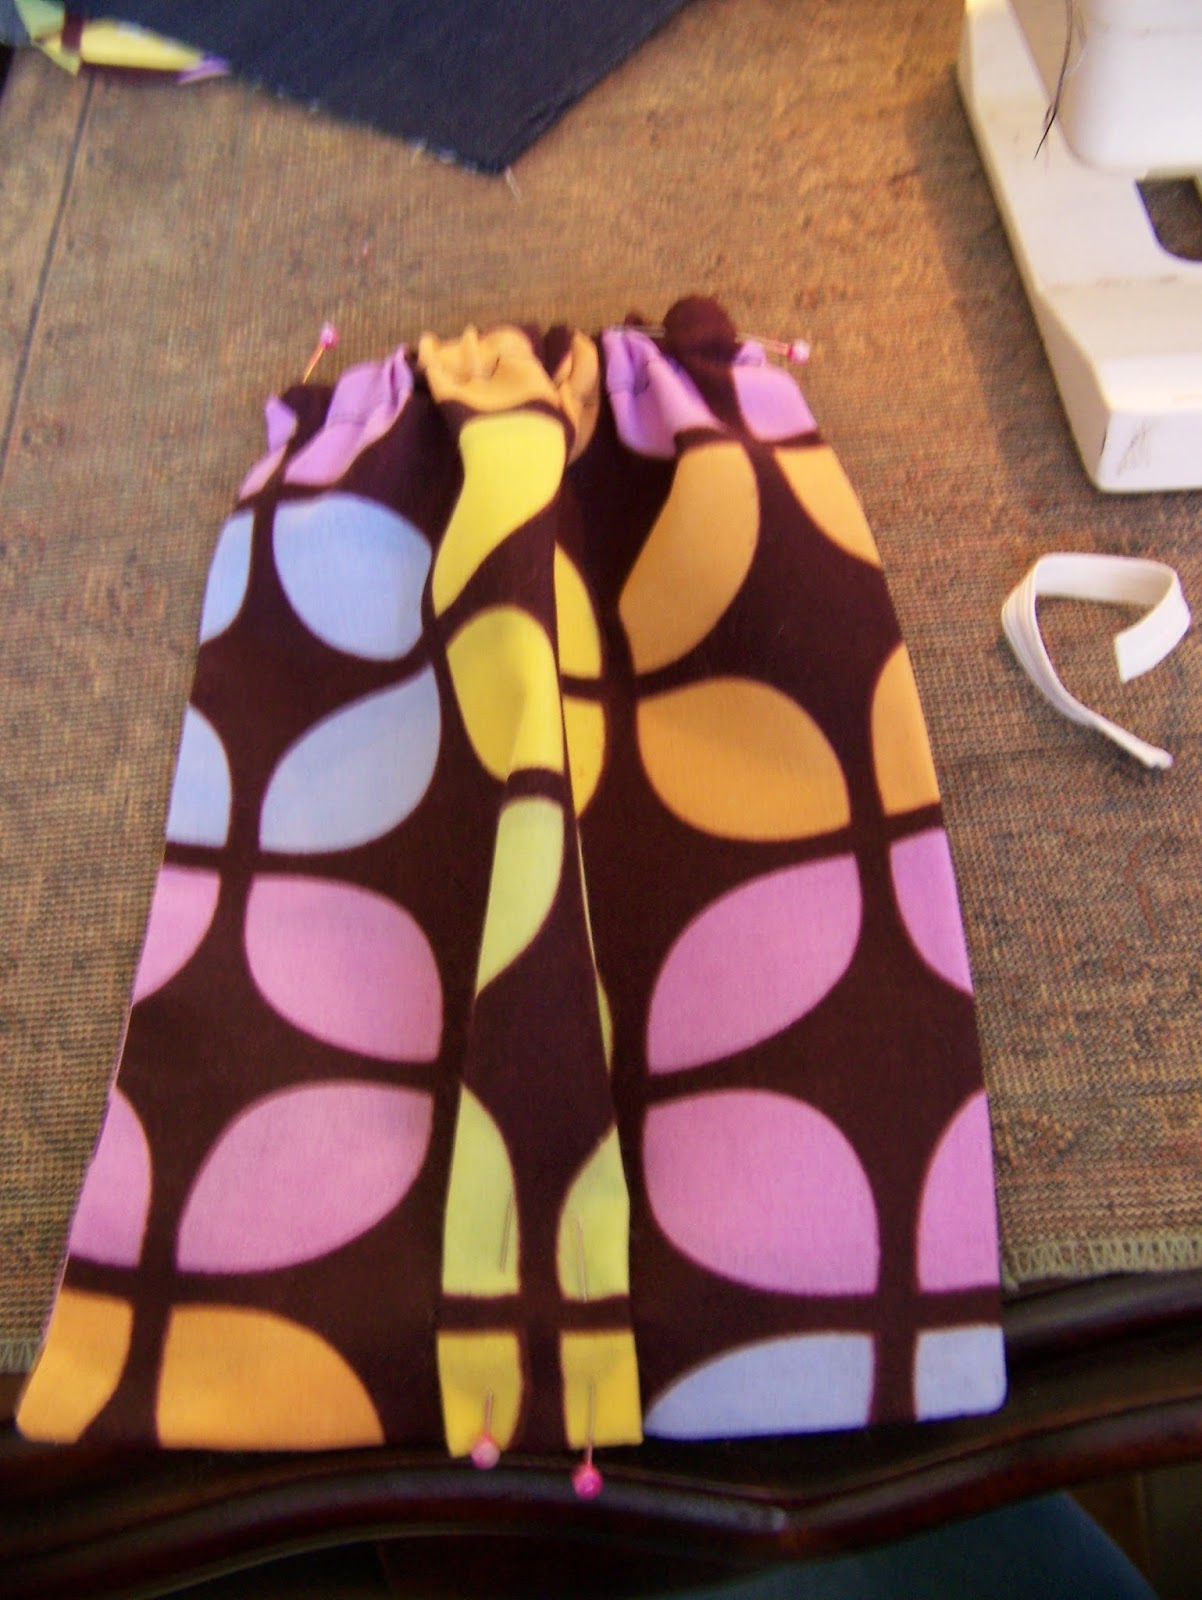
Fold a flat pleat at the bottom and pin it in place.


Pull elastic through the channel created for it at the top.


Fold the ends of the elastic away and pin in place.


In the next blog we will prepare the remaining pattern pieces and in the last blog we will pull it all together to construct the bag.

For more crafty ideas and great products, visit APrettyTalent.com.
Remember to keep nurturing your TALENT for making PRETTY things.
You can subscribe to this blog and receive regular updates by email by simply registering your email address at the top of the current blog.