We are continuing our journey into art and the the discovery of new mediums to create art with. In lesson 2 we will be exploring the properties of oil and soft pastels, as well as tinted charcoal. However, in this first blog of the two-part lesson, we will first look at how to prepare our books and lesson material. We are also taking a dive into our own psyche as we explore our needs and responses to trauma. A little more on that later.
You can find a voiced-over version of this blog on YouTube at this link: Lesson 2a - Prepping
At this point in the course, each individual book will be laid out differently from the others. For this reason, you will not be able to do exactly what I do in the same order. However, the idea is rather for you to see how I approach each different kind of layout and to do something similar when you encounter that layout in your own book. My first page starts with a map, which I wish to keep and incorporate into my art.
Notice that I have placed a protective page behind my pages to prevent me from gluing the pages together following the one I'm working on. I use my craft paper that is left over from the previous lesson to measure the height of my book. I cut the paper to size. The width is approximately 5-7 cm.
Metal ruler on Temu
I use a circle punch to cut a semicircle out of the center of this strip of paper.
I
ink all the edges. This step is optional.
I
glue this page of the book to the page following it in order to reinforce it.
I then glue the strip of paper down the middle of the page to create a belly band to tuck things behind.
Next, I fold the pastel paper, that we will be creating the oil pastel painting on, in half.
I measure it against the book and trim it to size. This page will be glued into the next two pages of the book, but only after we have done the painting on it.
I glue the following two pages together to strengthen it.
My next two pages are a double spread picture which I wish to use. The left side of the book has already been glued to the preceding page.
I glue the page on the right to the one following it.
I turn this glued page over and glue the following two pages together as well.
I then punch a semicircle into the top of my right hand picture page, in the middle of the page.
I turn this page over and run double-sided tape along the right hand edge and the bottom edge off the following (glued) page.
I stick the two glued pages together with the double-sided tape, creating a top pocket in the process. I can tuck some of the course material in here as well.
I then proceed to tear 6-8 pages from the book, following the pages that formed the top pocket. Tear the pages out one at a time to prevent ugly rips and tears.
Keep the removed papers aside for later use.
If you are using one of the books that I have prepared for the course, you can take suggestions from the notes that I have left in the books as to how to deal with each subsequent page. However, please feel free to deviate from these suggestions if you have something different in mind.
We will be using black paper as a surface to create our soft pastel paintings on. I trim this paper to size to fit inside the book.
I fold this in half and keep it aside.
It will be glued into these next pages once we have created the pastel painting.
I glue the following two paged together.
I also glue the two pages following these together.
My next two pages are again a picture that spans both pages. I will keep this picture for later use as well.
I glue the page with the right side of the picture to the one following it.
I then hold the pages with the pictures on it together and punch two semicircles from the tops of these pages, with one movement.
This makes more sense when I separate the two pages again.
I then use double-sided tape to create two top pockets out of the two picture pages.
The page on the left has a top pocket with a tuck spot for course material.
I do the same with the pages on the right.
I create another top pocket on the right hand side.
These two pages will be both purposeful as well as decorative.
I again take direction from the notes I left myself and remove a couple of pages from the book.
Again, I will keep these pages aside for later use.
I then trim pastel paper to size to fit into the next two pages of the book. This will be where we create the tinted charcoal painting.
I fold the pastel paper in half.
I glue the following two pages of the book together.
I fold the following page over at an angle to create a corner pocket. The side that is folded over will be on the inside of the pocket.
I use double-sided tape to glue the side and bottom edges of the pages, to create a corner pocket.
I
punch some tabs from my craft paper. You will need quite a number of tabs for this lesson.
I fold the tags over, run double-sided tape down the edges and ink the tabs.
One tab will be used to mark the start of lesson 2 in the book.
I trimmed the book page to fit the informative page.
We will turn the book page that we've used into a journaling spot later on in the prepping.
These pages will be tucked behind the belly band we've created.
I then tear some off-white paper from a brand new notebook I had on hand. The size of the paper is roughly A5.
I cut the torn-out notepad sheets in half.
I round the corners and ink the sheets. I need 4 in total, i.e. 2 pages.
I glue these over the book pages at the back of the therapy pages in order to create the necessary journaling space.
The journaling cards are now ready.
I do a quick test to make sure they still fit under the belly band.
I then start my journaling. I used a brown ink pen to journal with, in keeping with the colour scheme, but this is not a requirement. I tend to make these prayers, rather than 'Dear diary' entries. It makes sense to me to take these thoughts in prayer to the One who made us and understands us perfectly. There is no order to these, but I started with a response to the card on
How the body remembers trauma. This is what I wrote: "Lord, I am aware that my eating habits are a result of the emotional turmoil and trauma of my life up to this point. I wish to surrender all my memories, all my hurts and all my pain to You. I invite You to fill me anew with Your refreshing Holy Spirit. Cleanse me and restore me. Teach me Your ways. Amen."
I then proceeded to decorate the card with leftover stickers from previous projects.
The next card, I started by adding the stickers. I found it would make it easier to fit my journaling around the stickers, rather than the other way around.
This is what I wrote at the back of the card with
Mazlow's hierarchy of human needs: "Father, Your Son, Jesus, taught us that You would care for us - that You would fulfill our needs, when He pointed at the birds and the flowers. For too long I have wrongly believed that this pertained only to the lowest tier of Mazlow's hierarchy. However, considering my life, I realize that even the top tier of the hierarchy is in Your care."
The third journaling card was on
The truth about emotions. This is what I wrote: "Jesus, when I consider the chart at the back of this card, I realize that when good meets evil, there is the opportunity for personal growth. I am slowly coming to a feint realization that Your guiding hand is that which kept me from sliding into the abyss of the negative. Instead, You have turned these into opportunities for personal growth. Thank You!

Have you noticed that I have not been paying the lines on the journaling paper much heed, choosing instead to write in whichever direction I fancied? Feel free to break free from the constraints of sticking to the lines! The last card was the one on
How trauma affects your life. This is what I wrote: "Father, when I consider these responses to trauma, I learn something about myself, but I also know that You have given me the strength and the courage to overcome. You have taught me not to whimper and fade. You have filled me with love, power and a sound mind. Thank You!"
I decided to place the cards inside the belly band with the journaling side up, as this was visually more appealing to me. However, if you wish to keep your own journaling hidden away from prying eyes, you can easily turn the cards over, or even tuck them away inside one of the top opening pockets.
I now turned my attention to dealing with the art work (a map) on the page opposite the belly band. The book that I am journaling over is 'Treasure Island.' The art principle we are studying this month is 'Focal Point'. I decided to journal my ideas on staying focused upon God, instead of Mammon (wealth). I used a tiny stencil of a sailboat and stenciled this onto the map with 3D paste (modeling paste).
I would have to work carefully around this image until it dried.
I pulled out some of the backing paper from my previous napkin collages and glued this onto the map with a glue stick. I then trimmed the edges that were hanging over the sides of the book.
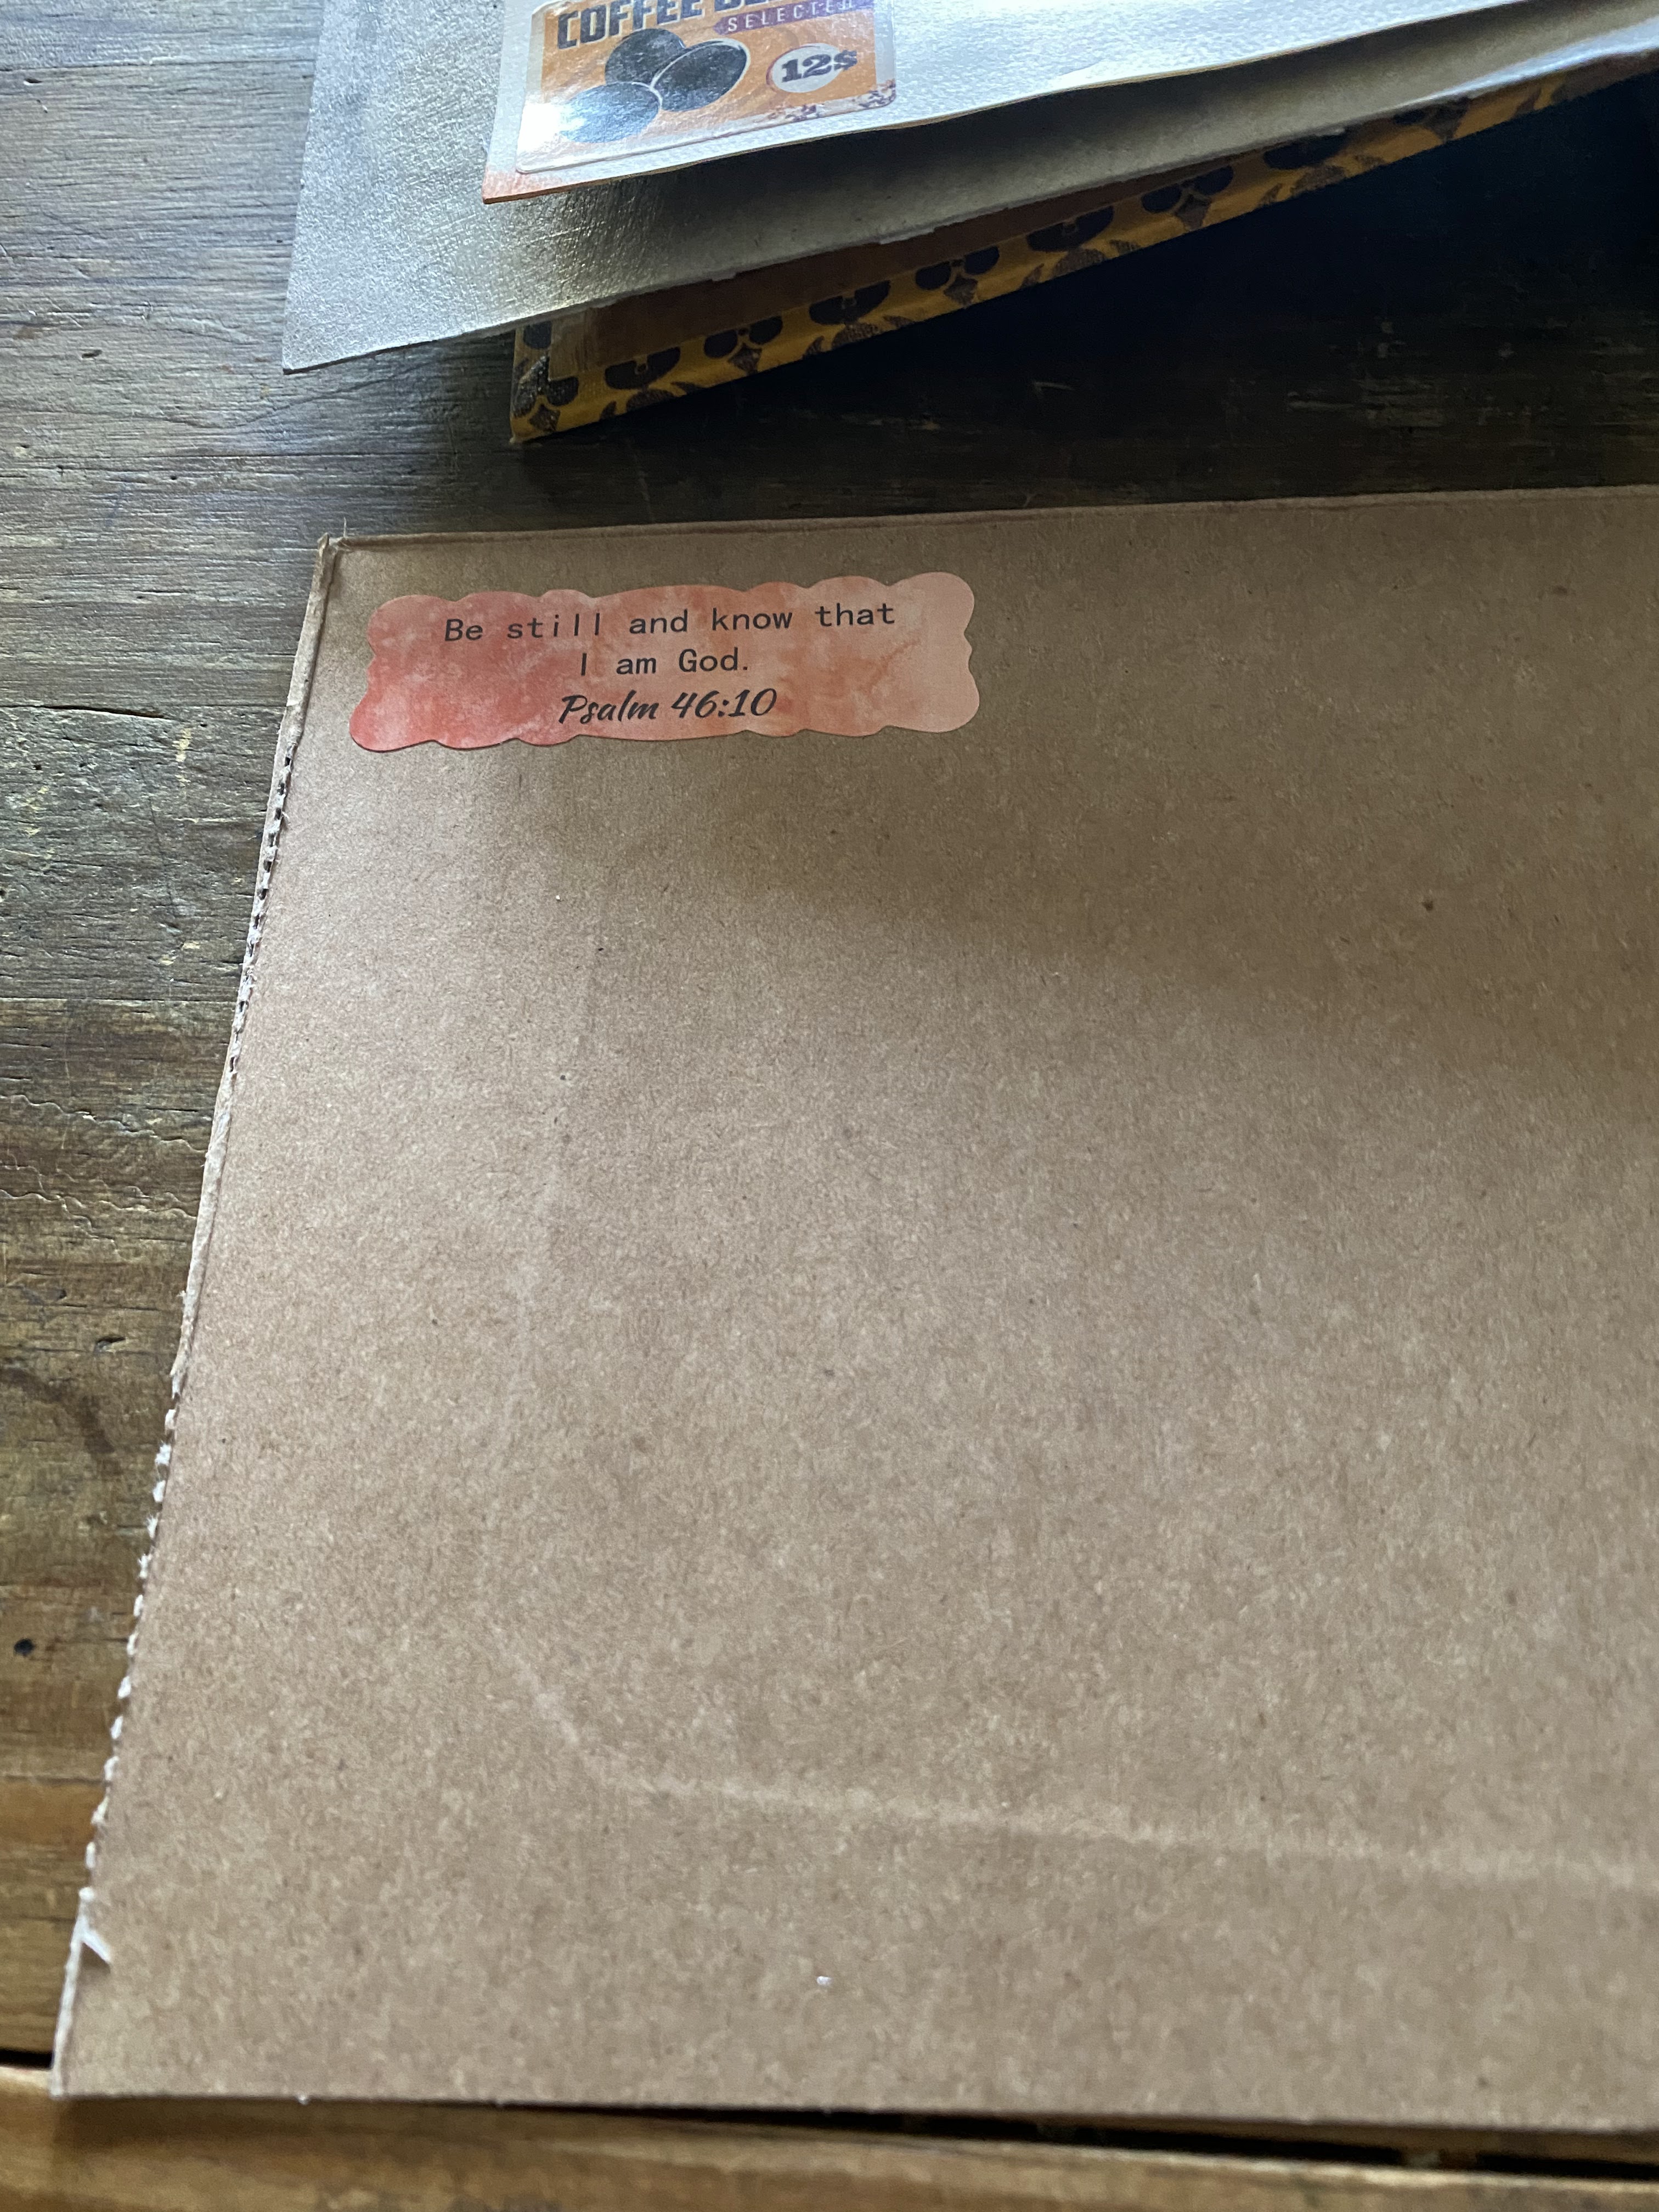
I went in search of strong cardboard while I waited for the glue to dry and found an Ouma rusk box, which I took apart. I stuck a
sticker with a Bible verse onto this. The Bible verse on the sticker is Psalm 46:10 - "Be still and know that I am God."
This is the packaging box I used.
I cut out around the sticker and rounded the corners before inking the embellishment.
I measured how it would fit over the belly band and carefully stuck double-sided tape onto the necessary spots.
By now the glue under the serviette was dry and I quickly inked the serviette by lightly rubbing over it with an ink pad to give it a distressed look.
Then I used a fine lined marker to lightly touch the serviette and write out two verses that I was mulling over in my head.
Matthew 6:24 - "No one can serve two masters, ... You cannot serve God and be enslaved to money."
Joshua 24:15 - "...then choose today whom you will serve..."
This is what my pages looked like when I was done with it.
I glued the pages of the pdf's back to back.
I rounded the corners and inked the edges.
I bound the two pdf's in one tab.
I loaded my stapler with some fancy
golden staples and did some decorative stapling on the tabs to keep everything together.
These notes were slipped into one of the top pockets with the tab sticking out at the top, in line with the semicircle I have punched in the pocket.
I have printed another set of notes even smaller -
Faber Castell Oil Pastels. I number these sequentially before cutting it apart.
I glue the notes back to back, round the corners and ink the edges.
I then take measurements to cut a cover for these notes to measure about 1/2 cm wider than the notes on four sides.
At this stage my craft paper has become too small to cut more large pieces from it. I grab another sheet of craft paper and cut this according to size. I had to work very carefully as this sheet had a very definite pattern to it.
I fold the cover in half, round the corners and ink the edges.
I distress the inside with some ink and lay the notes in place, lining it up on the fold.
I then simply staple the spine with two golden staples.
I add a tab in the centre of the spine.
One more staple will keep the tab in place.
These notes have become quite decorative!
I slide all three (two) sets of notes into one of the top pockets. This is the pocket following the pastel paper page that we have saved for oil pastels.
I prepare the two sets of notes on soft pastels in the same manner; I number it, trim it to size, glue it back to back, round the corners and ink the edges. I did not glue the first and last pages of these notes, though. The notes are:
Techniques in pastel art and
Pastel fundamentals.
I cut covers for these notes from the craft paper.
It is folded, corners rounded and edges inked.
I rounded the corners of the first and last pages and distressed these with ink.
I stuck these pages down against the front and back inside covers I had created for the notes.
I repeated this for the second set of notes.
I wish to quickly interrupt by introducing you to a great product I have discovered on Temu. These are wipes that you can clean glue off your scissors (and other objects) with. I have tried everything to clean my scissors, but nothing got rid of the glue. Then I ordered these
wipes from Temu. If you order these products or any other of the linked products with my code, you help my blog as well:
These scissors had become so dirty that it could hardly cut anymore.
A couple of wipes and a little bit of rubbing and they were good as new. And I used only one wipe!
Back to business. I again stapled the notes with a tab added in the centre of the spine.
For the second set of notes, I only glued the last page to the cover.
It was also tabbed and stapled.
Both of these sets of notes went into one of the top pockets following the pages left aside for the soft pastel drawings' paper.
It was glued back to back, corners rounded and edges inked. I added a tab at the top, stapled it together and slipped it inside the pocket.
I then prepared the notes on tinted charcoal in the exact same manner. These notes are
Derwent's Top Tips. The notes were trimmed to fit inside the corner pocket. It was glued back to back, the corners rounded and edges inked. I did not add a tab, as these would be easy to slip in and out of the pocket created for it.
I decided to glue the following two pages together, taking directives from my own notes.
Most of the prepping for this lesson was now done, and in part two of this lesson, we will be looking at creating the three pieces of art, oil pastels, soft pastels and tinted charcoal. We will also look at doing mixed media and collage on those pictures we have saved.
Marietjie Uys (Miekie) is a published author. You can buy my books here:
You can purchase
Designs By Miekie 1 here.
Jy kan
Kom Ons Teken en Verf Tuinstories hier koop.
Jy kan
Kom Ons Kleur Tuinstories In hier koop.
Jy kan
Tuinstories hier koop.
You can follow Miekie's daily Bible Study blog,
Bybel Legkaart, here in English & Afrikaans.
You may prefer to follow the traveling blog,
A Pretty Tourist.
For more crafty ideas and great product reviews, visit
A Pretty Talent on Facebook.
If you are in a literary mood, follow Miekie's musings, stories and poetry on
A Pretty Author - Miekie.
Remember to keep nurturing your TALENT for making life PRETTY.
You can subscribe to any of these blogs and receive regular updates by email. Simply register your email address at the top of the applicable blog.


R2,000 in Temu app here: https://app.temu.com/m/nki4aol
!