Search This Blog

Monday, 28 September 2015

Applique & Construction: We make a Rocky (from Paw Patrol) Cuddle Cushion Part 3

I have been asked to turn the character of Rocky from the animation series Paw Patrol into a Cuddle Cushion and we have been working on this for two blogs already. Today we applique the face and put the different pieces together before filling the cushion with stuffing. Remember to post pictures of your own finished products.
Easily navigate between the differents parts of this 3 part blog series by following the links:


We need to do the applique on the cap first, This is the only place we will be using white. The rest will be appliqued in black. I set the machine to zigzag and reduced the stitch length so I can applique.


I applique the badge all around.


I then applique the foot of the paw print.


After this follows the toes in succession.
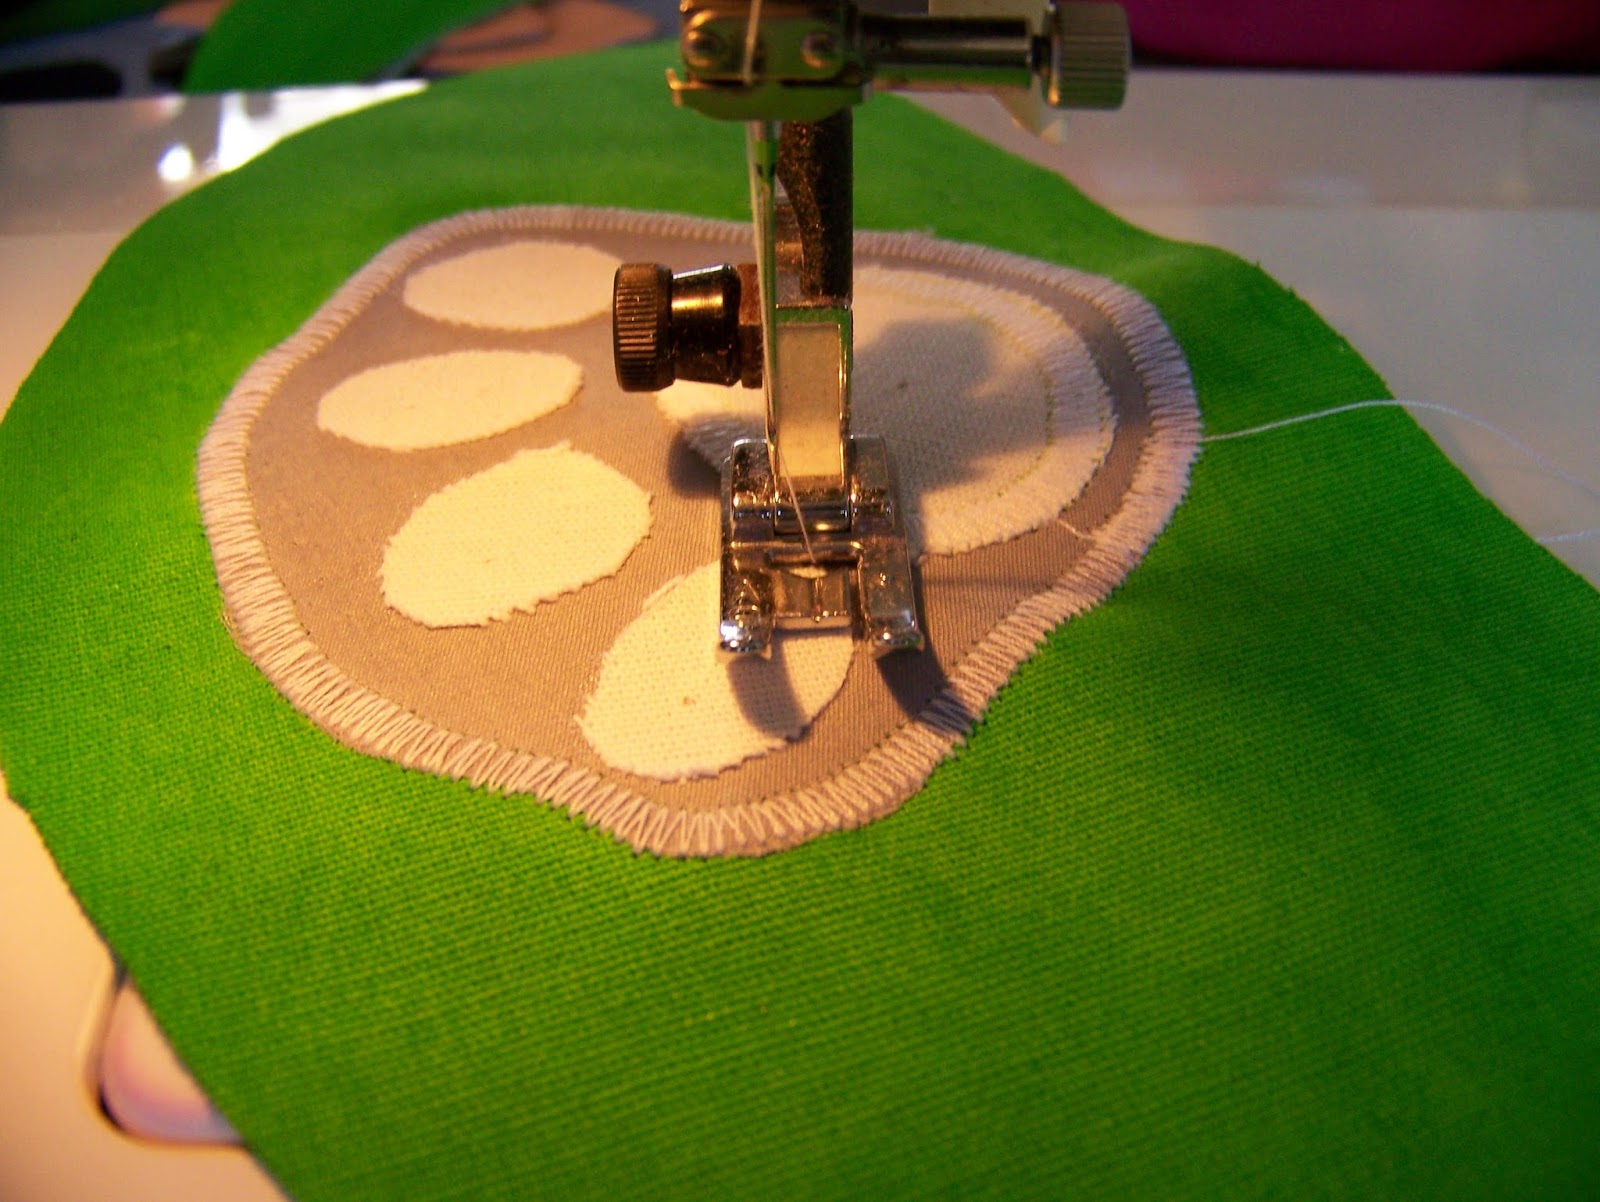

Progress photo.


I now step away from the machine for the moment to draw some detail lines onto the face. I add a snout line and extend the corners of the mouth.


I change the thread in the machine to black and applique the eyes in one continuous movement where I keep turning the fabric round and round.


Progress photo.


I now applique the snout line.


Thereafter follows the nose.


Progress photo.


I now start at one mouth corner and sew along the lower lip to the other mouth corner.


The mouth corners are appliqued.


I applique along the teeth line.


Lastly follows the upper lip.


Progress photo of the face with all the applique work done.


Lay the top part of the cap in place and sew a stay stitch all across the top of the cap leaving the bottom open.


Pin the cap part to the hat part.
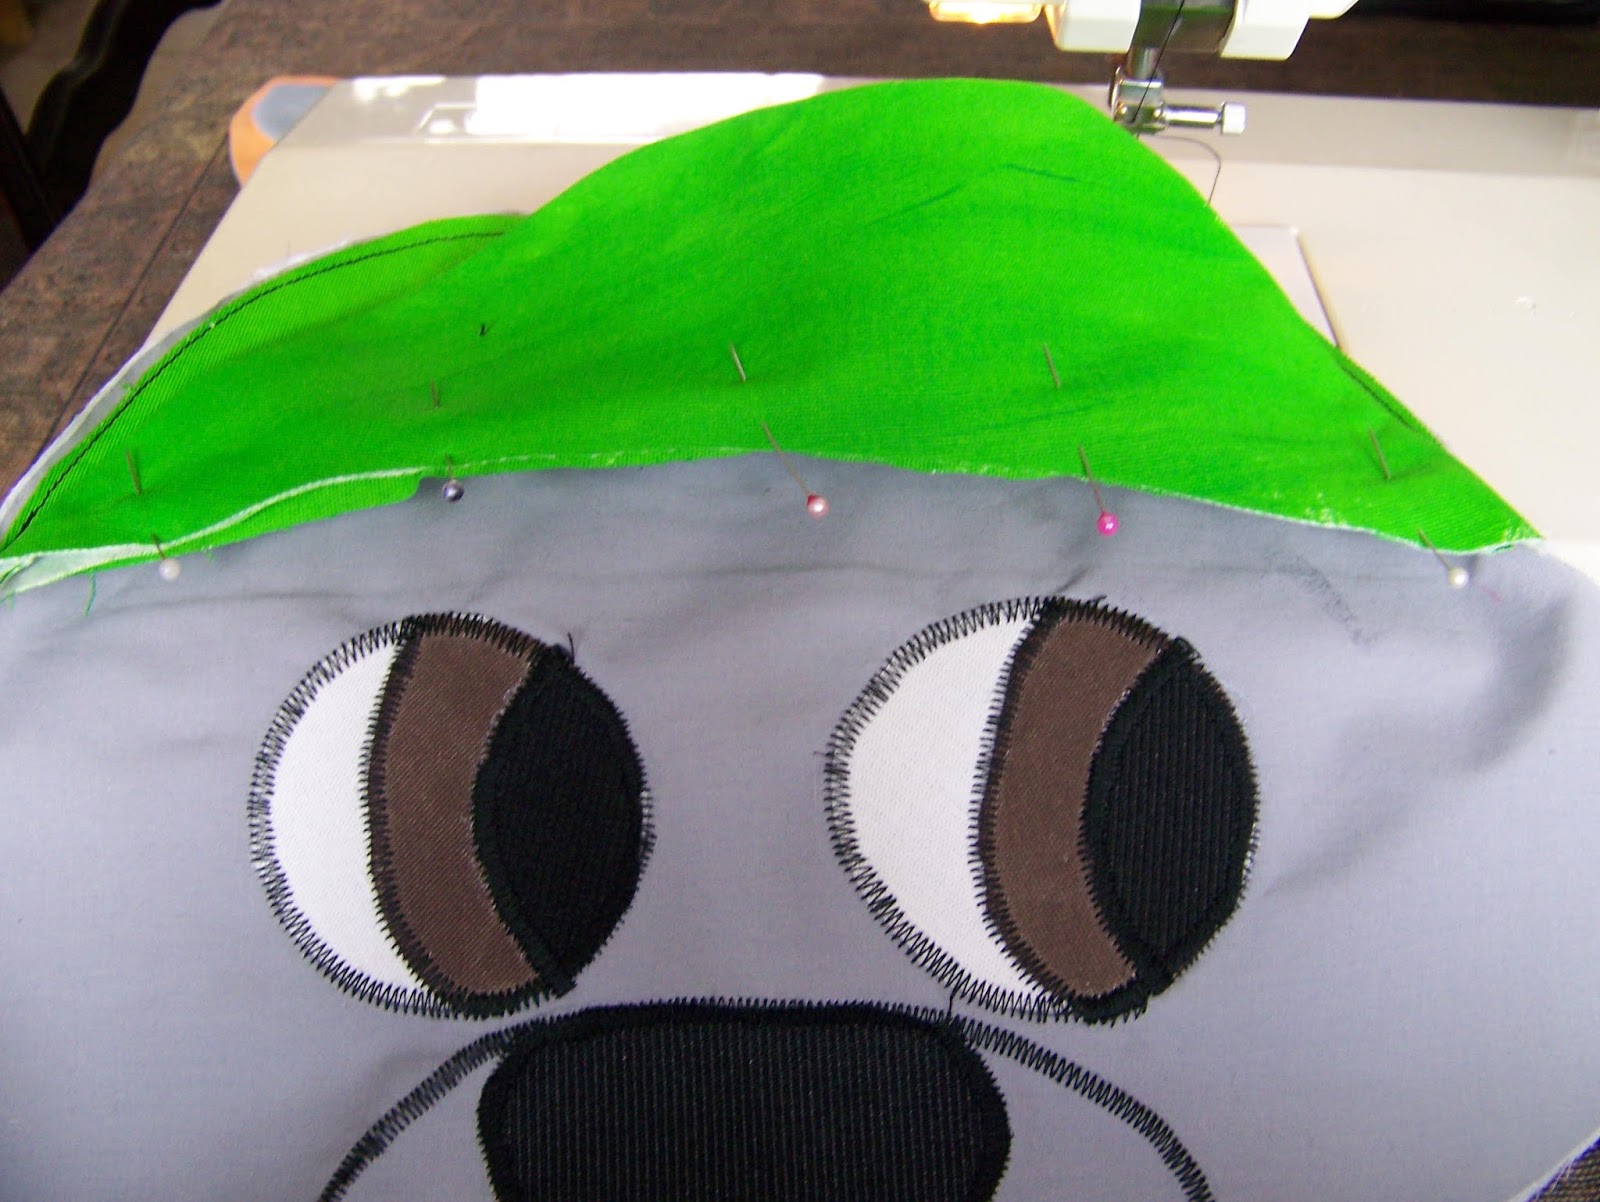

Sew the cap to the hat.


Fold the seam of the cap in under the cap and pin along the seam to secure the cap to the head.


Make a neat top stitch right on top of the seam of the cap, to hide the seam and to secure the cap.


Progress photo of the cap secured to the face.


We will now attach the ears to the head. Fold the inside of the ear in so the grey curls over to the front as shown.


Pin the ears in place on the head.


Attach the ears with a stay stitch.


Progress photo of the ears attached.


Fill the arms with stuffing.


Attach the arms to the face with pins.


Stay stitch the arms in place.


Tuck the ears and the arms in. Lay the back of the head on top of the face with the right sides facing. Pin the two sides of the head together. Use lots of pins as the bulk of the arms will push the pieces away from each other. When secured with pins, sew from one arm to the next all around the head, only leaving the chin open between the arms.


Turn Rocky right side out through the opening at the chin. This is a little arduous as the arms are quite stiff.


Fill the head with stuffing through the chin opening.


Fold the seams in on the chin and secure with pins.


Sew the chin closed by hand.


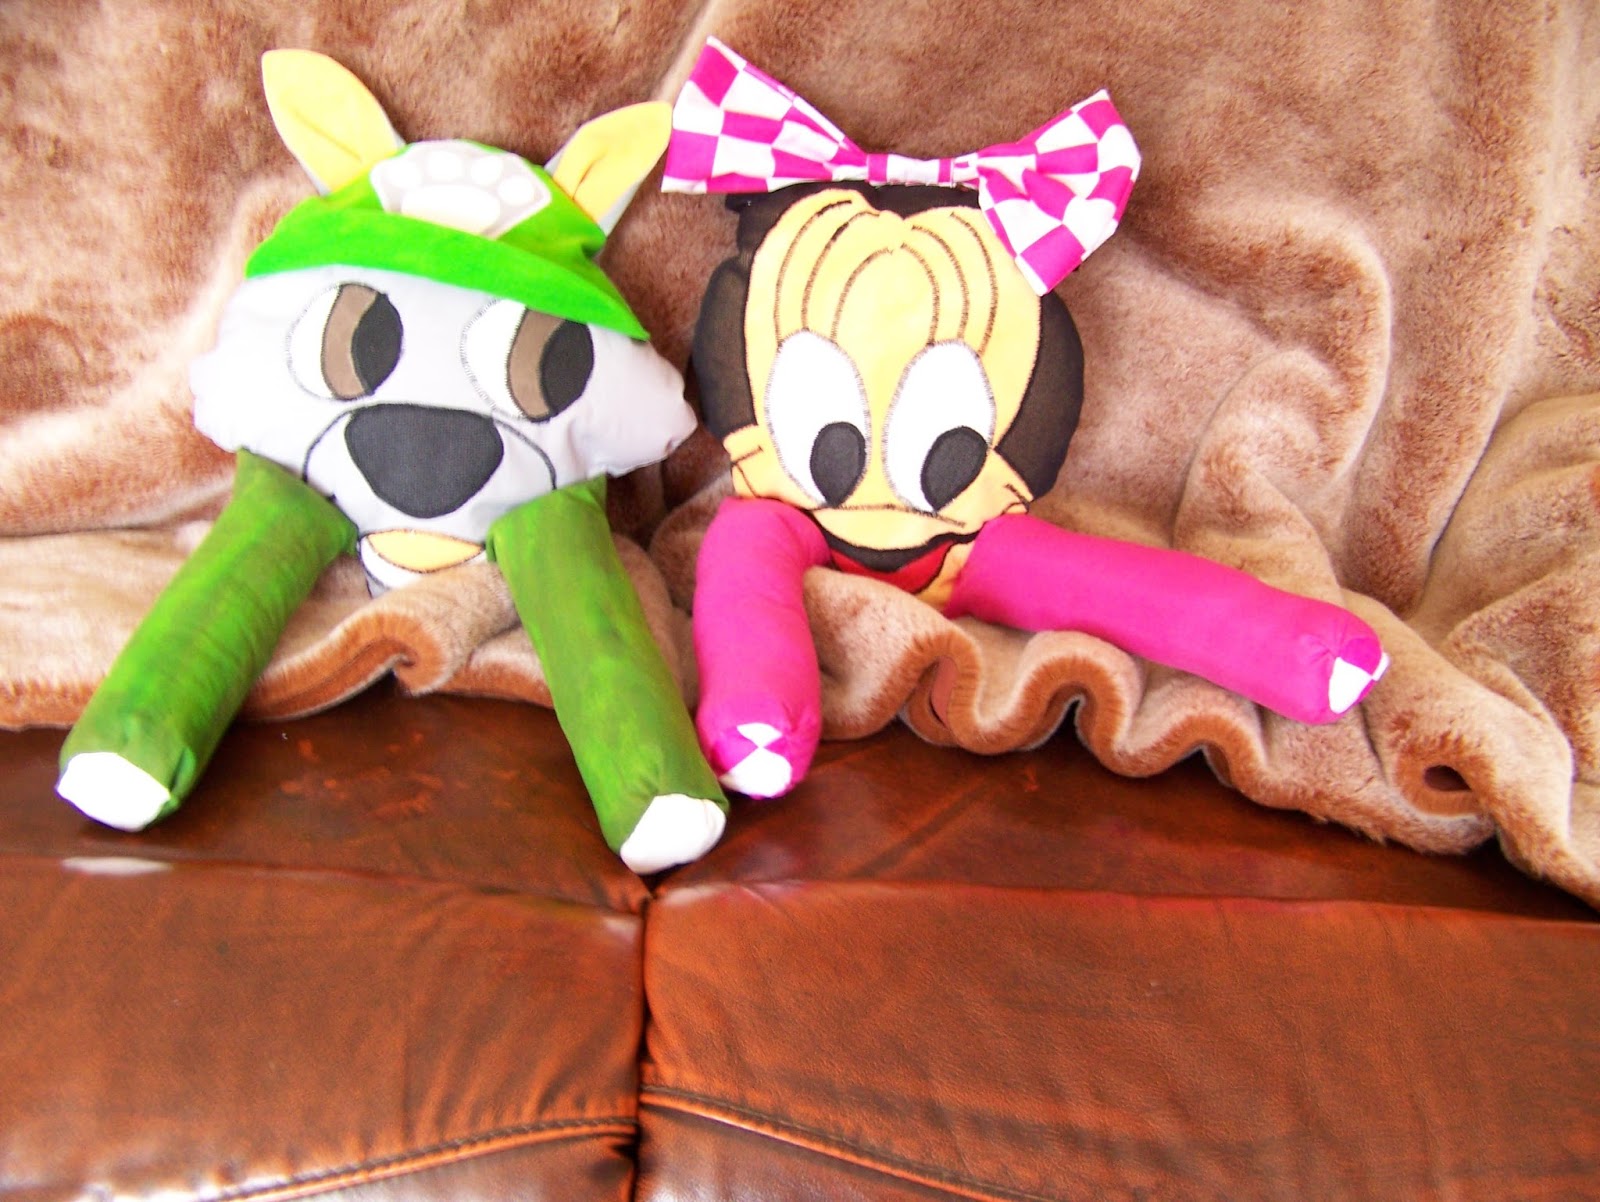
Give Rocky to the closest little boy to enjoy!

For more crafty ideas and great products, visit APrettyTalent.com.
Remember to keep nurturing your TALENT for making PRETTY things.
You can subscribe to this blog and receive regular updates by email by simply registering your email address at the top of the current blog.

Sunday, 27 September 2015

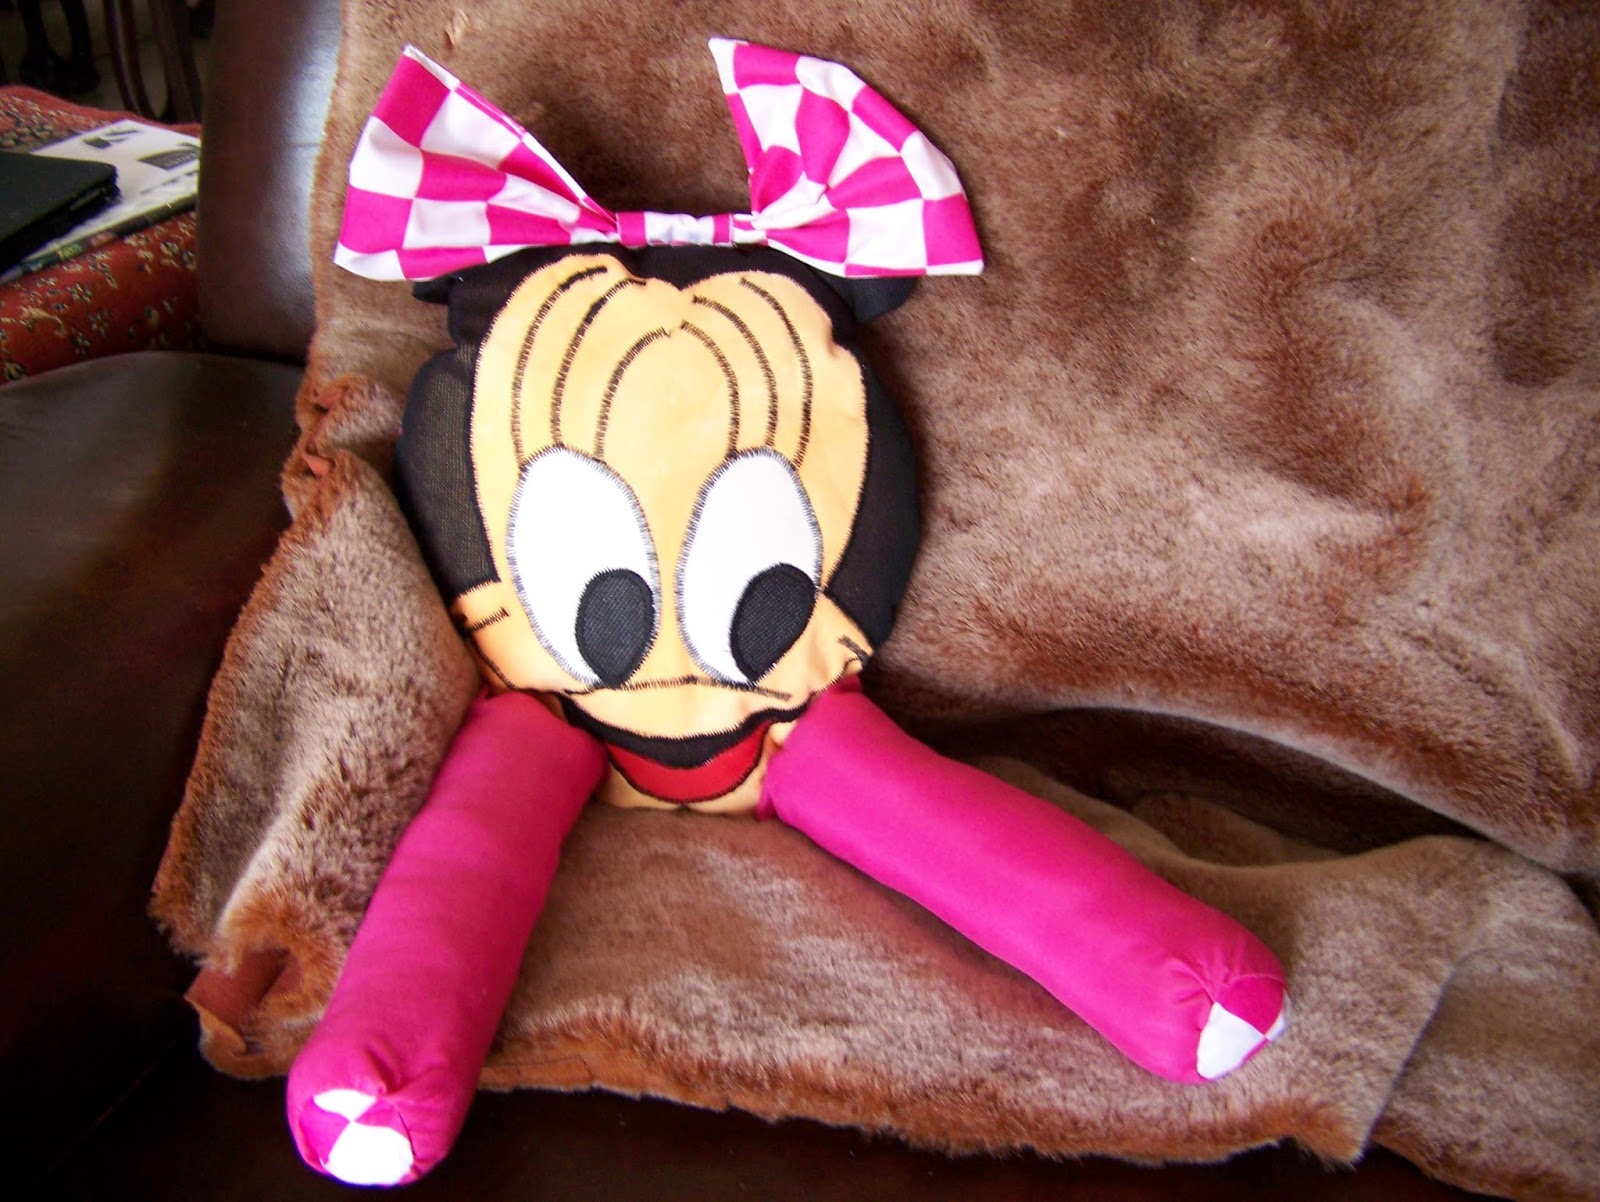
Applique & Construction: We make a Minnie Mouse Cuddle Cushion Part 3

We have been working on the Minnie Mouse Cuddle Cushion for a while now and it is time to put the finishing touches to the cushion. In today's blog we will applique the face before we sew the different parts together and fill the cushion with stuffing.
Easily navigate between the three parts of this blog series by clicking on the links provided:


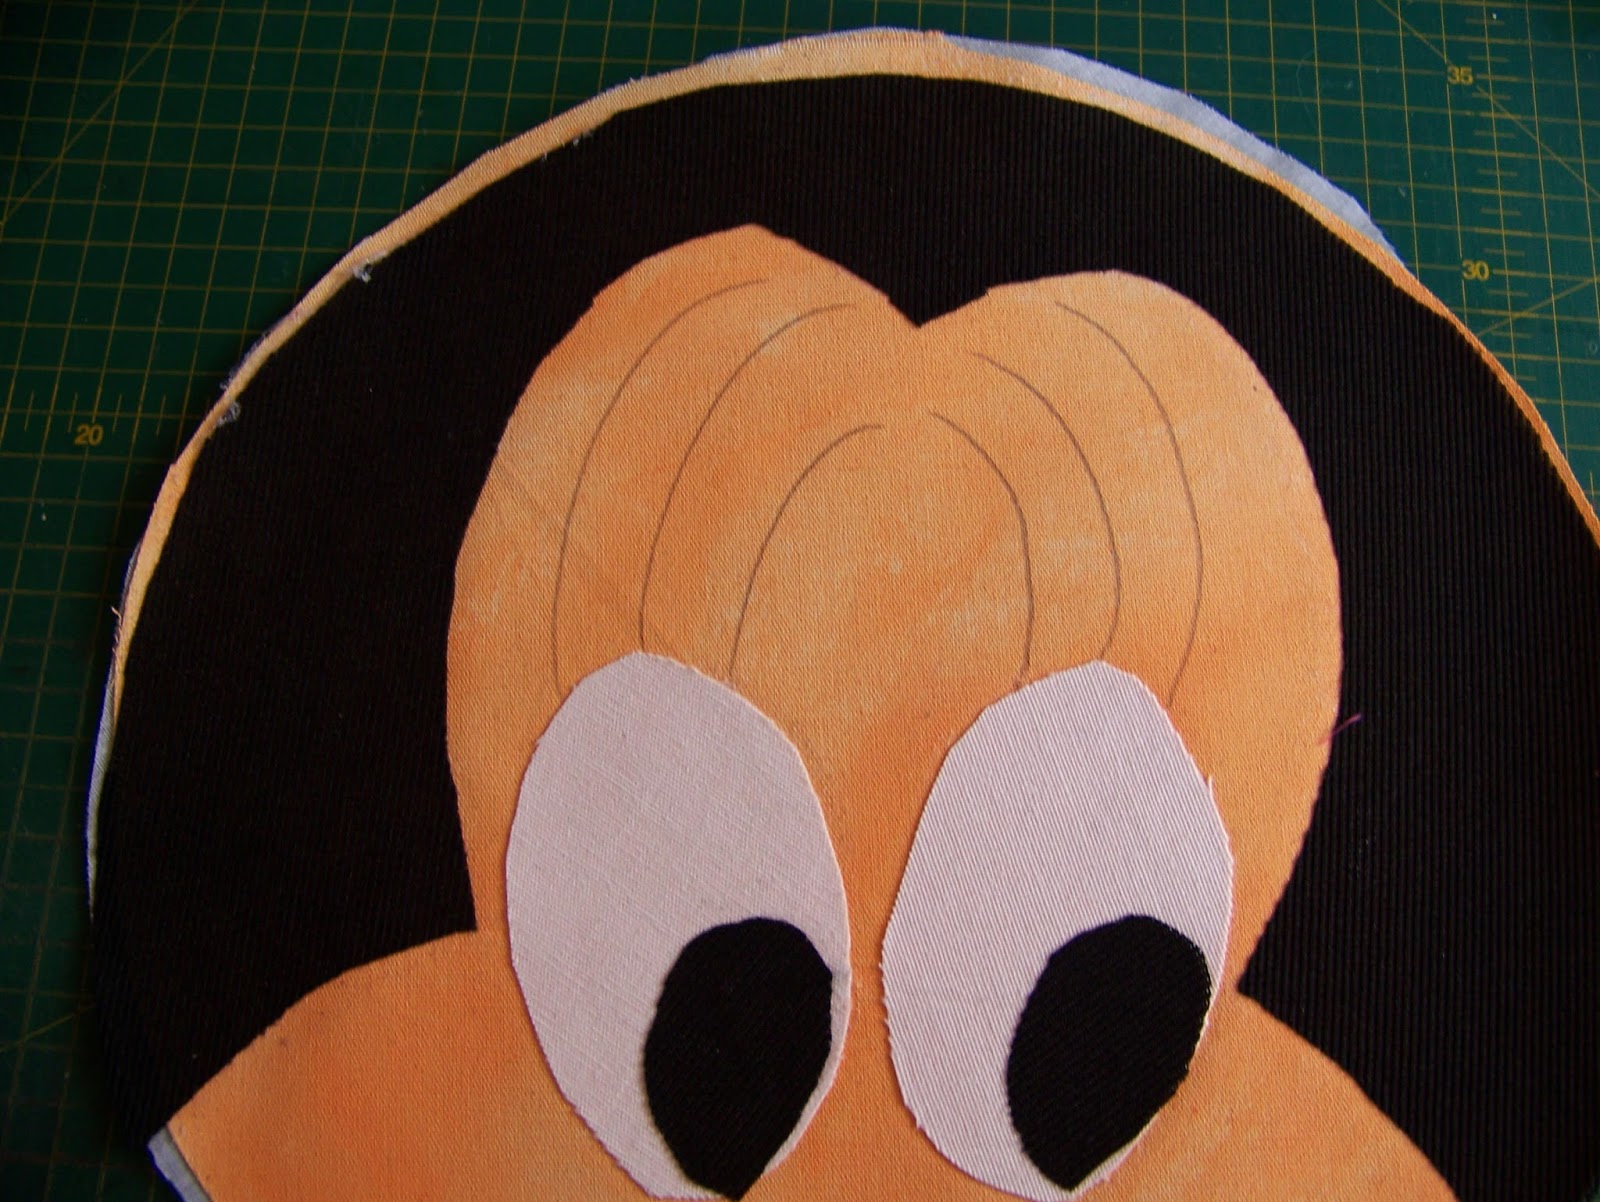
Before we start the appliqueing we need to draw in a couple of missing lines on the face. These are drawn with a pencil. I start by adding the luscious lashes that are synonymous with Minnie.


I also add the nose fold and the extensions on the mouth.


I now set my machine to a zigzag stitch and reduce the stitch length.


I start at the top of the face and work my way down. I set my needle to stop in the down position and applique the hairline in a single go, only stopping to turn the fabric.


The hairline with the applique done.


The next step is to applique the lashes.


I do the pupils and the eyes in one movement, continuously turning the fabric.


Next follows the nose line.


Progress photo.


I now sew from one mouth end to the next, across the upper lip.


It is time to applique the mouth corners.


Now follows the tongue.


The last to be done in the lower lip.


The face with all the appliqueing done.


I stuff the ears only slightly.


Pin the ears to the face and sew them on with a stay stitch.


The arms are stuffed well to give them shape.


Progress photo.


I now attach the arms to the face with pins.


Sew the arms on with a stay stitch.


I fold the arms and the ears in and lay the back of the head on the face with the right sides facing. The arms are very bulky and I have to use a lot of pins to keep the pattern pieces in place.


Start at the one arm and sew all the way around to the other arm leaving only the chin open.


Remove the pins and turn Minnie right side out. This is a rather arduous task as the arms are very stiff.


Fill the head with stuffing.


Pin the opening in the chin with the seams folded in.


Sew the ribbon on by hand between the ears.


Sew the chin closed by hand.


Now give Minnie to the closest little girl to enjoy.


For more crafty ideas and great products, visit APrettyTalent.com.
Remember to keep nurturing your TALENT for making PRETTY things.
You can subscribe to this blog and receive regular updates by email by simply registering your email address at the top of the current blog.