I start by selecting a die-cut wooden cross to use as base.
The top and sides are then painted with gesso primer, using a flat brush.
Give the gesso a little time to dry.
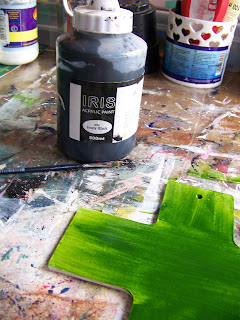
I then use Sap Green acrylic paint to lay down as a base color on the cross.
Give the green some time to dry.
I then use Ivory Black acrylic paint to paint the edges of the cross, using a small flat brush.
You will once again need to wait for the paint to dry.
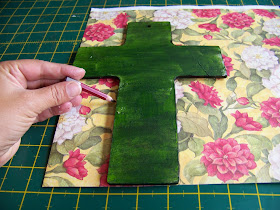
Find some pretty craft paper and trace the outline of the cross with a pencil.
Cut along the traced lines with a pair of scissors.
You can either use Modge Podge or Acrylic Gel Medium to do the decoupage with.
Paint the cross with your medium.
It is optional, but I prefer to paint the back of the paper withe the medium as well.
Lay the paper on top of the cross and rub out any trapped air bubbles or creases.
Paint a coating of the medium over the paper. Set the cross aside to dry.
In the meantime, you can prepare the embellishments you want to add to the cross. I will be building my own paper flowers from these die-cut flowers.
Every single flower is painted with the decoupage medium to harden it. Leave it to dry.
Once the flowers are dry, you can assemble them and punch a hole through them with an awl.
Stick the smallest flower's stem through the hole.
Apply some Tombow glue to the back of the flower and glue the stem to the back of the largest flower, securing everything in place.
Put some more glue on the back of a short piece of ribbon.
Lay the ribbon in place on the cross.
Lay a line of glue down on the cross.
Put some pearl beads, on a string, on top of the glue line.
Find some pretty decorative string.
You will also need at least one metal embellishment.
Use the string to tie the embellishment to the cross with.
The string must be decorative as well as being functional.
To make sure the embellishment does not jangle about, glue it in place.
Tie the string's ends together at the back.
Glue the flowers to the cross.
Open the hole for hanging with the awl, and you have a pretty little cross to gift to someone special.
For more crafty ideas and great products, visit APrettyTalent.com.
Remember to keep nurturing your TALENT for making PRETTY things.
You can subscribe to this blog and receive regular updates by email by simply registering your email address at the top of the current blog.


No comments:
Post a Comment