Search This Blog

Sunday, 23 June 2019

Cardmaking: Hope Prevails

Today sees the last of the blogs in the mini series on colouring. I am still using a variety of colouring mediums, but today's blog has a twist. I use foil to colour a large part of this drawing. I do not use a heat method, although that is the normal way of applying foil. I show you how to do this in today's blog. The theme for this blog is hope prevails. I once again turn the picture into a card when I am done.


I once more use this book to find a picture to colour.


I remove the picture from the book before I start.


I use three shades of gold metallic pens to colour the anchor. Make small concentric circles or short criss-cross lines when colouring with a ball point pen, to prevent it looking to linear.


I used a Faber Castell Pitt pen and a Mont Marte colouring marker to colour the banner. Both of these pens have brush tips. I then used a metallic pen to outline the words in gold.


I then used a glue pen to cover the rest of the elements on the page, a small batch at a time.


I left the glue to get tacky before covering it with a sheet of foil.


Rub down on the foil before lifting it away. The results look like this.


I did this with the whole page.


I then cut a small piece of Faber Castell Gelatos from a Gelatos stick.


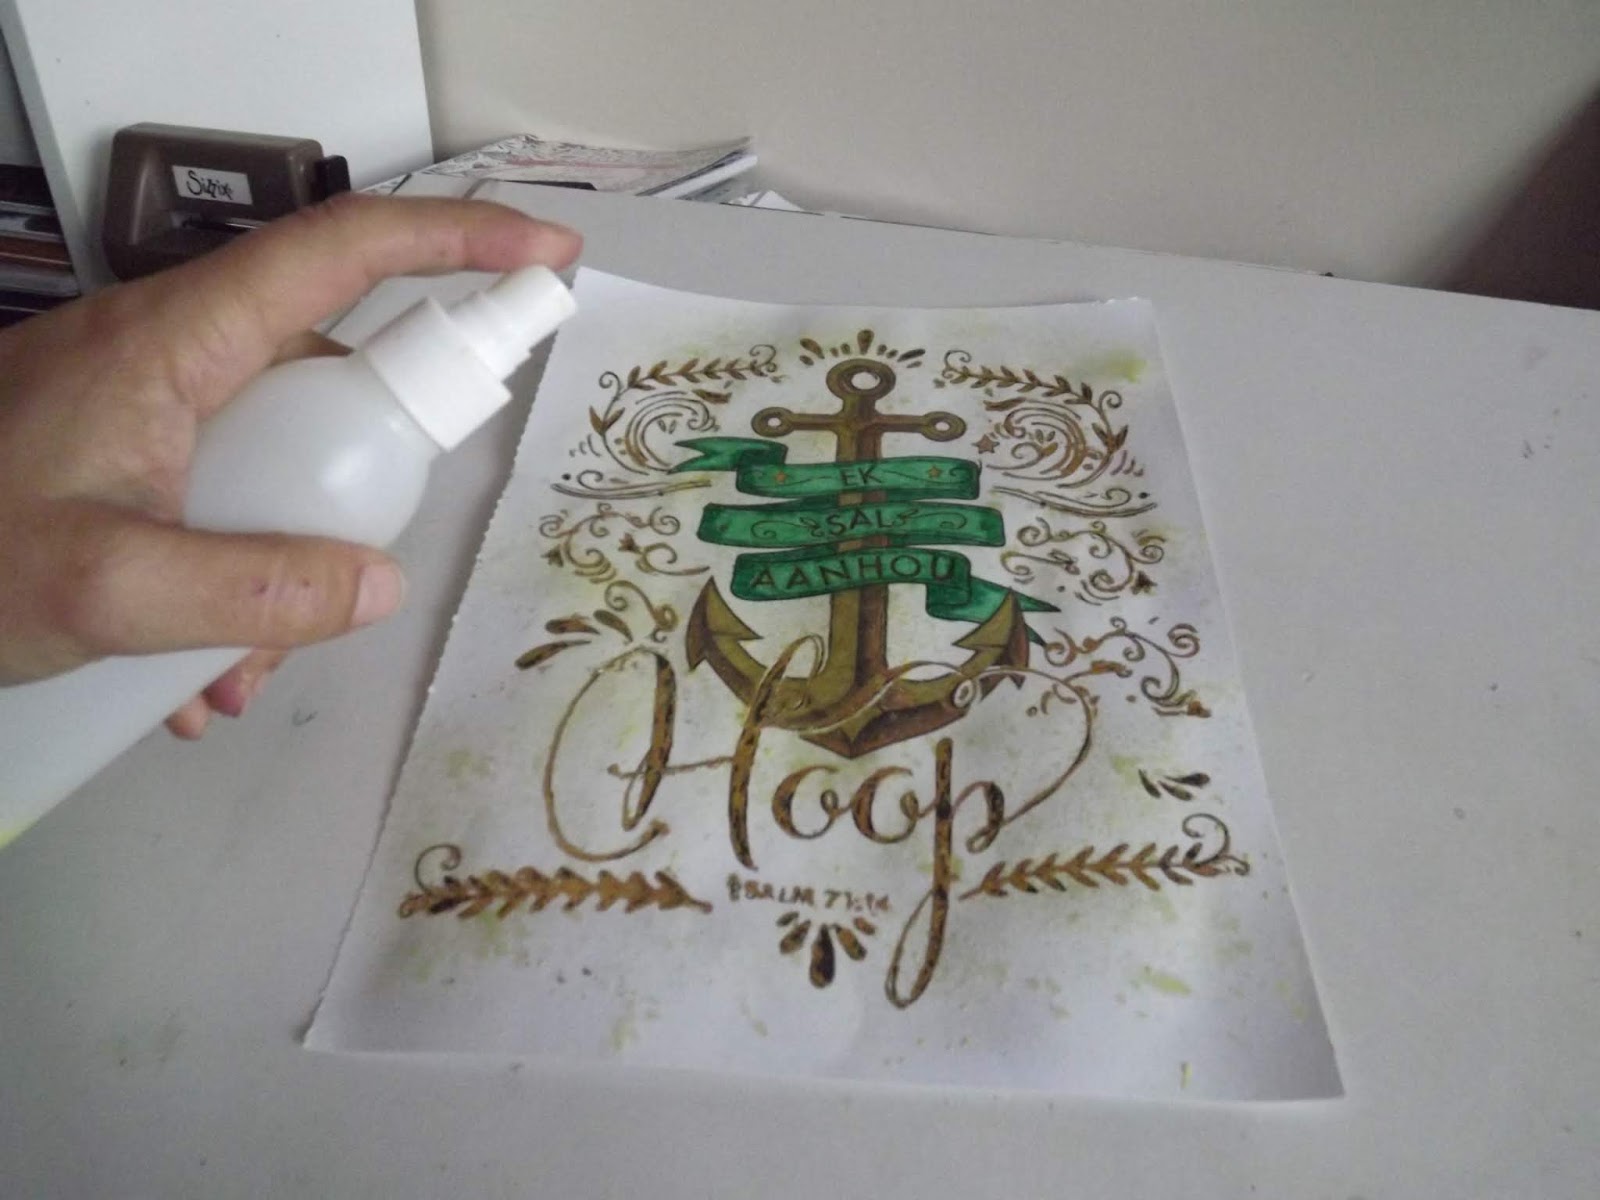
I transferred the Gelatos to a spray bottle and added some water. Then I shook it vigorously to dissolve the Gelatos.


I sprayed this to the background of the page.

Fold an A3 sheet of cardboard in half to form a card.


Trim an A4 sheet of cardboard to fit on the card.


Trim the coloured page to fit on the black cardboard.


Use double-sided tape to matt the sheets on the card.


I used a gold Croxley gel pen to frame the card.


I drew a second frame with a black Faber Castell Pitt pen with a small tip.


Then I stuck photo corner stickers onto the four corners of the coloured-in picture.


The completed card.


You can watch a compilation video of the above steps on YouTube:
https://youtu.be/vPcVkowmXUw


Marietjie Uys (Miekie) is a published author. You can buy my books here:
You can purchase Designs By Miekie 1 here.
Jy kan Kom Ons Teken en Verf Tuinstories hier koop.
Jy kan Kom Ons Kleur Tuinstories In hier koop.
Jy kan Tuinstories hier koop.
You can follow Miekie's daily Bible Study blog, Bybel Legkaart, here in English & Afrikaans.
You may prefer to follow the traveling blog, A Pretty Tourist.
For more crafty ideas and great product reviews, visit A Pretty Talent on Facebook.
If you are in a literary mood, follow Miekie's musings, stories and poetry on A Pretty Author - Miekie.
Remember to keep nurturing your TALENT for making life PRETTY.
You can subscribe to any of these blogs and receive regular updates by email. Simply register your email address at the top of the applicable blog.

Saturday, 22 June 2019

Cardmaking: Friendship

Today I continue the mini blog series on colouring by incorporating yet more mediums and techniques in my colouring project. I once again choose a themed page from my colouring book to colour with a variety of pens, pencils, markers and crayons, before turning it into a card. The theme for today's card is friendship.


I took today's picture from this colouring-in book.


I removed the picture along the perforated lines before I started the project.


I used Mont Marte Colouring Markers to colour the tea cup. These markers have a brush tip. How does this compare to the more expensive Faber Castell Pitt Pens with brush tips? These tips are very soft and easily damaged, where as the Faber Castell is durable and allows for more accurate colouring, because the tips do not bend or split as easily.


I used some metallic pens to add bling to the cup.


I then used a combination of Mont Marte and Faber Castell Pitt pens with brush tip to colour the teapot. I also used a metallic pen to add some sparkle.


I used the metallic pens to outline the wording and to colour the flowers spouting from the teapot.


I used Croxley Gel Pens to colour flowers and embellishments surrounding the teacup.


I then cut the design elements from the page.


I folded an A4 sheet of cardboard in half to form a card.


I then scribbled some Gelatos onto a plastic palette and sprayed some water on it to make it more soluble.


I picked this up on a paper towel and gently dabbed the picture with it, being careful not to smudge the water-soluble inks from the gel pens.


I used double-sided tape to fix the pictures to the card, allowing the teacup to transcend the edges of the card.


I then used a white Croxley Gel pen and  black Faber Castell Pitt Pen with a medium tip to outline the wording, which I stuck to the inside of the card.


What the inside of the card looked like when I was done.


The completed card. Notice the frame and outline of the pictures here as well.


You can watch a compilation video of the above steps on YouTube:
https://youtu.be/gBOSTuGHniE


Marietjie Uys (Miekie) is a published author. You can buy my books here:
You can purchase Designs By Miekie 1 here.
Jy kan Kom Ons Teken en Verf Tuinstories hier koop.
Jy kan Kom Ons Kleur Tuinstories In hier koop.
Jy kan Tuinstories hier koop.
You can follow Miekie's daily Bible Study blog, Bybel Legkaart, here in English & Afrikaans.
You may prefer to follow the traveling blog, A Pretty Tourist.
For more crafty ideas and great product reviews, visit A Pretty Talent on Facebook.
If you are in a literary mood, follow Miekie's musings, stories and poetry on A Pretty Author - Miekie.
Remember to keep nurturing your TALENT for making life PRETTY.
You can subscribe to any of these blogs and receive regular updates by email. Simply register your email address at the top of the applicable blog.

Friday, 21 June 2019

Cardmaking: The day God has made

I am still happily busy colouring and having fun turning these colouring projects into cards. The idea behind this mini blog series is to show how one can incorporate a number of colouring materials and mediums into a single project. I use pens, pencils and crayons together when colouring today's picture with a theme that honours God for having made this special day.


I took the picture from this book.


This is the picture which appealed to me for the project.


I removed the picture from the book by tearing along the perforation, before I started.


I started by cutting the picture and the words out.


I also salvaged the background butterflies.


I then used Faber Castell Pitt Pens with brush tips to colour the butterfly. I used a metalic pen to colour the body of the butterfly.


I used Giotto Turbo Markers to colour the vegetation.


I then touched the background with a Faber Castell Gelatos stick and used a wet wipe to apply very gentle colour to the background.


Then I used a straw to blow on a Giotto Glitter Marker to colour the remaining flowers very subtly.


I used the same method to add some red bling to the wings of the butterfly.


I folded an A4 sheet of cardboard in half to create a card and used double-sided tape to fix the coloured picture to the card.


I used a Faber Castell Pitt pen with a small point to draw a stitch line around the picture.


I twisted the wings of one of the discarded butterflies around a rounded tool to give the wings some dimension.


Then I glued the body of the butterfly down in one corner of the card.


I glued the wording and the remaining butterflies to the inside of the card.


I came back afterwards and drew black stitch lines around the wording as well, which gave it a more finished appearance.


The completed card.


You can watch a compilation video of the above steps on YouTube:
https://youtu.be/7e1LMiCTG4U


Marietjie Uys (Miekie) is a published author. You can buy my books here:
You can purchase Designs By Miekie 1 here.
Jy kan Kom Ons Teken en Verf Tuinstories hier koop.
Jy kan Kom Ons Kleur Tuinstories In hier koop.
Jy kan Tuinstories hier koop.
You can follow Miekie's daily Bible Study blog, Bybel Legkaart, here in English & Afrikaans.
You may prefer to follow the traveling blog, A Pretty Tourist.
For more crafty ideas and great product reviews, visit A Pretty Talent on Facebook.
If you are in a literary mood, follow Miekie's musings, stories and poetry on A Pretty Author - Miekie.
Remember to keep nurturing your TALENT for making life PRETTY.
You can subscribe to any of these blogs and receive regular updates by email. Simply register your email address at the top of the applicable blog.