This blog is about empowering everyone who has a talent for making pretty things, be it a latent or developed one. I bring you practical tips and tricks to make and do the things you've always wanted to.
In the previous blog, I had made myself a very fancy and elaborate gypsy skirt. I then started playing around with the idea of making a waistcoat to accompany it. I promptly drew up a design and pattern to do just that, and set about to executing the plan. I show you how to sew this waistcoat in today's blog.
I drew a very quick sketch to guide me in what I wanted to do.
This was the idea I came up with for the complete outfit.
I then used a waistcoat I had in the wardrobe, to assist in drawing up a pattern for the one I was going to make.
I cut some pieces from this fabric with a patchwork motif.
Some were cut from fabric with a butterfly motif.
Some were cut from denim.
The lining was cut from this much softer cloth.
I pinned the lining at the shoulders.
I then sewed the shoulder seams of the lining.
I then pinned the side seams.
I sewed the side seams.
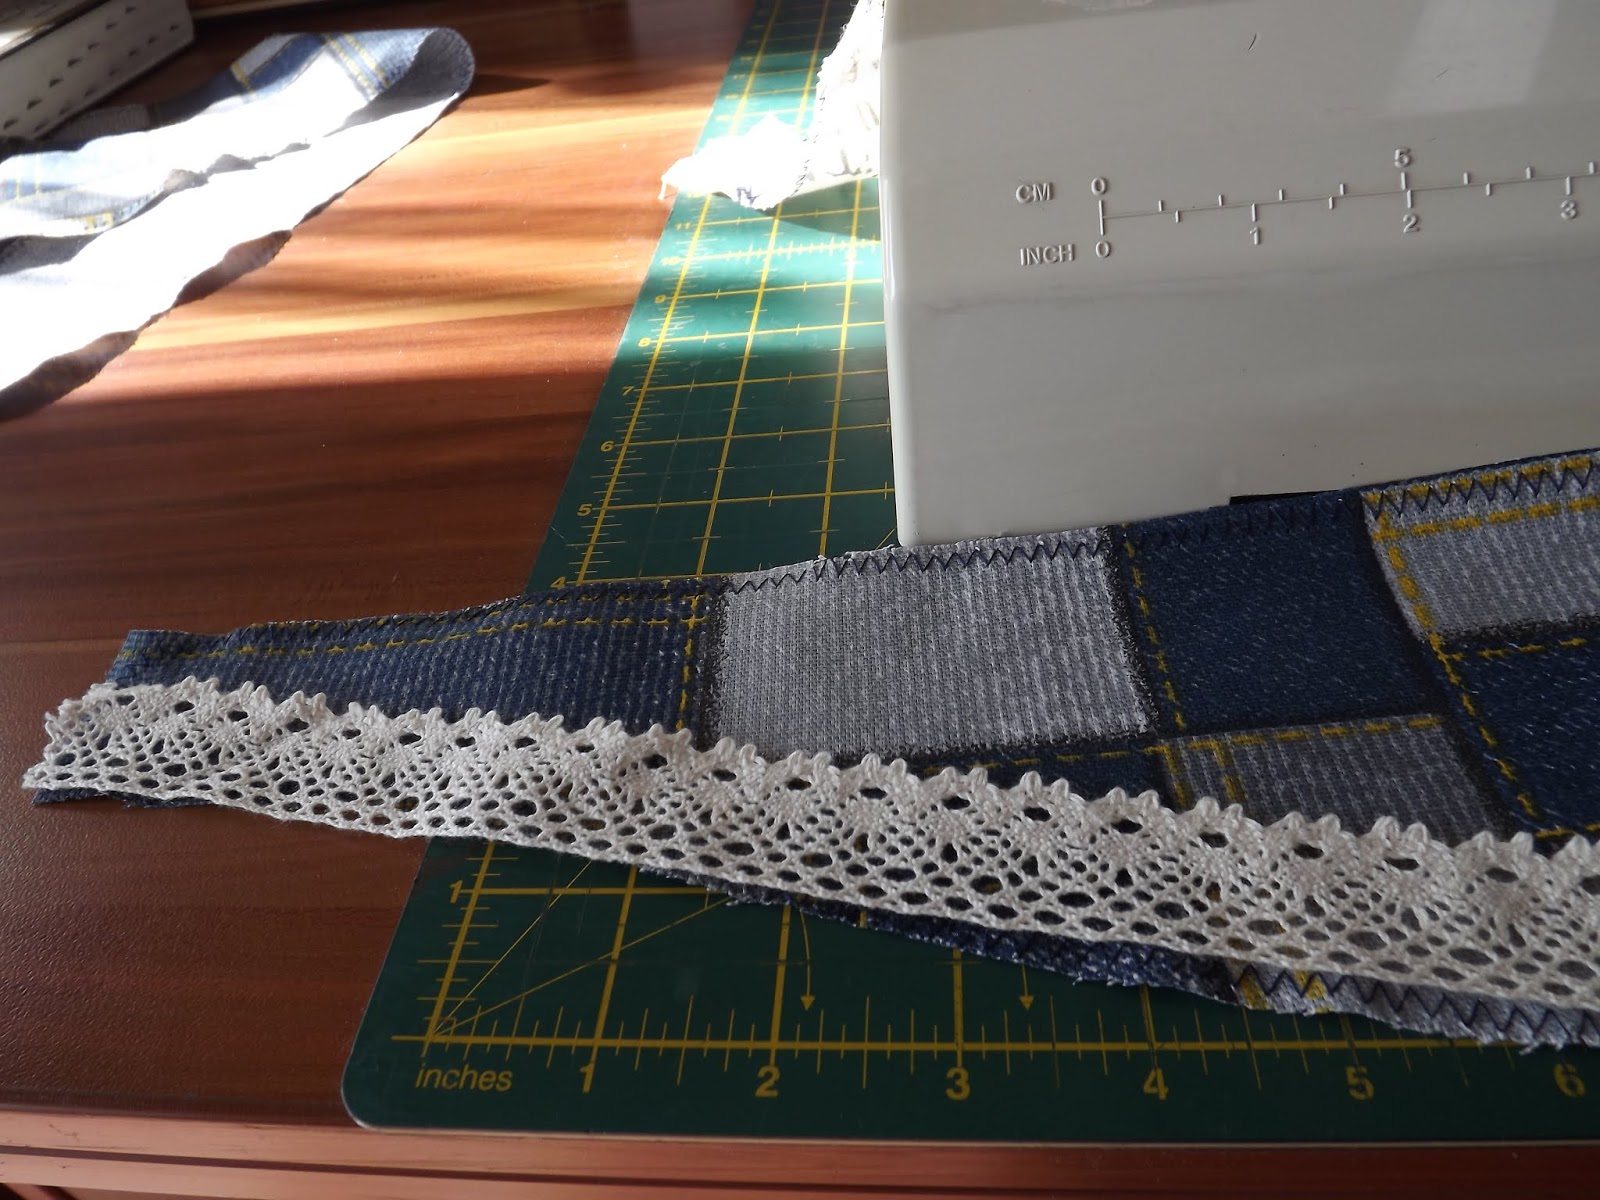
I pinned some lace in between the sections of the waistcoat.
Then I sewed these pieces together.
I continued sewing until all the pieces for the front of the waistcoat was sewn together.
I then found the centers of the back panels and pinned the backs pieces together from the centers, outwards.
These pieces were then sewn together.
Some pieces had lace sewn into the seams.
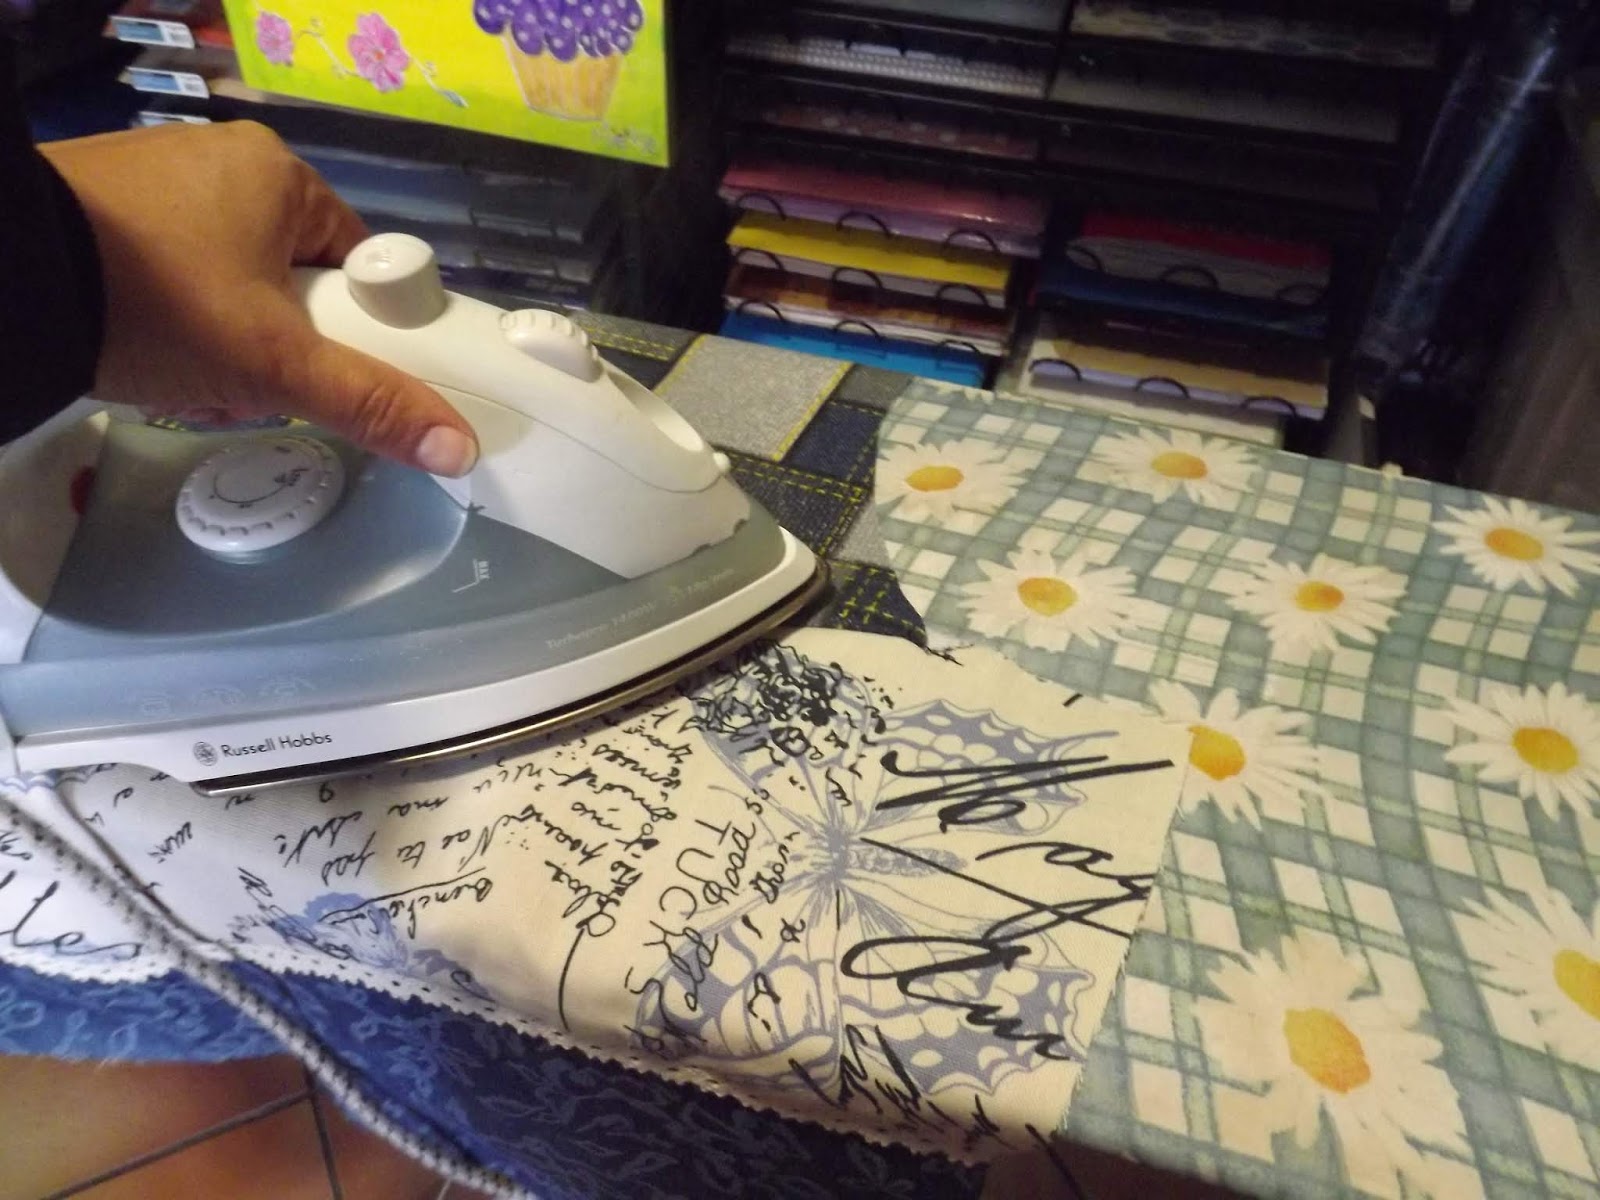
I then stopped to iron all of the seams, before continuing.
I then pinned some red chord to the front of the waistcoat.
This was sewn on.
I pinned the side seams and shoulders.
I sewed the side seams and shoulders.
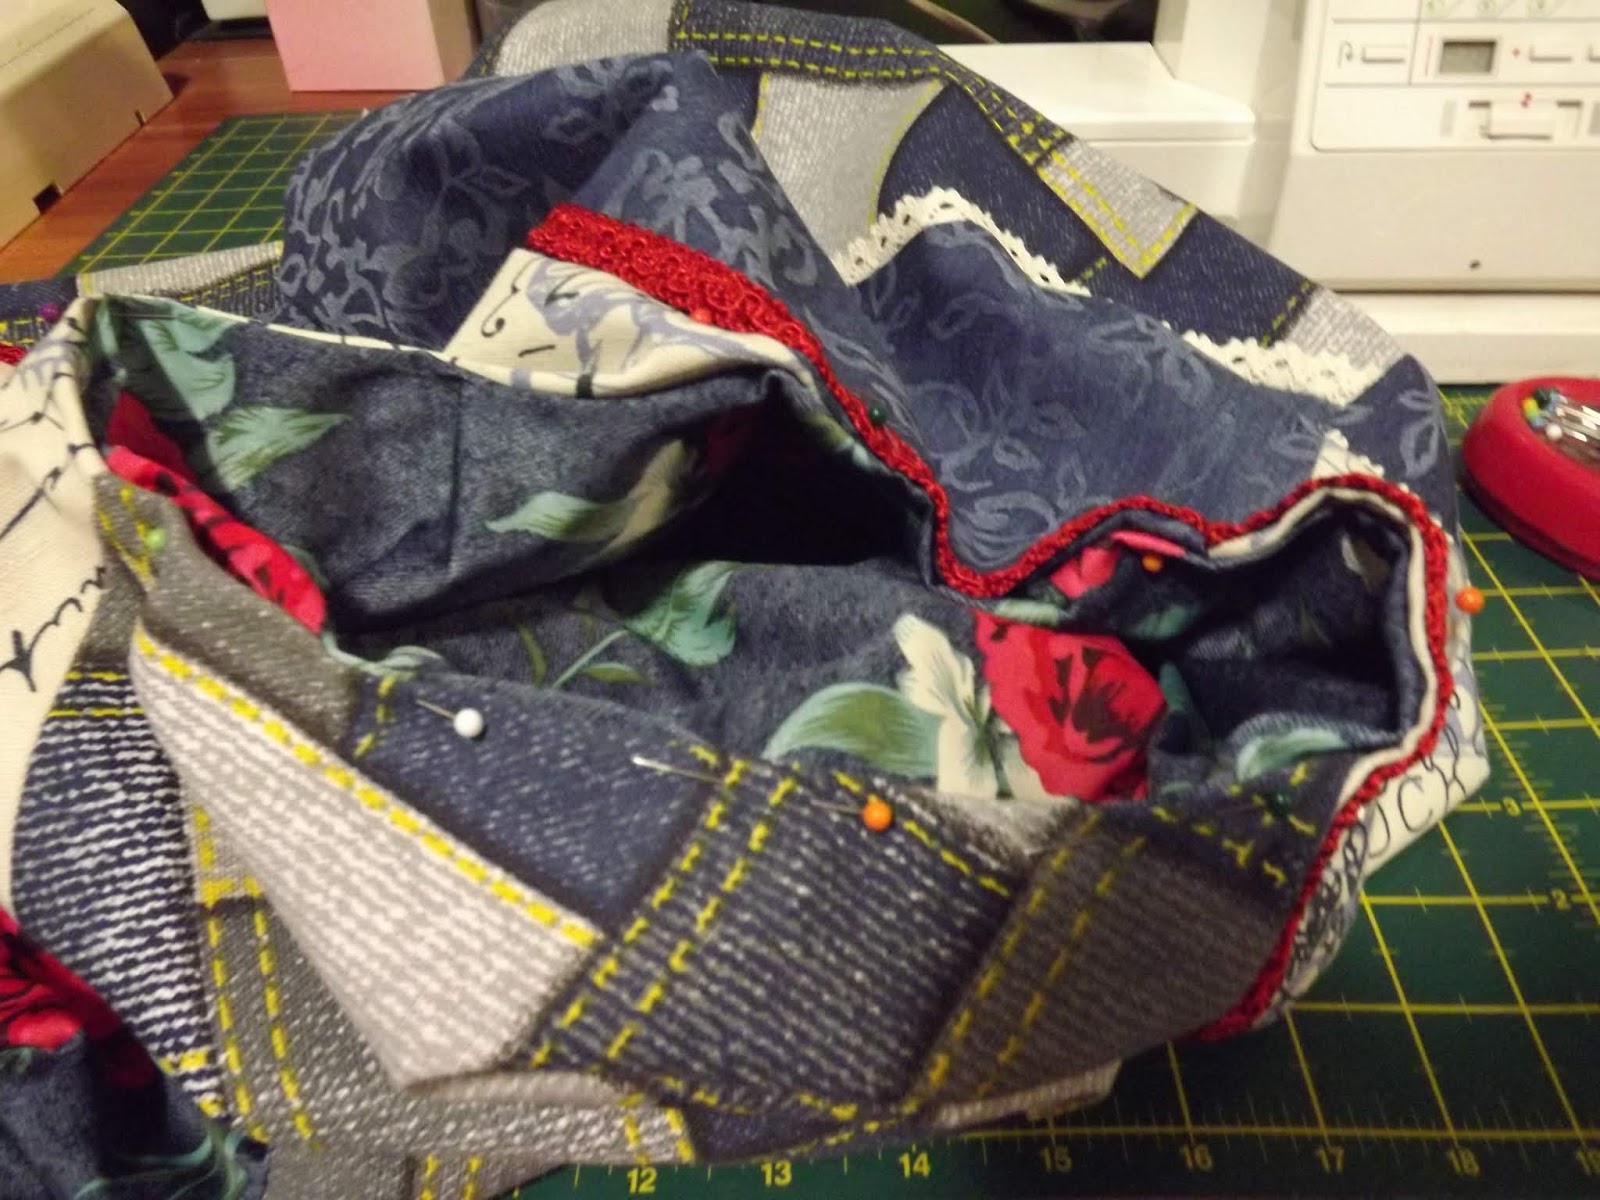
I then pinned the lining to the outer waistcoat, leaving only the arm openings open.
I sewed all around the waistcoat.
I cut the necessary notches that would allow me to turn the waistcoat right side out.
I then turned the waistcoat right side out, through the arm openings.
I cut 8 lengths of chord.
I folded them in half and zigzagged the ends to keep them from fraying.
Then I folded the arm openings in and pinned them.
I sewed the arms by hand.
I pinned the loops, formed with the chord, to both sides of the front of the waistcoat.
I then drove an awl through the fabric and chord, from the inside of the waistcoat.
I stuck the screw of a denim button through the hole left by the awl.
You can see the sharp end of the screw emerge on the right side of the waistcoat.
I then slipped the denim button onto the screw, turned it upside down and hammered the screw into the button.
This is what it looked like when I was done.
Hook the loops over the opposite buttons to button the waistcoat.
Marietjie Uys (Miekie) is a published author. You can buy my books here:
You can purchase Designs By Miekie 1 here.
Jy kan Kom Ons Teken en Verf Tuinstories hier koop.
Jy kan Kom Ons Kleur Tuinstories In hier koop.
Jy kan Tuinstories hier koop.
You can follow Miekie's daily Bible Study blog, Bybel Legkaart, here in English & Afrikaans.
You may prefer to follow the traveling blog, A Pretty Tourist.
For more crafty ideas and great product reviews, visit A Pretty Talent on Facebook.
If you are in a literary mood, follow Miekie's musings, stories and poetry on A Pretty Author - Miekie.
Remember to keep nurturing your TALENT for making life PRETTY.
You can subscribe to any of these blogs and receive regular updates by email. Simply register your email address at the top of the applicable blog.
I have not made myself an outfit in years, probably decades. The reason is that I love doing complex sewing, but my style is rather simple. Today, I decided to break this fast from sewing clothes for myself, and opted to sew myself an outfit, after I bought the most stunning fabric. True to style, the outfit soon turned from something quick and simple, to something much more complex. To make matters worse, I discovered I had not brought a single pattern with me when I moved recently. Well, I would simply have to wing it. It turned out to be much simpler than I would have expected. Let me walk you through the steps of this fun project.
I decided to drop into the fabric shop on a whim today. I came back with this delightful collection.
I rummaged through the fabric stash I had hidden in the wardrobe and found some more pieces that would match the new purchases nicely.
I then sat down and started sketching an idea I had for a skirt.
The design settled my thoughts on this selection of fabric for the project.
Then I decided that such a pretty skirt would need something nice to wear with it. So, I quickly sketched an idea for a waistcoat.
It seemed only natural to then sketch a plan for a shirt as well.
All in all, I would end up making three pieces of clothing. I will tell you more about the top and waistcoat in forthcoming blogs. For now, we will concentrate our attention on the skirt.
I took my own measurements and quickly drew a rough pattern for the basque of the skirt.
I then cut the top layer of the basque, as well as the waistband.
The middle section of the basque was cut next.
Finally, it was time to cut the bottom piece of the basque. I would leave cutting the frills for the next day, as it was already getting late and I wanted to make a start with the project.
My overlocker still needs to go in for repairs, so I was forced to zigzag all of the pieces.
I then lay down the lace on the hem of the top section of the basque.
The lace was sandwiched between the top and middle pieces of the basque.
I then sewed this little sandwich together.
I then sandwiched another piece of lace in between the middle and bottom pieces of the basque.
These were also sewn together.
I then folded the waistband in half and sewed the one end together.
The other end of the waistband would need an overlap and I sewed it accordingly.
Drop the needle to sew around the corner.
Trim the corner away and turn the waistband inside out.
Iron the waistband flat.
Sew the various seams on the basque flat as well.
Progress photo.
Pin the two short side seams of the basque together.
Sew the short side seam of the basque.
Find the centre of the waistband.
Pin the centre of the waistband to the short side seam of the basque.
I only pin the waistband to the basque so that I can see where, and how deep, I must pin the darts.
Sew the darts to take away excess fabric in the waist.
Now pin the long side seam of the basque.
Sew this side seam.
Find a 20 cm zipper to put in the skirt.
Iron the side seams open. Pin the zipper to the long side seam.
Sew the zipper onto the skirt.
Unpick the side seam over the zipper.
You now have a perfectly practical zipper in your side seam.
Pin the waistband onto the basque and sew only one side of the waistband onto the basque.
Fold the open side of the waistband in and pin it.
Set your sewing machine for top stitching.
Sew all around the waistband.
Mark the space for the button.
Sew the buttonhole.
Open the buttonhole.
Mark the space for the button with a pin stuck through the buttonhole.
Sew the button onto the skirt.
The basque is now finished and we can devote our attention to the frills of the skirt.
Cut the fabric for the first frill.
Sew the short ends together.
Sew the long ends together.
Cut the fabric for the second frill.
Cut the diagonal line for the frill.
Sew the seems together.
Cut the fabric for the third frill.
Cut the diagonal line.
Sew the seams.
Cut the fabric for the last frill as you had done for the first three.
Sew the side seams together.
I will now cut a false skirt to go under all of the frills.
This is what the false skirt looks like.
Zigzag or overlock the edges.
Sew the side seams together.
Zigzag or overlock the top of the first frill.
Double baste the top of the first frill.
Attach the frill to the top of the false skirt.
Pin the basque to the false skirt and frill.
Sew.
Progress photo.
Set your machine to a fine zigzag, or satin stitch. Hem the bottom of the frill with this stitch.
Follow all of the above steps for the second frill, but attach it upside down to the false skirt.
Sew it onto the skirt.
Progress photo.
Do the same thing with the remaining two frills.
Attach ribbon loops to the top of the skirt to make it easy to hang the skirt on a hanger.
Now I add some finishing touches to the skirt. I sew a chord around the bottom of the last tier of the basque.
I sew a fringe on to the hem of the skirt.
I sew a row of rose shaped buttons to the side seam of the skirt.
Marietjie Uys (Miekie) is a published author. You can buy my books here:
You can purchase Designs By Miekie 1 here.
Jy kan Kom Ons Teken en Verf Tuinstories hier koop.
Jy kan Kom Ons Kleur Tuinstories In hier koop.
Jy kan Tuinstories hier koop.
You can follow Miekie's daily Bible Study blog, Bybel Legkaart, here in English & Afrikaans.
You may prefer to follow the traveling blog, A Pretty Tourist.
For more crafty ideas and great product reviews, visit A Pretty Talent on Facebook.
If you are in a literary mood, follow Miekie's musings, stories and poetry on A Pretty Author - Miekie.
Remember to keep nurturing your TALENT for making life PRETTY.
You can subscribe to any of these blogs and receive regular updates by email. Simply register your email address at the top of the applicable blog.