Search This Blog

Friday, 28 October 2016

School Holiday Project 44 - Finger-painting A Bunny & Building Confidence.

Today's blog is entirely aimed at the younger kids. It is essential that they learn the consistency of the paint they work with and develop the fine motor skills involved in finger-painting. I show how to draw a very simple bunny step by step so that the kids can draw their own bunnies. Then we dip our fingers in some Dala Craft Paint and set to work. Do make a point of allowing the kids to figure out for themselves how they want to paint their bunnies. It builds their confidence when you show trust in their decision-making abilities.


Start with a smallish circle towards the side of the paper. This will be the head.


Now draw a large oval attached to the smaller circle to form the body.


A tiny oval at the back represents the tail.


Two ovals at the bottom form the feet.


Two upside down tears form the ears. My niece also insisted we draw some flowers. Keep these simple. I am still only working with round shapes.


Draw an oval for the nose and a circle for the eye.


Some scallops at the bottom will remind us to paint grass.


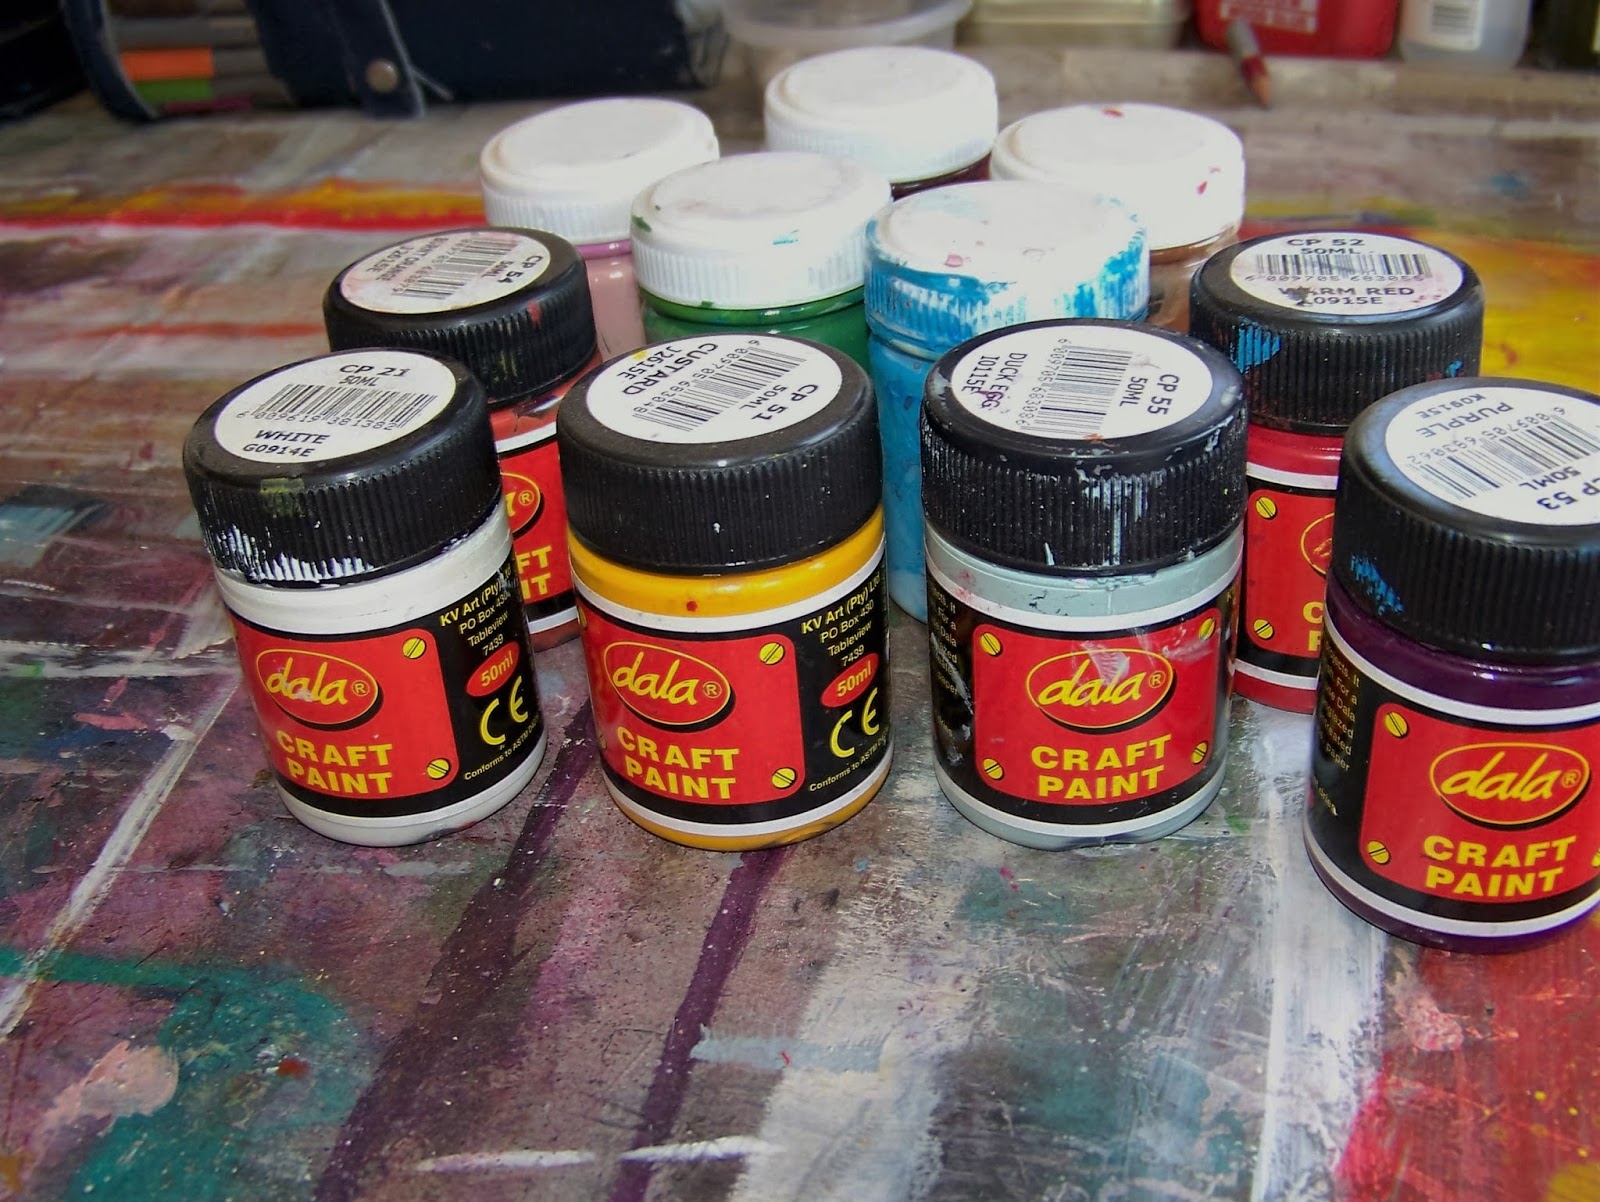
I love Dala Craft Paint for these type of projects as it has brilliant colours.


Dip your finger in the paint and scrape off the excess paint.


Dab the finger to the paper, lifting away quickly. You can make quite a few dabs at the paper before having to load the finger with more paint. Leave white spaces in between. It is important to teach kids to use the white of the paper to create different tonal values.


Concentrate on one space at a time and fill it.


My niece found the large space a little daunting and left wide open spaces. I did not prompt her to fill it any further as it was clear she had a good idea of what she wanted to do with her painting. If a child seems to be faltering in making decisions, feel free to step in with 2 or 3 suggestions. Refrain from becoming prescriptive. Children need to learn to make decisions and to trust their ability to do so. Praise the decisions they do make!


It soon became clear that my niece's interpretation of the picture was widely different from my own.


Here is my interpretation. You will note that she followed my lead in her choice of colours up to a point, before venturing off in her own direction.


When painting the stems of the flowers, I dragged the paint with my finger. This is yet another technique for kids to play with.


I also wanted to move away from predictable colours to encourage more creativity. That is why I opted to paint blue flowers.


Once I saw that my niece was comfortable with choosing her own colours, I introduced the concept of mixing colours visually, if not actually mixing the paint. I did not talk about this, but taught only by example, as if it was the most natural thing in the world to do and needed no discussion. Kids are quick to pick up new ideas and we don't always need to throw so many words at them. (Although all children are different and learning is different for different children. Be sensitive to the needs of your own child).


We stuck on some plastic eyes for interest sake, although painting them is a very acceptable option of you don't have plastic eyes in your craft room.


I explained why it was important to wait for the paint to dry before using markers/koki's on the painting and then we drew whiskers in once the paint was dry. (The felt tips of the pens clog up with wet paint).


My completed painting. It looks as if it was done by a child. This is as it should be. Crafting with kids is intended to build their confidence, not to discourage them by outperforming them.


Some more images of my niece's art.


A very proud lady who takes pride in a picture that testifies to her own ideas and decisions.


Marietjie Uys (Miekie) is a published author. You can buy the books here:
You can purchase Designs By Miekie 1 here.
Jy kan Kom Ons Teken en Verf Tuinstories hier koop.
Jy kan Kom Ons Kleur Tuinstories In hier koop.
Jy kan Tuinstories hier koop.
For more crafty ideas and great products, visit A Pretty Talent on Facebook.
Remember to keep nurturing your TALENT for making PRETTY things.
You can subscribe to this blog and receive regular updates by email by simply registering your email address at the top of the current blog.

Thursday, 27 October 2016

Testing Crackle Medium With Different Paint Mediums

Having experimented with Blackboard Paint and Crackle Medium, my curiosity was roused. How would this medium work with other paint mediums? I simply had to find out. In today's blog I share the results of my experimentation with you when I try Crackle medium with Oil Colours, Craft Paint, Fabric Paint and Chalk Paint. Not all the mediums showed equal success, but I think you will agree that eliminating a medium serves just as much purpose as identifying a successful one. Let me show you what I discovered. This test also brought me to the conclusion that I really should get around to putting more mediums to the test in upcoming blogs.


I had a piece of wood that the kids had been playing with. As a matter of fact, they had painted on the reverse side. This would be brilliant to conduct my test on. I started by jotting down labels for the types of paint I wanted to test. This would prevent me from getting confused and it would help to clarify things for the purposed of the blog.


I then used Dala Gesso to prepare the surface to accept paint.


Oil Colours
Once the gesso was dry, I painted a coat of Oil Colour paint. I had to wait very patiently for this paint to dry and all of the other experiments were already done and forgotten before this one would be completed.


A couple of days later the oil paint was dry and I could put the crackle medium on top. I waited overnight for the crackle medium to dry.


The next day I painted a contrasting colour of oil paint over the crackle medium. I would have to wait a few more days for this to dry, before knowing the results of the experiment.


A couple of days later, the paint was dry. As I suspected, there was no sign of a crack. Still, it was worth putting it to the test to find out. When painting in oil colours there is a general rule of fat over lean. This means that you can paint thick paint strokes over thin ones, without fear of the paint cracking. However, if you paint lean over fat, the top thin paint layer will dry before the thick layer underneath, causing the top layer to crack. Bear this rule in mind, if you do wish to create cracks in oil colours.


Craft Paint
I painted a layer of Craft Paint on the dry gesso.


Once the paint was dry, I painted Crackle Medium over the paint.


I waited a couple of hours for the Crackle Medium to dry completely and then painted a contrasting colour of Craft Paint over the crackle medium.


Once the paint was dry, beautiful cracks had opened up all over the surface. Obviously I would be able to use Craft Paint with great success with the crackle medium.


Fabric Paint
I painted two swatches of fabric paint on a piece of discarded fabric. My intention was to wash the fabric piece afterwards to see how well the crackle medium withstood this treatment compared to the swatch that was not treated with the crackle medium.


Once the paint was dry, I painted only the swatch on the left with the crackle medium.


I waited a couple of hours for the crackle medium to dry before painting a contrasting colour of fabric paint over both the crackle medium as well as the untreated swatch. No matter how long I waited, no cracks appeared in the fabric paint. There was no need to do the wash test after this.
Side note: I have on occassion used fabric paint on surfaces other than fabric, as if it were craft paint. When used with crackle on a different surface, it may actually deliver positive results. I actually suspect it will. However, as this is not the specific purpose of the paint, I did not test this theory.


Chalk Paint
The medium I was most excited about was Chalk Paint. I painted a coating of chalk paint on the dried gesso and waited for it to dry.


I then painted the crackle medium on the chalk paint and waited a couple of hours for it to dry completely.


I finally painted a contrasting colour of chalk paint over the dried crackle medium.


A whole host of possibilities opened up with the appearance of those cracks, as I am sure all chalk paint lovers out there can imagine for themselves! I could barely wait to get my hands on something that needed a make-over after seeing this.


There are without doubt more types of paint that one could test the crackle medium on, but having done these tests, I have discovered its properties and effectiveness with the paint I use most often. I'll try to give you an overview of more mediums in upcoming blogs.


Marietjie Uys (Miekie) is a published author. You can buy the books here:
You can purchase Designs By Miekie 1 here.
Jy kan Kom Ons Teken en Verf Tuinstories hier koop.
Jy kan Kom Ons Kleur Tuinstories In hier koop.
Jy kan Tuinstories hier koop.
For more crafty ideas and great products, visit A Pretty Talent on Facebook.
Remember to keep nurturing your TALENT for making PRETTY things.
You can subscribe to this blog and receive regular updates by email by simply registering your email address at the top of the current blog.

Wednesday, 26 October 2016

Baking Ciabatta Using A Sourdough Starter

Ever feel like you longed for a specific kind of bread? I felt that way today, and the bread I wanted was an authentic Italian Ciabatta (pronounced Cha-BAH-tah). I decided to bake one that was truer to the real thing than the previous recipe I've shared with you. I actually dislike making this version of the bread as the dough is very runny and tends to make a huge mess. But sometimes a girl has to bake what a girl wants to eat and no mediocre version would satisfy this craving. I show you how to deal with the pitfalls of authentic Ciabatta in today's blog.


Start by measuring 500 g (4 cups or 4 x 250 ml) white bread flour.


Add 2 teaspoons (10 ml) salt and a packet of instant dry yeast. This addition is important to create the large aerated holes in the dough. Mix the dry ingredients well.


Add 3 cups (750 ml) lukewarm water, 4 tablespoons (50 ml) milk and 4 tablespoons (50 ml) olive oil ...


... to a medium mixing bowl.


Prepare yet another very large mixing bowl by oiling the sides and bottom with olive oil.


Add the wet ingredients to the dry ones and mix well.


Measure 2 cups (500 ml) sourdough starter.


Add the sourdough starter and another 1 1/2 cups white bread flour to the bowl.


Bring the dough together. It will be a sticky liquid dough. This is as it should be.


Transfer the dough to the oiled bowl.


Cover with plastic and allow to develop in a warm dry place.


Prepare your work surface for the messy business that is about to hit it. You need to coat 2 large baking trays with non-stick coating and lightly flour it. You also need to lightly flour your working surface. Keep a bowl of water ready. The sticky dough will not cling to wet utensils and hands. Keep your utensils and hands wet while working with the dough.


The dough has risen beautifully.


Turn the dough out on the work surface and use a spatula to divide it into four equal parts.


Keep your utensils and hands wet!


Transfer two pieces of dough to one of the baking trays and shape into a slipper. Ciabatta is Italian for slipper, the traditional shape of the bread.


Transfer the remaining two lumps of dough to the other baking tray. Use your wet spatula to transfer the dough. Leave to rise. Do not cover again unless you can keep the plastic off the dough. Removing the plastic from the risen dough will cause it to fall flat, resulting in flat bread.


My dough lost a bit of its shape in the rising process (no doubt because little hands showed their curiosity!). Do not fiddle with the dough.


Bake for roughly 30 minutes in a preheated oven at 220 °C. The bread will rise a little in the oven.


The bread will make a beautiful crackling sound when you tear it. The crust will be crispy and the inside will be chewy. You will also see the gorgeous large holes in the dough, that is tell-tale ciabatta holes.


I love to serve ciabatta hot from the oven with olives and/or olive paste, olive oil, balsamic vinegar and a variety of cheeses. Sun-dried tomato also go really well with this bread.


Marietjie Uys (Miekie) is a published author. You can buy the books here:
You can purchase Designs By Miekie 1 here.
Jy kan Kom Ons Teken en Verf Tuinstories hier koop.
Jy kan Kom Ons Kleur Tuinstories In hier koop.
Jy kan Tuinstories hier koop.
For more crafty ideas and great products, visit A Pretty Talent on Facebook.
Remember to keep nurturing your TALENT for making PRETTY things.
You can subscribe to this blog and receive regular updates by email by simply registering your email address at the top of the current blog.