Ever since I bought this fabric to make a series of
handbags from, I have been toying with the idea of using it to make a comforter and some scatter cushions from. I was working towards a goal though, and did not spend too much time pondering the idea. Then I had some time today and decided to make a photo pin-up board with the little fabric I had left. I loved this so much that I think I will buy some more fabric if it is still available and make the bed set after all. In the meantime, let me show you how to make this
Photo Pin-Up Board for yourself. Or simply buy the one in the picture from
APrettyTalent.com by clicking
here.
I will be needing a piece of masonite board and polystyrene board for this project. Both of these will need to be cut to size.
I mark the proper size I want on the polystyrene with a
marker and
ruler.
Polystyrene cuts very well with a sharp bread knife or saw.
I measure my fabric the same width and length of the masonite and polystyrene boards. I then add 2 x 0,5 cm for the thickness of the masonite board in the length and width of the fabric. I measure the thickness of the polystyrene and find this to be 3 cm. I therefore add another 2 x 3 cm each in the width and length of the fabric. I want to fabric to fold in at the back at least 5 cm and twice this as well in width and length. All in all I have added 16 cm to the width and another 16 cm in the length of the fabric. Not adding this extra length and width will result in huge problems later on in the project. (I used a
cutting mat,
metal ruler and cutting wheel to cut the fabric, but it could just as easily have been cut with sharp
scissors as well).
Iron the fabric well. It will not be possible to iron it after it has been stretched over the polystyrene foam and creases will make for a very untidy finish.
Saw the masonite board to size.
Lay the fabric over the polystyrene foam and turn upside down so that you are looking at the back of the polystyrene foam and the fabric is lying face side down on the work space.
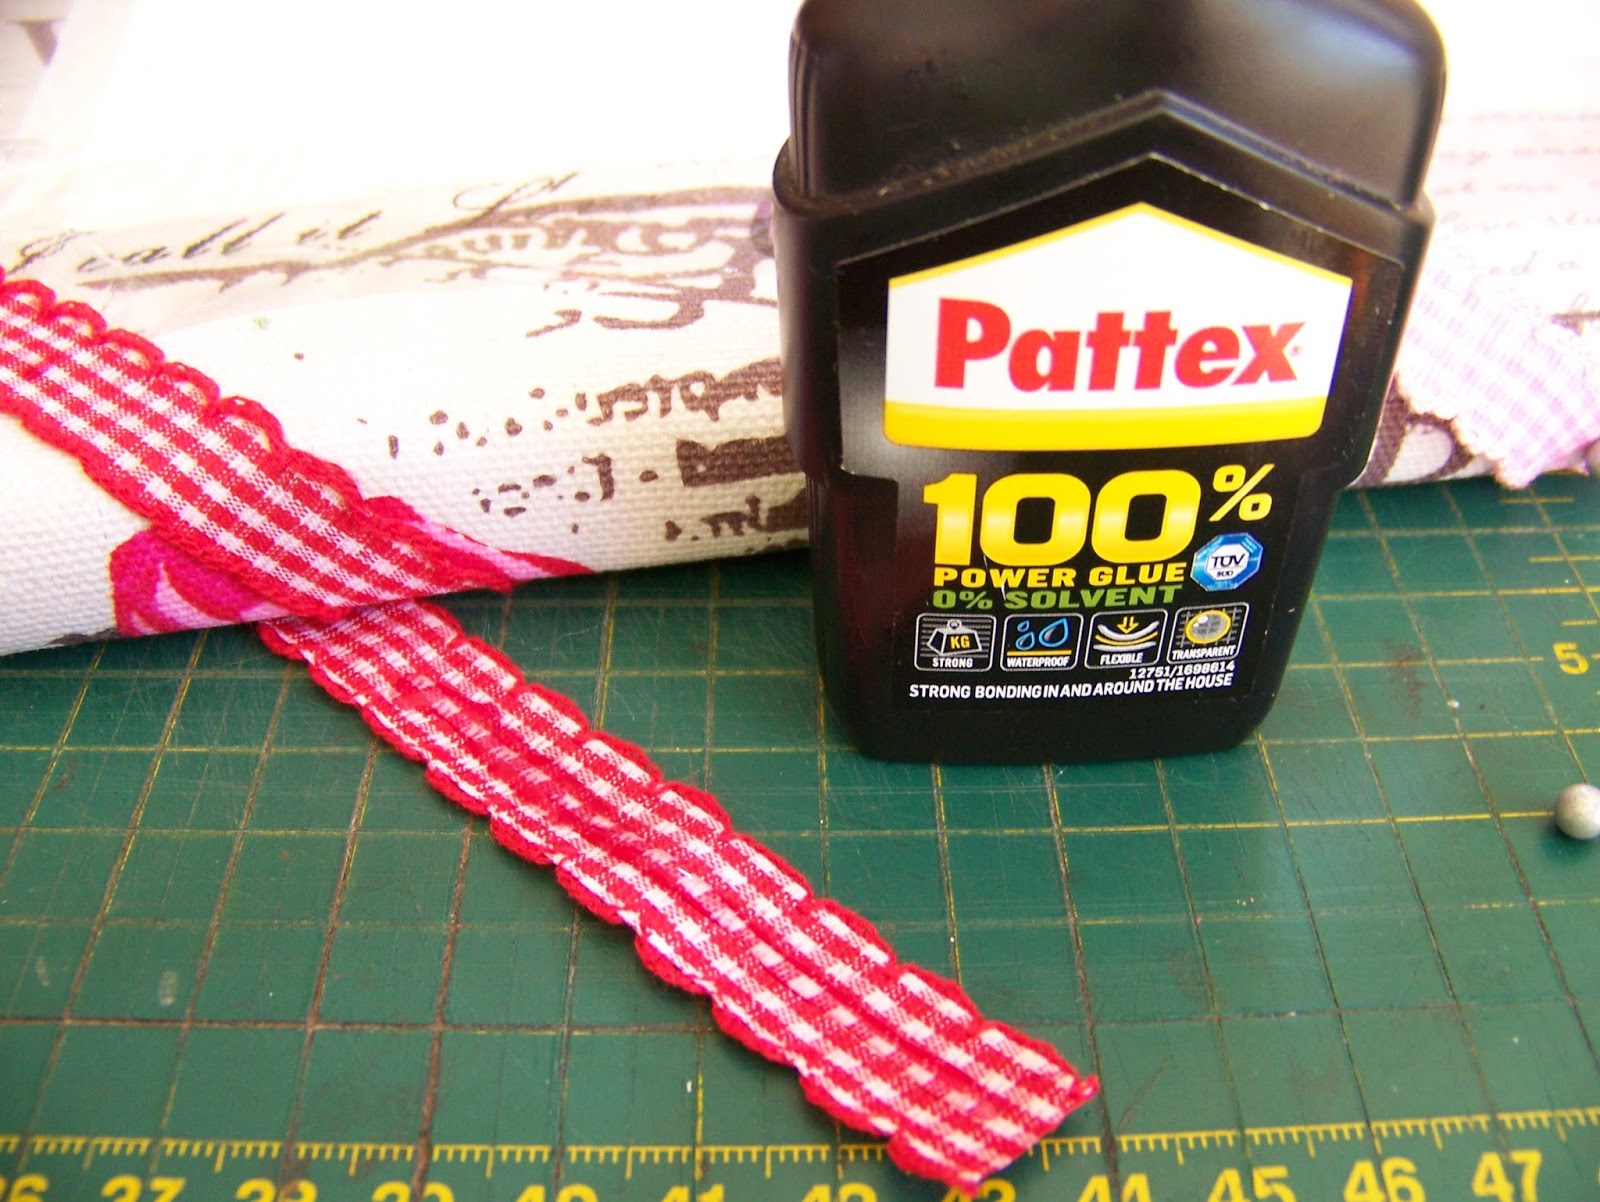
Fold the four corners in as shown and glue down. The
glue I used does not dry instantly and I used thumb tacks to keep the fabric pinned down until the glue dried sufficiently to release the thumb tacks. The glue may not contain any solvents or it will erode the polystyrene. Read the label carefully before using glue on polystyrene. If unsure, test on an off-cut. Erosion will start almost immediately.
Glue all along the edge of the fabric and fold over. I again secured the fabric with
thumb tacks until the glue dried properly. I did not take a photo of this, but I also added wide
sellotape all along the glued sides to keep the fabric more secure. You will see this in later photos.
I selected
ribbon to match the fabric I've used.
I realize that this tin box is the ideal width for the gaps between the ribbons and use this rather than to take measurements. This was mighty convenient. Position the tin right on the corner. Make sure you have the same distance from the corner to the ribbon on both legs of the corner. Lay the ribbon in place and cut long enough to have a decent fold-over.
Take new measurements, or move your own tin and lay the coordinating ribbon in place. Cut long enough to have a proper fold-over.
Repeat these steps for the whole diagonal length of the board.
This is what it should look like when all the ribbon pieces have been cut.
Pin the ribbons at the side to secure them in place temporarily.
Repeat the same steps as above on the opposite diagonal line so the ribbons cross each other. If you started in color A (pink in my example) with the first set of ribbons, you now need to start with color B (red in my example).
Pin the second set of ribbons in place at the sides as well.
Carefully loosed each of the top ribbons in succession and weave it through the bottom ribbons. I started with the red ribbons and wove them under the pink and over the red.
I then wove the pink under the red and over the pink.
This is what the board will look like once the ribbons has been woven through each other.
I turn the whole project upside once again. Glue all along the overhang of the ribbon, fold it over, rub down and pin in place with thumb tacks until the glue is dry. Do this all along the four sides of the board.
Here you can see where I have pinned the ribbons down where I have glued and folded them over.
The back of your board should now look similar to this.
Ask at your hardware store for Upholsterer's Thumb Tacks. Eureka is a brilliant supplier for these types of things. These thumb tacks are stronger than the types you get at stationery stores and have longer pins.
Normally these thumb tacks will be nailed in when doing upholstery, but since we are using ribbon, fabric and polystyrene I can simply push the tacks in with my fingers applying only slight pressure. The Uphosterer's Tacks are pushed in at every cross of the ribbons.
The front of the board should now look like this. I want to mount it on the masonite board, because that will strengthen the polystyrene which is still very wobbly and fragile.
I wondered which glue would be best suited for the job. I tested a selection I had on hand on the project's off-cuts. I had great success with all, but the spray adhesive dried fastest. I liked the Pattex for longer term permanence though. I decided to use a combination of glues.
I sprayed the masonite board with glue.
I liberally applied the Pattex to the polystyrene.
I then carefully positioned the polystyrene board on top of the masonite board. The spray glue would dry quickly and secure the project in place. The Pattex would take longer to dry, but once dry would give a brilliantly strong adhesive quality.
Once finished all that is needed is to add photos and notes.
This Photo Pin-Up Board is available from
APrettyTalent.com by clicking
here.
For more crafty ideas and great products, visit
APrettyTalent.com.
Remember to keep nurturing your TALENT for making PRETTY things.
You can subscribe to this blog and receive regular updates by email by simply registering your email address at the top of the current blog.